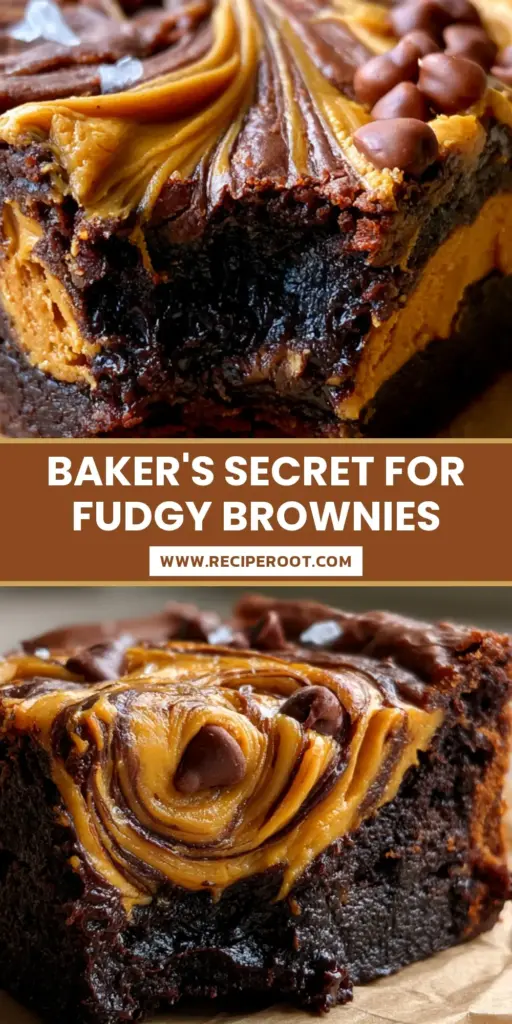
The quest for the perfect Peanut Butter Brownie Recipe ends here, at the intersection of a molten dark chocolate abyss and creamy, golden nut butter rivers. If you have been searching for a brownie that boasts a paper-thin, crackly crust and a center so gooey it practically requires a spoon, you have arrived.
This isn’t just another tray of bars; it is a Masterclass in texture, blending the intense bitterness of high-quality cocoa with the salty, velvet-smooth finish of a peanut butter swirl. Every bite offers a contrast between the crunch of flaky sea salt and the soft, melting chunks of semi-sweet chocolate embedded within the dense crumb.
Achieving the visual perfection of a glossy crinkle-top crust and deep, marbled peanut butter valleys requires a specific scientific approach to aeration and temperature. By following this guide, you will produce a professional-grade dessert that looks like it stepped straight out of a high-end bakery window.
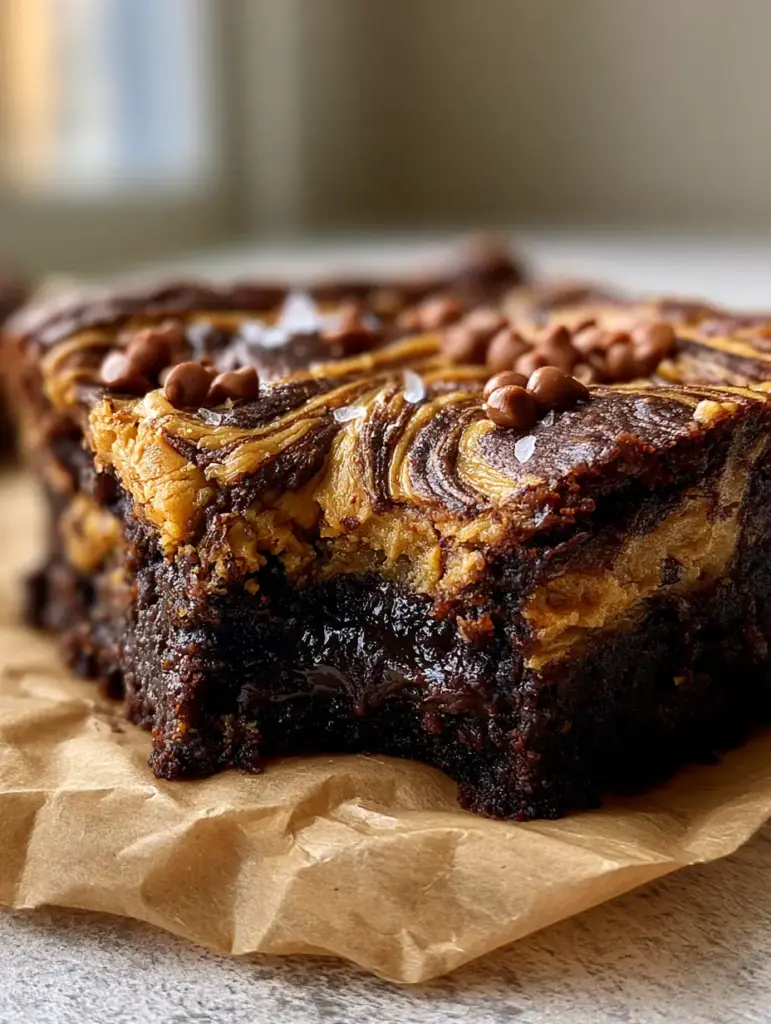
Why This Is The Only Chocolate Peanut Butter Brownie You Need
- The Iconic Crinkle Top: We utilize a specific egg-whipping technique to ensure a shiny, meringue-like crust that shatters upon impact.
- Dual-Chocolate Depth: A combination of Dutch-processed cocoa and melted semi-sweet chocolate chunks creates a multi-dimensional flavor profile.
- Gooey Forensic Texture: The ratio of fat to flour is meticulously calibrated to ensure the center remains moist and fudgy, never cakey.
- Creamy Marbled Swirls: Thick rivers of peanut butter are swirled deeply into the batter, ensuring no bite is left without that golden, nutty contrast.
- Visual Garnish: Finished with a generous scatter of Maldon flaky sea salt to brighten the dark chocolate notes and balance the sweetness.
The Anatomy of a Perfect Peanut Butter Brownie Recipe
Creating a masterpiece requires understanding your materials; each ingredient in this Peanut Butter Brownie Recipe serves a specific chemical and structural purpose. We avoid fillers to let the purity of the chocolate and the richness of the peanut butter shine through.
Unsalted Butter: 1 cup (225g). We melt the butter to provide the necessary fat for a dense, fudgy structure rather than a light, airy cake texture.
Granulated Sugar: 1 ½ cups (300g). Sugar is not just for sweetness; when whipped with eggs, it creates the structural film responsible for the shiny, crackly top.
Dark Brown Sugar: ½ cup (100g). The molasses in brown sugar adds moisture and a slight chewiness, contributing to that signature gooey center.
Large Eggs: 3 units, room temperature. Eggs act as the primary binder; using them at room temperature ensures they emulsify perfectly with the melted chocolate.
Dutch-Processed Cocoa Powder: ¾ cup (75g). This cocoa is treated with alkali to neutralize acidity, resulting in a darker color and a smoother, more intense chocolate flavor.
All-Purpose Flour: ¾ cup (95g). A relatively low amount of flour is used to keep the brownies from becoming bread-like, maintaining a decadent, fudgy consistency.
Semi-Sweet Chocolate Chunks: 1 cup (170g). Using chunks instead of chips ensures larger “pools” of melted chocolate throughout the brownie square.
Creamy Peanut Butter: ½ cup (125g). Opt for a standard creamy brand rather than natural “oil-separating” types to ensure the swirls hold their shape during the bake.
Vanilla Extract: 1 tbsp (15ml). A high-quality extract enhances the floral notes of the cocoa beans and rounds out the saltiness of the peanut butter.
Sea Salt: ½ tsp (3g) for the batter, plus extra flaky salt for garnish. Salt is the essential catalyst that makes the chocolate flavor “pop” on your palate.
Essential Tools for Bakery-Style Brownies
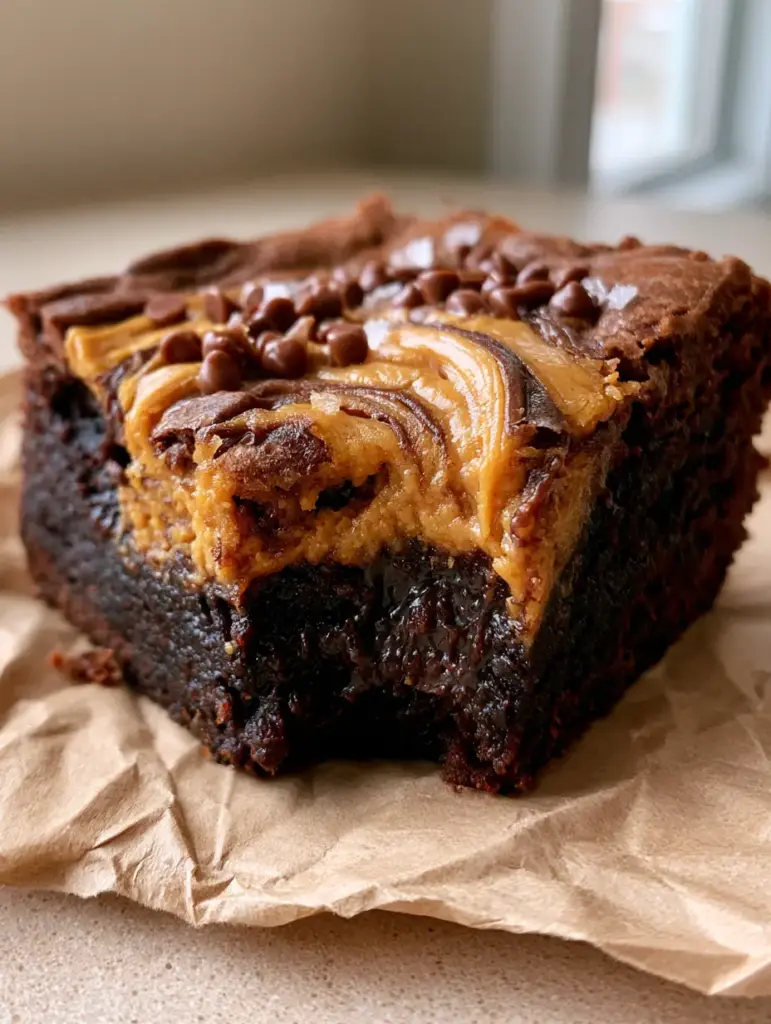
To achieve the specific aesthetic of thick-cut squares on crumpled brown parchment paper, you need the right gear. A standard 8×8 inch (20x20cm) square baking pan is non-negotiable for achieving that coveted thickness.
You will also need a high-quality whisk or an electric hand mixer to properly aerate the egg and sugar mixture. A silicone spatula is vital for folding in the flour gently, ensuring you don’t overwork the gluten and toughen the brownies.
Finally, ensure you have a roll of unbleached parchment paper. Lining the pan with an overhang allows you to lift the entire block of brownies out effortlessly, preserving those clean, sharp edges after they have cooled.
Step-by-Step Instructions for Fudgy Perfection
Preparing the Dark Chocolate Foundation
Start by preheating your oven to 350°F (175°C). Line your 8×8 inch pan with crumpled brown parchment paper, allowing the edges to hang over the sides for easy removal.
In a microwave-safe bowl or a small saucepan over low heat, melt the butter. Once melted, whisk in the cocoa powder until smooth and glossy; the heat will “bloom” the cocoa, intensifying its flavor profile.
Set this mixture aside to cool slightly. If the chocolate is too hot when added to the eggs, you risk scrambling them, which ruins the texture of your Peanut Butter Brownie Recipe.
The Secret to the Crinkle-Top Crust
In a large mixing bowl, combine the granulated sugar, brown sugar, and room-temperature eggs. Using a whisk or hand mixer, beat vigorously for 3-5 minutes until the mixture is pale, thick, and doubled in volume.
This aeration is the most critical step. The air bubbles trapped in this egg-sugar foam are what rise to the surface to create that paper-thin, shiny crust described in our visual blueprint.
Gently stream the melted butter and cocoa mixture into the eggs, whisking constantly until fully incorporated. Stir in the vanilla extract at this stage for maximum aromatic impact.
Folding and Incorporating the Gooey Elements
Sift the flour and ½ tsp of sea salt over the wet ingredients. Using a silicone spatula, fold the dry ingredients in by hand just until no white streaks remain.
Do not overmix. Overmixing develops gluten, which will turn your decadent Peanut Butter Brownie Recipe from fudgy and gooey into something resembling a dry chocolate muffin.
Fold in the semi-sweet chocolate chunks. These will melt into glorious pockets of liquid chocolate as the brownies bake, adding to the macro-visual appeal of the sliced square.
Creating the Golden Peanut Butter Swirls
Pour the dark chocolate batter into the prepared parchment-lined pan and spread it into an even layer. If the peanut butter is too stiff, microwave it for 15 seconds until it reaches a pourable consistency.
Drop large spoonfuls of the creamy peanut butter onto the surface of the batter. Use a butter knife or a skewer to swirl the peanut butter deeply into the batter in a figure-eight motion.
Avoid over-swirling; you want distinct “marbled rivers” of golden peanut butter visible on the surface. Scatter a few extra chocolate chunks on top for a professional, rustic finish.
Baking for Sensory Cues
Slide the pan into the center of the oven and bake for 25-30 minutes. The key is to look for specific visual cues: the edges should be set and slightly pulling away from the parchment, while the center should still have a very slight jiggle.
The top should be covered in a delicate, shiny crinkle crust. Remove from the oven and immediately sprinkle with a generous pinch of flaky Maldon sea salt, allowing the crystals to adhere to the warm surface.
Crucially, allow the brownies to cool completely in the pan for at least 2 hours. This “carry-over” cooking time is what sets the center into that incredibly gooey, fudgy dark chocolate texture seen in the macro shots.
Expert Tips for the Ultimate Peanut Butter Brownie Recipe
- Quality Matters: Use the highest quality chocolate you can find. Since chocolate is the primary flavor, a premium bar or cocoa powder will drastically improve the result.
- Don’t Skip the Sifting: Cocoa powder is notorious for clumps. Sifting ensures a smooth batter and prevents “flour pockets” in your finished bake.
- The Toothpick Test Myth: For fudgy brownies, a toothpick inserted into the center should NOT come out clean. It should have a few moist, fudgy crumbs attached.
- Temperature Control: If your peanut butter is a “natural” variety with lots of oil, stir it extremely well before swirling to prevent the oil from pooling on the brownie surface.
Storage, Reheating, and Freezing
Store these brownies in an airtight container at room temperature for up to 4 days. The high sugar and fat content keeps them moist, though they are arguably best on the second day when the flavors have fully melded.
For a truly decadent experience, reheat a single square in the microwave for 10-15 seconds. This will re-melt the chocolate chunks and soften the peanut butter swirls, returning them to that “just-baked” gooey state.
These also freeze exceptionally well. Wrap individual squares in plastic wrap and store in a freezer bag for up to 3 months. Thaw at room temperature for an hour before enjoying.
What to Serve With These Decadent Squares
While a cold glass of milk is the classic choice, you can elevate this dessert by pairing it with other textures. If you love the combination of fruit and nut butter, try serving these alongside a bowl of fresh berries drizzled with homemade strawberry sauce.
If you are hosting a larger gathering, these brownies make a fantastic addition to a dessert board featuring peanut butter pudding cookies and rich brown butter brookies. The contrast of textures between the soft pudding cookies and the dense brownies is always a crowd-pleaser.
For those who prefer a “no-bake” option to round out their menu, consider serving these alongside a chilled peanut butter chocolate tart for the ultimate themed dessert experience.
Frequently Asked Questions
While you can use natural peanut butter, it often separates and becomes oily during baking. For the best visual ‘rivers’ and a creamy texture, we recommend using a processed creamy peanut butter.
The shiny crust is created by dissolving sugar in the eggs. You must whisk the sugar and eggs together for several minutes until they become pale and thick (forming a ribbon stage) before adding the chocolate.
Look for the ‘jiggle test.’ The edges should be firm, but the center 2 inches should still slightly wobble when the pan is nudged. They will finish setting as they cool in the pan.
We use a combination of Dutch-processed cocoa powder for deep flavor and semi-sweet chocolate chunks for texture. This dual-threat approach ensures both a rich crumb and melting pockets of chocolate.
Cakey brownies usually result from over-whisking the batter after the flour is added or using too much flour/leavening agents. To keep them fudgy, fold in the flour gently by hand and do not add baking powder.
The Ultimate Peanut Butter Brownie Recipe
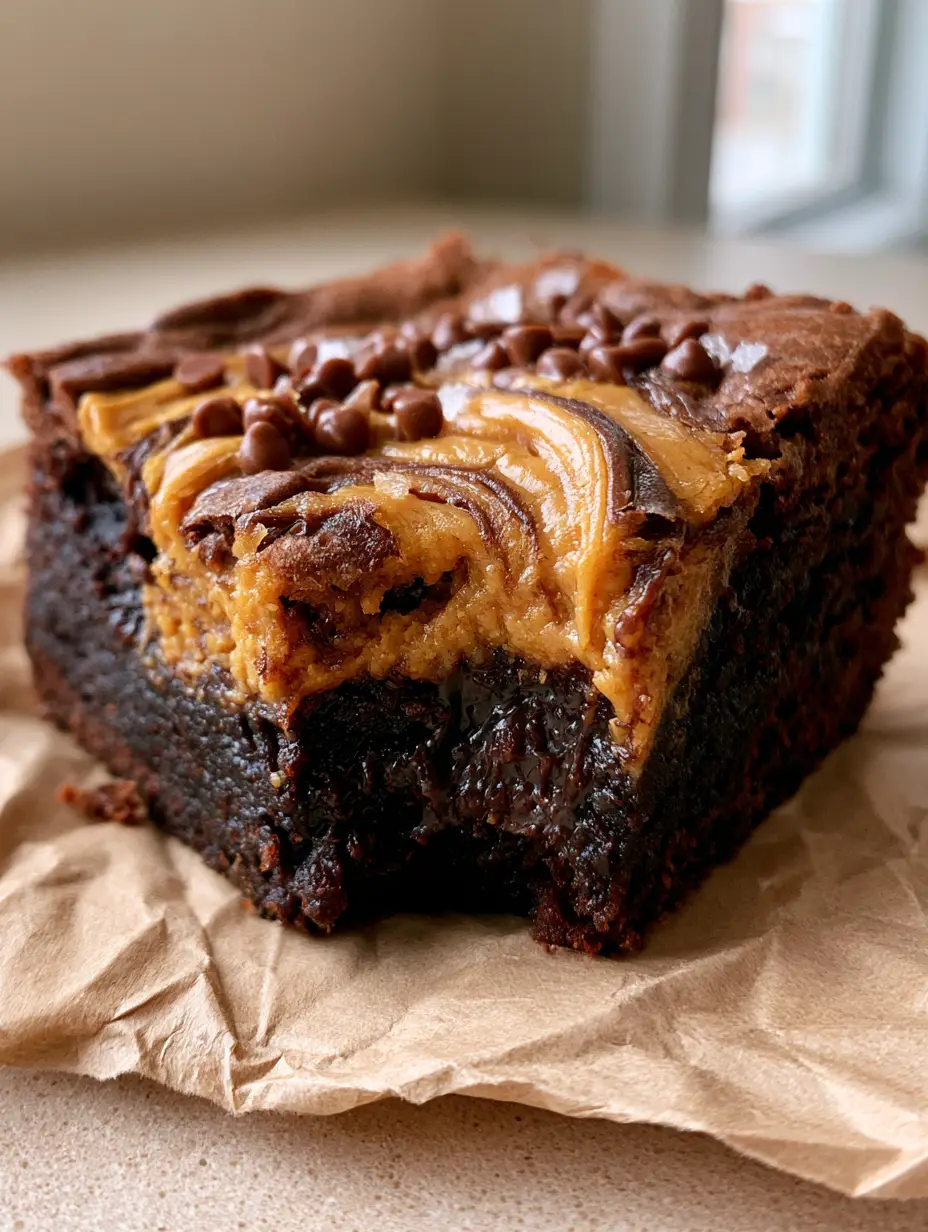
Peanut Butter Brownie Recipe: The Ultimate Fudgy Dark Chocolate Swirl
Ingredients
Equipment
Method
- Preheat oven to 350°F (175°C) and line an 8x8 pan with crumpled brown parchment paper.
- Melt butter and whisk in cocoa powder until smooth. Let cool slightly.
- Beat eggs and sugars for 3-5 minutes until pale and doubled in volume to ensure a crinkle top.
- Whisk in the butter-cocoa mixture and vanilla. Gently fold in flour, salt, and chocolate chunks.
- Pour batter into pan. Drop spoonfuls of warmed peanut butter on top and swirl with a knife.
- Bake for 25-30 minutes until edges are set but center remains slightly jiggly. Sprinkle with flaky salt.
Notes
Use room temperature eggs for the best emulsion and crinkle-top result.
Share Your Fudgy Creations!
There is nothing quite like the smell of dark chocolate and roasted peanuts wafting through a kitchen. This Peanut Butter Brownie Recipe is designed to be shared, whether at a summer potluck or a cozy winter movie night.
Did you achieve that perfect crinkle top? We want to see your results! Leave a comment below with your experience or any custom twists you added to the recipe.
Don’t forget to save this recipe to your “Dessert Goals” board on Pinterest so you can find it every time a chocolate craving strikes. Happy baking!