The quest for the ultimate brown butter espresso brownies ends here, where the science of pastry meets the art of deep, dark chocolate indulgence. There is something hypnotic about a mahogany-colored, iridescent crinkle crust that shatters like fine porcelain upon the first bite.
If you have been chasing that elusive, dense fudgy center paired with the sophisticated bitterness of toasted butter and roasted coffee, this recipe is your roadmap. We aren’t just making a dessert; we are engineering a sensory experience that features visible pools of melted bittersweet chocolate chunks and a delicate scattering of large, translucent flakes of sea salt.
Inspired by the raw, authentic beauty of handheld food photography, these brownies are designed to look as stunning on torn white parchment paper as they taste on your palate. Let’s dive into the culinary mechanics required to achieve this professional-grade result in your own kitchen.
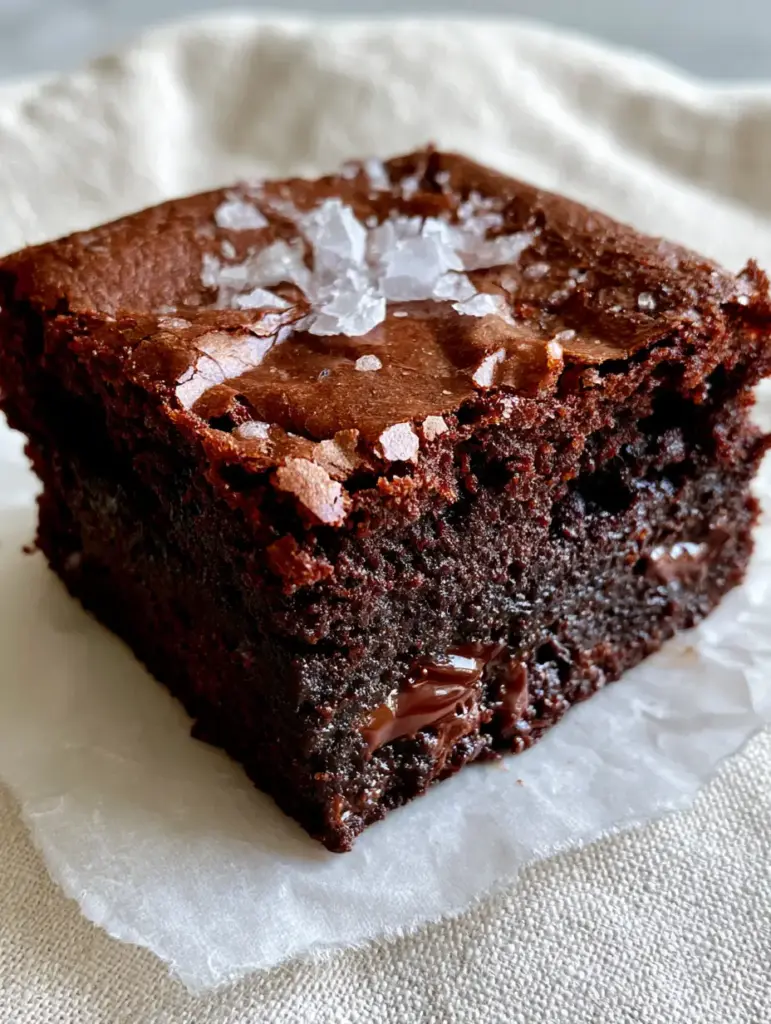
The Anatomy of the Perfect Espresso-Infused Brownie
Achieving the specific visual and textural results seen in high-end culinary photography requires a deep understanding of ingredient interactions. These brown butter espresso brownies rely on three pillars: the Maillard reaction, sugar aeration, and high-quality fat sources.
- The Crinkle Crust: This isn’t luck; it’s a thin layer of meringue formed by whipping eggs and sugar until they reach a pale, voluminous state.
- The Fudgy Core: By omitting chemical leaveners like baking powder, we ensure a dense, ultra-moist dark chocolate fudge interior that doesn’t turn cakey.
- Flavor Complexity: The inclusion of espresso doesn’t make the brownies taste like a latte; instead, it acts as a “flavor magnifier” for the dark chocolate.
- Visual Contrast: We use coarse flaky sea salt to provide a bright, translucent contrast against the dark, fractured surface of the brownie.
The Secret Ingredients for Deep, Nutty Chocolate Flavor
To recreate the exact “thick dark chocolate brownie” profile from our blueprint, every ingredient must serve a specific structural and flavor purpose. We use 1 cup (225g) of unsalted butter, which we will transform into liquid gold through the browning process.
Brown butter, or beurre noisette, adds a toasted, nutty aroma that complements the coffee notes perfectly. You will also need 2 cups (400g) of granulated sugar and 1/2 cup (100g) of packed light brown sugar; this combination is essential for that “paper-thin crinkle top” and a chewy moisture level.
For the chocolate element, we use 1 cup (90g) of Dutch-processed cocoa powder and 8 ounces (225g) of high-quality bittersweet chocolate bars, hand-chopped into chunks. Avoid standard chocolate chips, as they contain stabilizers that prevent the “melted chocolate pools” we are looking for. If you love this flavor profile, you might also enjoy our brown butter brookies for a similar nutty depth.
The espresso component comes from 2 tablespoons (10g) of instant espresso powder. When bloomed in the hot brown butter, it releases a robust fragrance that defines the brown butter espresso brownies. Finally, a generous pinch of fine sea salt goes into the batter, while flaky Maldon salt is reserved for the final garnish.
Essential Kitchen Tools for Professional Results
To achieve the “thick, square-cut” look, you must use an 8×8 inch (20x20cm) metal baking pan. Glass pans conduct heat differently and can lead to overbaked edges before the center is set.
You will also need white parchment paper. Not only does this prevent sticking, but it also creates the “torn white parchment paper” aesthetic that frames the brownies beautifully in photos. A heavy-bottomed light-colored saucepan is critical for browning the butter so you can visually monitor the color change from yellow to amber.
A high-speed electric hand mixer or stand mixer is non-negotiable here. The “delicate fractures” on the surface are only possible if you beat the eggs and sugar long enough to create a stable foam. If you’re in the mood for more chocolatey experimentation, check out our peanut-butter brownie recipe for a salty-sweet variation.
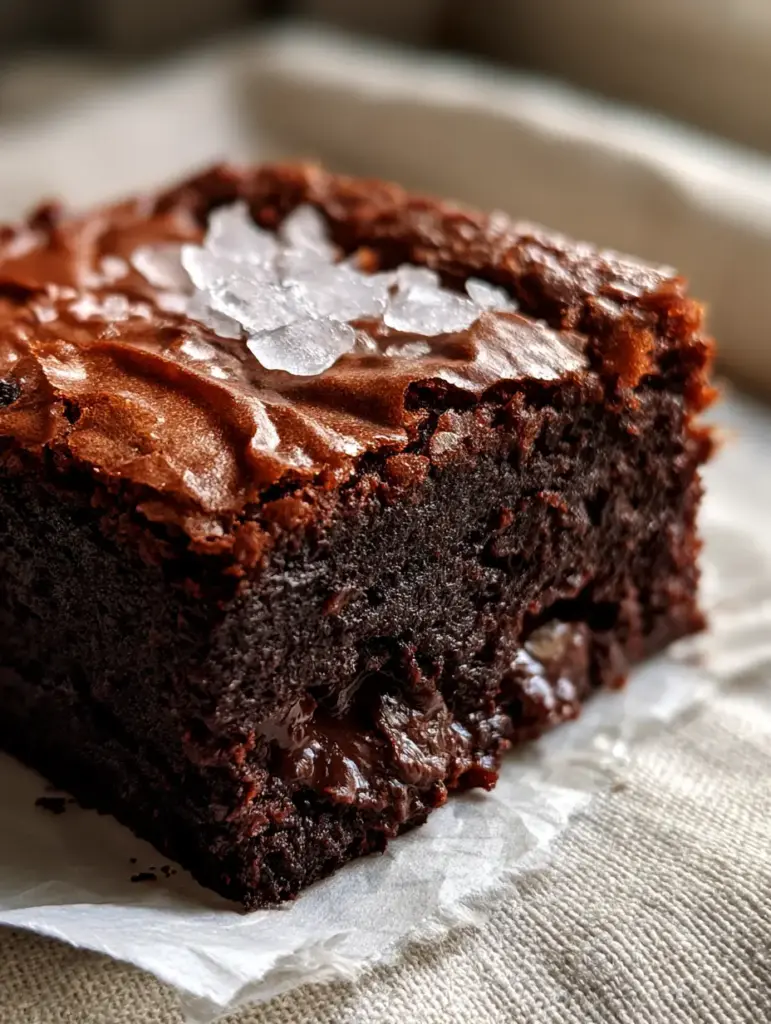
Mastering the Beurre Noisette and Espresso Bloom
Step 1: Browning the Butter to Perfection
In your light-colored saucepan over medium heat, melt the butter. Continue cooking, swirling the pan occasionally, until the milk solids begin to turn a deep golden-brown and the mixture smells like toasted hazelnuts. Watch for the foaming to subside; this is your visual cue that the water has evaporated.
Step 2: Infusing the Espresso
Immediately remove the pan from the heat and whisk in the instant espresso powder and the Dutch-processed cocoa. The heat from the butter will “bloom” these ingredients, intensifying the dark chocolate aroma and ensuring no gritty texture remains in your brown butter espresso brownies.
Step 3: Creating the Meringue-Style Top
In a separate large bowl, combine the eggs and both sugars. Using your mixer, beat on high for 5 to 7 minutes. You are looking for a “ribbon stage” where the mixture is thick, pale, and falls off the whisk in slow, distinct folds. This step is the “critical bridge” to achieving that iridescent crinkle crust.
Step 4: Folding and Incorporation
Gently stream the warm chocolate-butter mixture into the egg mixture while whisking on low. Once combined, use a spatula to fold in the flour and fine salt until just a few streaks remain. Finally, fold in 3/4 of your hand-chopped bittersweet chocolate chunks, saving the rest for the top.
Step 5: The Final Bake and Salt Garnish
Pour the batter into your lined pan, smoothing the top. Distribute the remaining chocolate chunks over the surface. Bake at 350°F (175°C) for 25-30 minutes. The visual cue for doneness is a set edge and a slightly wobbly center. Immediately upon removal, scatter the large, translucent flakes of sea salt across the top.
Expert Tips for the Ultimate Fudgy Texture
- The Knife Trick: For those clean, “square-cut” edges, let the brownies cool completely, then chill them in the fridge for 2 hours before slicing with a hot, dry knife.
- Quality Matters: Since the chocolate is the star, use a bar with at least 70% cocoa solids to balance the sugar.
- Don’t Overmix: Once the flour is added, fold gently. Overworking the gluten will turn your fudgy brownie into a tough, bread-like square.
- Visual Monitoring: Look for the “fractures” in the crust during the last 5 minutes of baking; this indicates the meringue layer has dried and set.
Elevating Your Dessert Spread
These brown butter espresso brownies are a sophisticated end to any meal, but they also pair beautifully with other textured treats. Consider serving them alongside banana pudding cookies for a contrast in flavors, or even as a decadent side to a creamy root beer rum cocktail during a summer gathering.
If you’re planning a larger event, like looking for 4th of July party ideas, these brownies are excellent because they can be made a day in advance and actually taste better as the espresso and brown butter flavors meld overnight.
Storing and Reheating Your Brownies
To maintain the “moist, chewy texture,” store these brownies in an airtight container at room temperature for up to 4 days. If you prefer an ultra-fudgy, almost truffle-like consistency, keep them in the refrigerator. They can also be frozen for up to 3 months; just wrap them tightly in plastic wrap and then foil to prevent freezer burn.
Frequently Asked Questions
Chocolate chips contain stabilizers designed to help them keep their shape. Hand-chopped bittersweet chocolate bars are necessary to achieve those visible, flowing pools of chocolate.
Brewed coffee adds too much liquid, which will change the texture from fudgy to cakey. For the best result in brown butter espresso brownies, stick to instant espresso powder bloomed in the butter.
Absolutely. Browning the butter adds a nutty, toasted complexity that balances the sweetness of the sugar and enhances the roasted notes of the espresso.
Let the brownies cool completely, then refrigerate for at least 2 hours. Use a large chef’s knife dipped in hot water and wiped dry between every single cut.
The crinkle top is a thin layer of meringue. It only forms if you beat the eggs and sugar long enough (5-7 minutes) to fully dissolve the sugar and create a stable foam before adding the fat.
The Ultimate Brown Butter Espresso Brownie Recipe
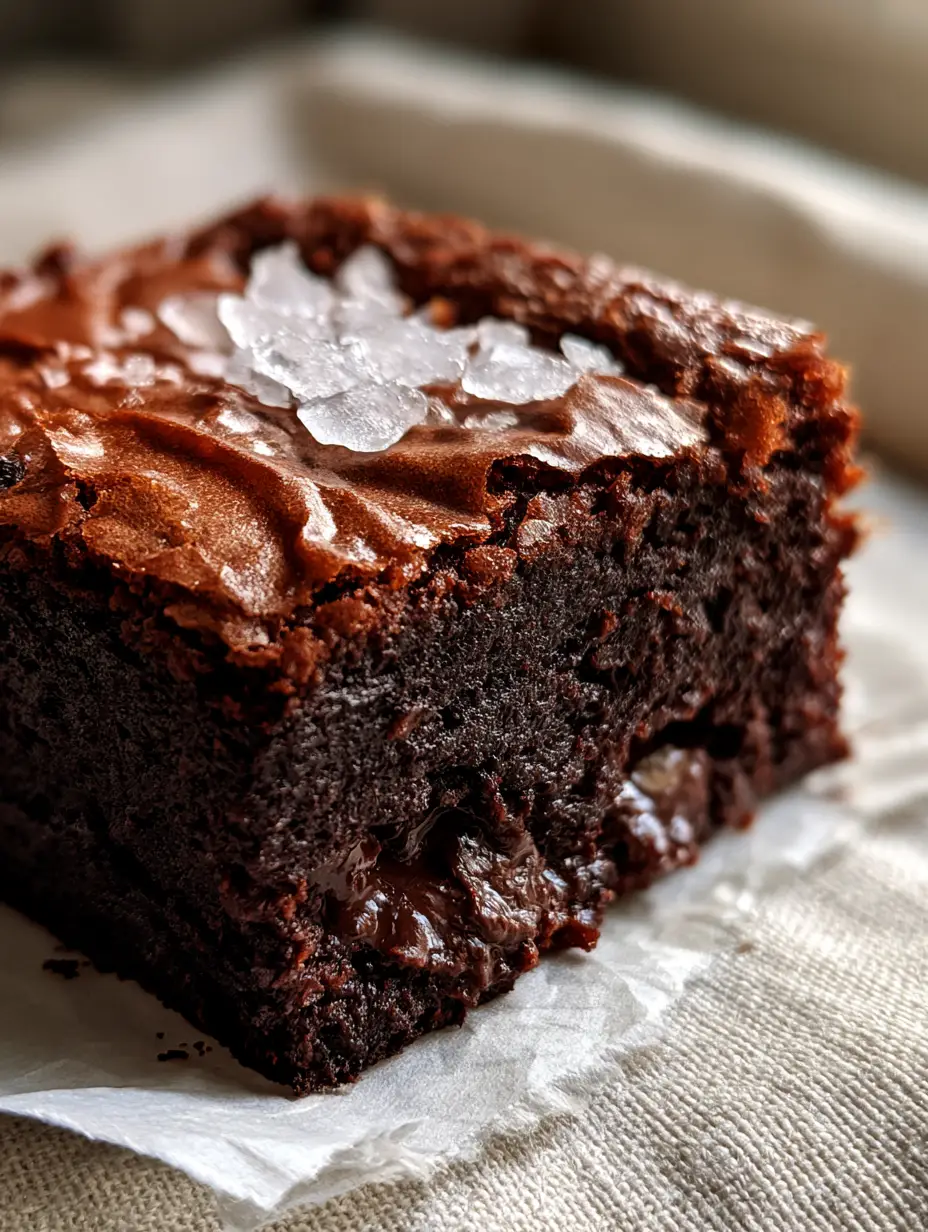
Brown Butter Espresso Brownies with a Fudgy Center and Paper-Thin Crinkle Top
Ingredients
Equipment
Method
- Melt butter in a saucepan over medium heat until it turns amber and smells nutty. Remove from heat immediately.
- Whisk the cocoa powder and espresso powder into the hot brown butter until smooth and fragrant.
- Using a mixer, beat eggs, granulated sugar, and brown sugar for 5-7 minutes until pale, thick, and at the ribbon stage.
- Slowly pour the butter-chocolate mixture into the egg mixture while whisking on low speed. Add vanilla.
- Gently fold in the flour and fine salt. Do not overmix. Fold in 3/4 of the chopped chocolate chunks.
- Pour into a parchment-lined 8x8 pan. Top with remaining chocolate. Bake at 350°F (175°C) for 25-30 minutes.
- Top with flaky sea salt while hot. Let cool completely in the pan to allow the fudgy center to set.
Notes
Beat the eggs and sugar long enough; this is the secret to the crinkle top.
Closing & Call to Action
These brown butter espresso brownies are more than just a sweet treat; they are a masterclass in texture and flavor layering. From the paper-thin crinkle top to the dense, dark chocolate fudge interior, every bite offers a complex interplay of salt, sugar, and roasted coffee. We hope you enjoy the “handheld photo” authenticity of this bake in your own home.
Did you achieve those beautiful fractures on your brownie crust? We’d love to hear about it! Leave a comment below or share your results with us. For more visually stunning recipes and baking inspiration, be sure to follow us on Pinterest and save this pin to your favorite dessert board.


