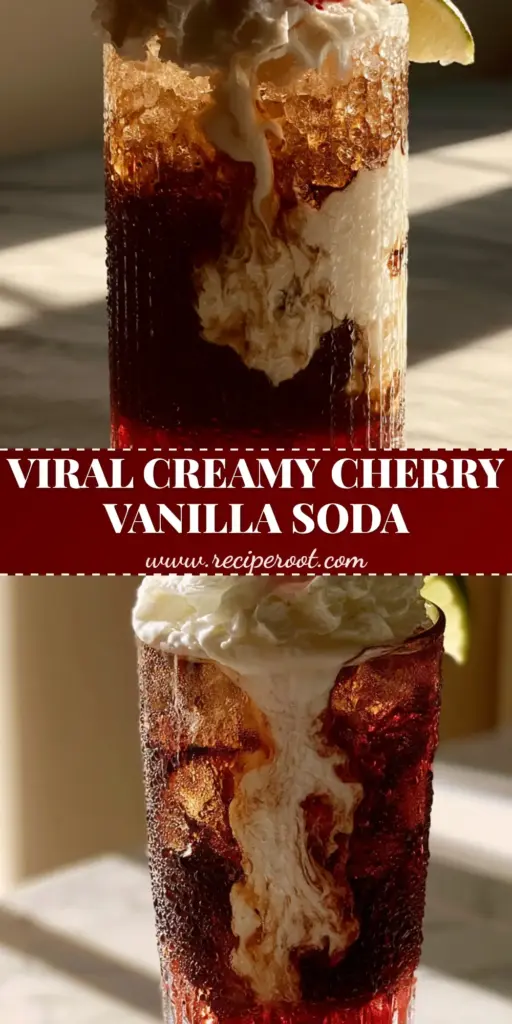
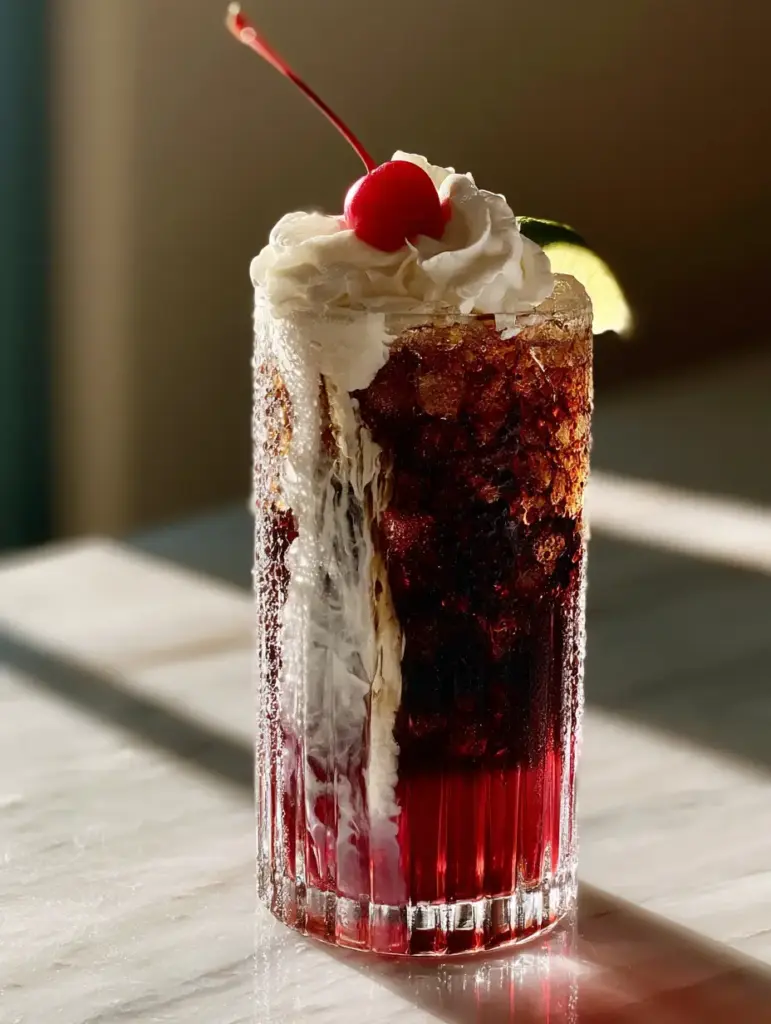
This cherry vanilla soda is the crown jewel of the “dirty soda” trend, combining deep, translucent ruby-red cherry syrup with the effervescent snap of dark cola. If you have been searching for a drink that looks like a professional food photograph and tastes like a nostalgic dream, you have arrived at the right place. This recipe perfectly balances the tartness of fresh lime with the richness of heavy cream swirls, creating a visual masterpiece in a ribbed aesthetic glass.
Whether you are hosting a summer backyard bash or just need a mid-afternoon pick-me-up that feels like a luxury, this cherry vanilla soda delivers. We aren’t just mixing flavors; we are layering textures—from the crunch of pebble ice to the velvety ribbons of cream marbling through the dark soda. It is a sensory experience that validates every second of your scrolling time.
Why This Viral Cherry Vanilla Soda Works
- Visual Masterpiece: The deep ruby base contrasts beautifully with the white cream ribbons and dark cola.
- Textural Contrast: The combination of crushed pebble ice and stiff whipped cream provides a satisfying mouthfeel.
- Balanced Flavor: Fresh lime juice cuts through the sweetness of the vanilla and cherry, preventing it from being cloying.
- Pinterest-Ready Aesthetic: Every glass features glistening condensation droplets and a vibrant maraschino cherry topper.
This drink is a sophisticated cousin to our classic dirty soda recipe, offering a more complex flavor profile thanks to the addition of aromatic vanilla bean. If you enjoy this, you will also love the floral notes in our blackberry cream dirty soda.
Essential Ingredients for the Best Cherry Vanilla Soda
To achieve the “forensic visual accuracy” of a professional mocktail, you need specific ingredients that interact to create those signature layers.
Dark Ruby Cherry Syrup: 2 tbsp (30ml). This forms the heavy, translucent base of the drink. Look for a high-quality syrup that has a deep red hue rather than a bright neon pink for that “dark ruby” effect.
Vanilla Bean Paste or Syrup: 1 tsp (5ml). Vanilla provides the aromatic bridge between the fruit and the cola. Using paste adds those beautiful tiny black flecks to the cream swirls.
Crushed Pebble Ice: 1.5 cups (approx. 350ml). Essential for the “dirty soda” mouthfeel. Pebble ice creates more surface area for the cream to cling to as it marbles downward.
Fizzy Dark Cola: 10 oz (300ml). Choose a cola with high carbonation. The effervescence is what carries the vanilla aroma to your nose as you sip.
Heavy Cream: 2 tbsp (30ml). This must be cold. When poured over the ice, it creates the beautiful marbling and swirling effect that makes this cherry vanilla soda so famous on social media.
Whipped Cream: A generous swirl of stiffly peaked whipped cream. This acts as the “throne” for your garnishes.
Fresh Lime: 1 wedge. The citric acid is the “secret ingredient” that brightens the dark cola and cherry flavors.
Maraschino Cherry: 1 bright red cherry with a long stem. This is the final visual focal point that screams “classic soda shop.”
How to Build the Perfect Layered Cherry Vanilla Soda
1. Creating the Ruby Base
Start with a clean, tall ribbed aesthetic glass. Pour the 2 tbsp (30ml) of dark ruby cherry syrup directly into the bottom. Do not stir. You want this layer to remain distinct to create that translucent red glow at the base of the glass.
Add your vanilla bean paste at this stage, lightly swirling it into the cherry syrup to ensure the flavor is distributed through the heaviest part of the drink.
2. The Pebble Ice Foundation
Fill the glass to the very top with crushed pebble ice. The ice should be packed relatively tightly. This acts as a filter for the cream, slowing its descent and creating the beautiful “ribbons” we are looking for.
3. The Cola Infusion
Slowly pour the 10 oz (300ml) of dark cola over the ice. Leave about an inch of space at the top for your cream and toppings. You will see the cola mingle slightly with the cherry base, but the bottom should remain a deeper red.
At this point, squeeze a fresh lime wedge over the top of the ice. The juice will trickle down, cutting through the sweetness of the cherry vanilla soda base.
4. The Heavy Cream Swirl (The Magic Moment)
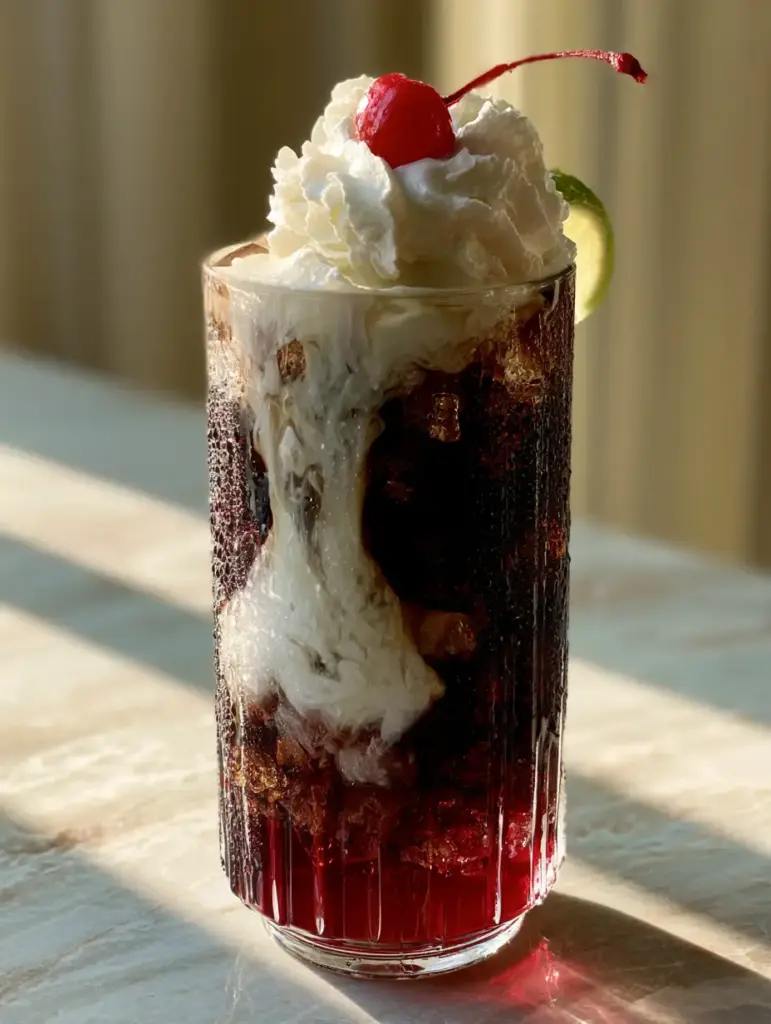
Gently pour the 2 tbsp (30ml) of heavy cream directly over the center of the ice. Watch as the cream captures the light and begins marbling and swirling down through the dark soda. This is the visual peak of the recipe!
If you love the way cream interacts with dark beverages, you should definitely check out our vanilla bourbon cream soda for a more adult-inspired twist.
5. Final Garnishes and Presentation
Top the drink with a generous, stiff swirl of whipped cream. Place the maraschino cherry with the long stem right in the center. Tuck a fresh lime wedge into the side of the whipped cream peak.
Allow the glass to sit for 30 seconds until tiny glistening condensation droplets cover the outside of the glass, signaling the drink is perfectly chilled.
Expert Tips for Success
- Chill Your Glass: Place your ribbed glass in the freezer for 10 minutes before building the drink. This enhances the condensation effect.
- Use a Straw: To experience all the layers, use a long glass or metal straw. Sipping from the bottom gives you the cherry-cola hit, while the top gives you the creamy vanilla finish.
- Don’t Over-Stir: The beauty of a cherry vanilla soda is the separation of layers. If you stir too much, it becomes a uniform brown color, losing the Pinterest aesthetic.
- Freshness Matters: Use a freshly opened bottle or can of cola. Flat soda will make the drink feel heavy and syrupy rather than refreshing.
Storage and Preparation
The cherry vanilla soda is best enjoyed immediately to appreciate the carbonation and the distinct cream swirls. However, you can prep the cherry-vanilla base in the glasses up to 2 hours in advance and keep them in the fridge.
Do not add the ice, soda, or cream until the exact moment you are ready to serve. This drink does not freeze well due to the dairy content and the carbonation.
What to Serve With This Creamy Soda
This drink is essentially a liquid dessert, making it the perfect partner for salty or fruity snacks. It pairs beautifully with our homemade cookie dough granola for a fun texture contrast.
If you are looking for a full dessert spread, serve these alongside our raspberry white chocolate cupcakes. The tartness of the raspberry in the cake complements the deep cherry notes in the soda perfectly.
Frequently Asked Questions
Yes! You can substitute the heavy cream and whipped cream with full-fat coconut milk or a high-quality oat milk creamer to maintain the marbling effect.
Absolutely. Using a diet cola will significantly reduce the calorie count while still providing the necessary fizz and dark color for the layers.
The secret is pouring the heavy cream very slowly over the top of the ice. The ice acts as a buffer that creates those distinct white ribbons.
A dirty soda is a drink trend that involves adding cream, flavored syrups, and often lime juice to a carbonated soda base, typically served over crushed ice.
Pebble ice (or Nugget ice) has a higher surface area which helps the cream swirl and marble slowly through the drink rather than just mixing instantly.
The Official Cherry Vanilla Soda Recipe
Cherry Vanilla Soda: The Ultimate Creamy Dirty Soda Recipe
Ingredients
Equipment
Method
- Pour the dark ruby cherry syrup and vanilla bean paste into the bottom of a tall ribbed glass.
- Fill the glass to the brim with crushed pebble ice to provide a structure for the layers.
- Slowly pour the cold dark cola over the ice, leaving room for cream at the top. Squeeze the lime wedge over the ice.
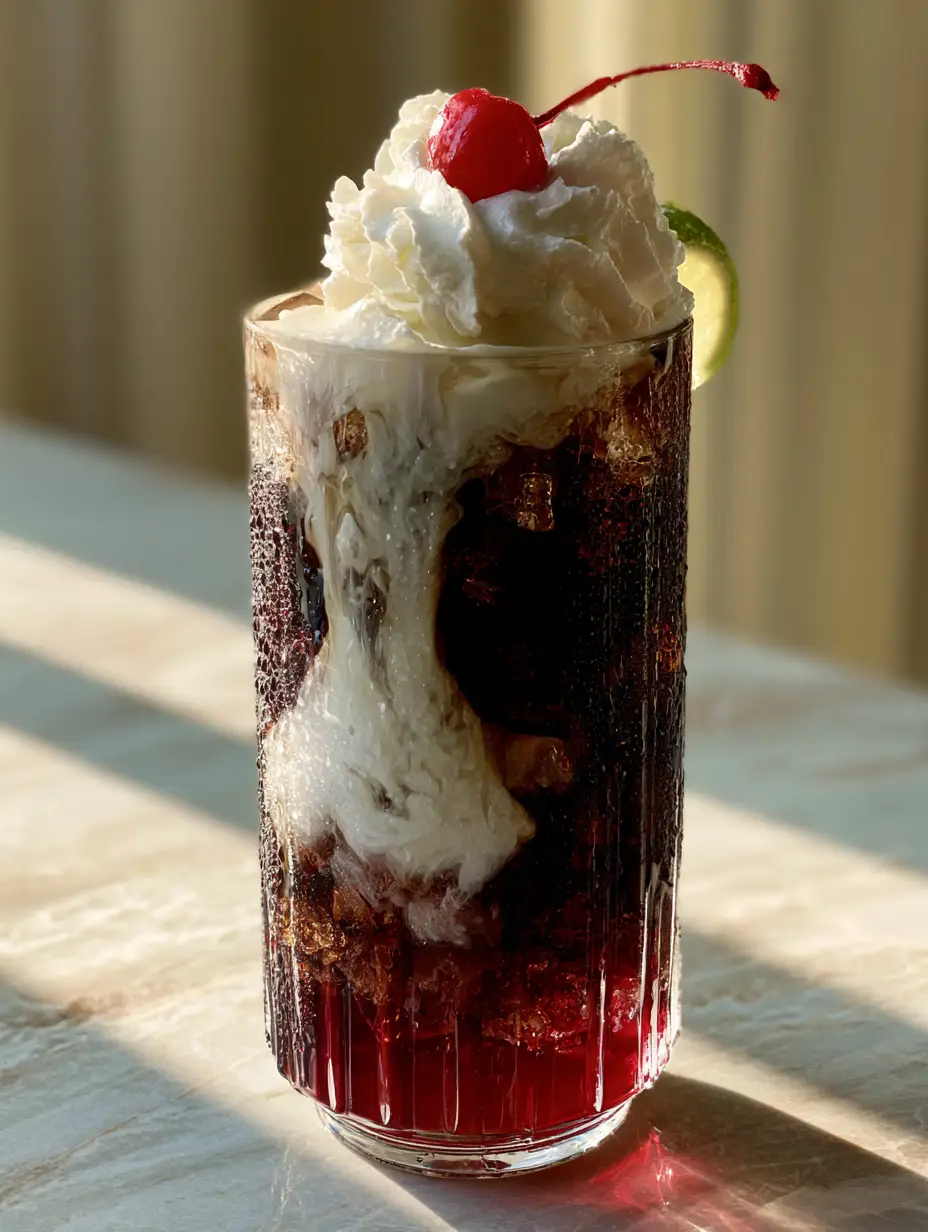
- Pour the heavy cream over the top and watch it marble down. Top with a swirl of whipped cream, the cherry, and a lime wedge.
Notes
Ensure all liquids are ice-cold before assembly to maintain carbonation.
Join the Community!
Did your cream swirls turn out perfectly? We want to see! Save this cherry vanilla soda recipe to your favorite Pinterest board so you never lose it. Follow @recipe_root for more viral drink inspirations.
If you made this, please share a photo in the comments below and leave a 5-star rating. Your feedback helps other home cooks find the best way to enjoy this decadent treat!