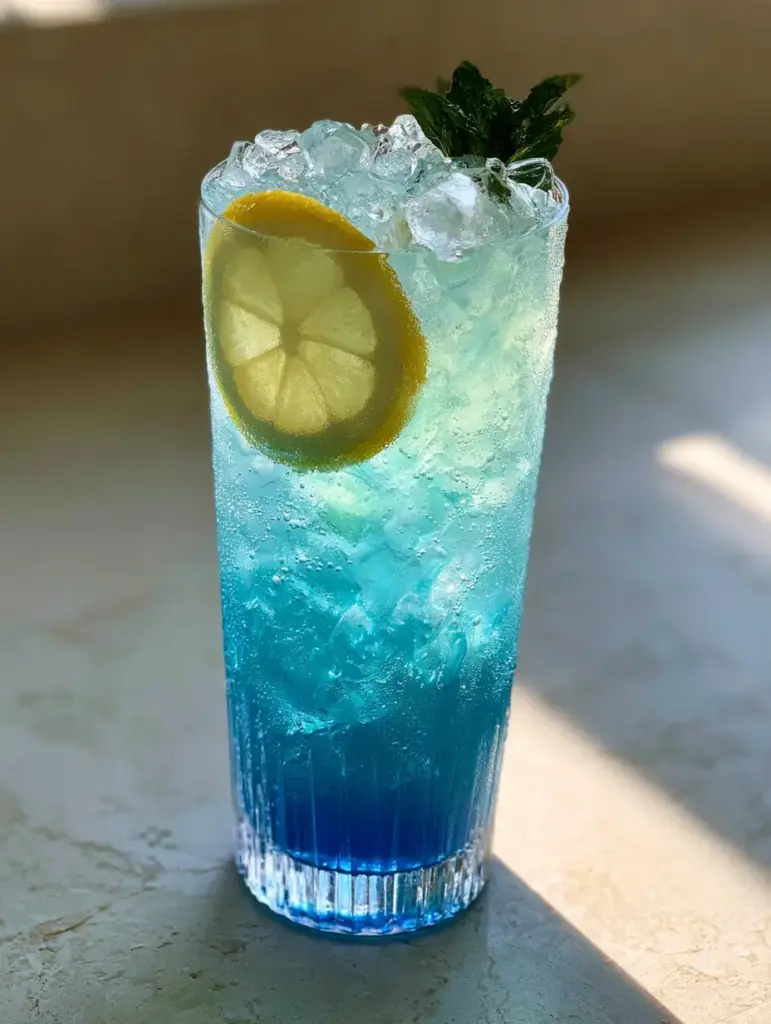
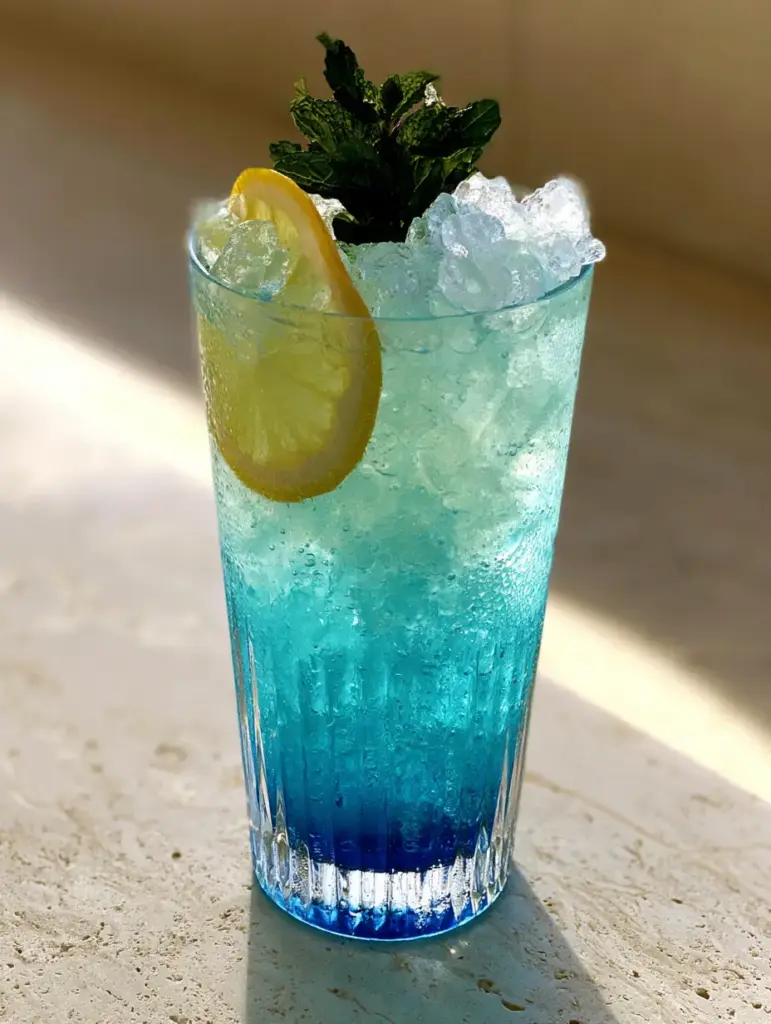
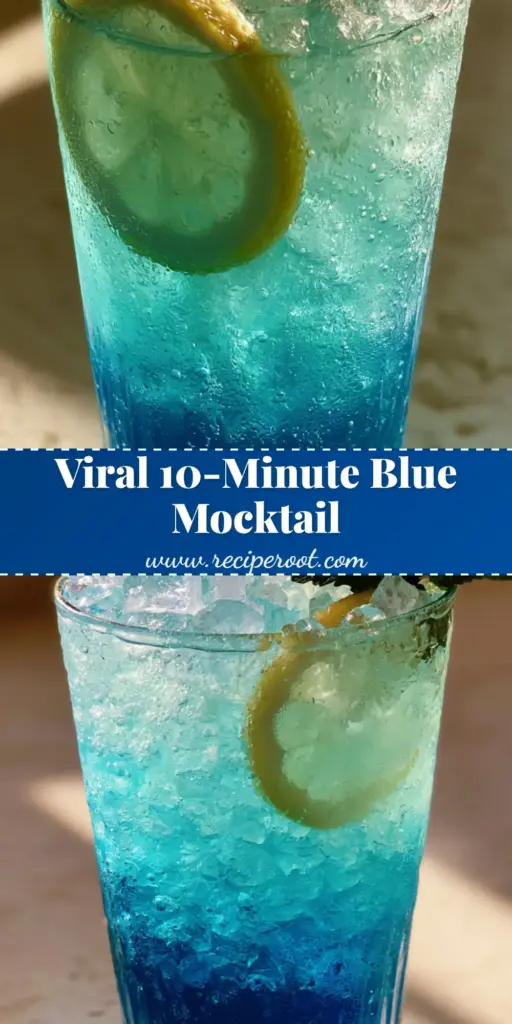
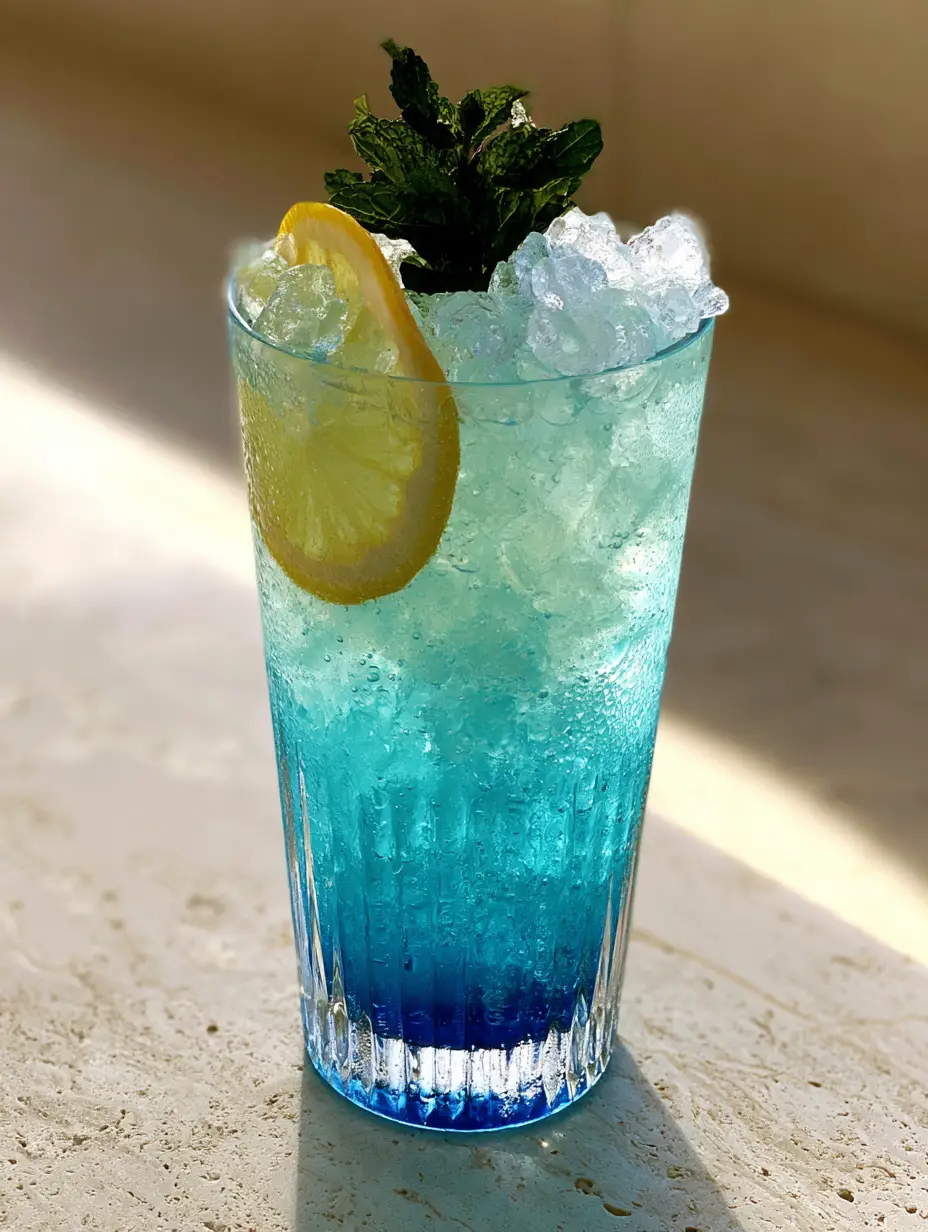
This Blue Mocktail is the show-stopping, non-alcoholic drink your next gathering needs. With its glowing electric blue hue and stunning ombre gradient, it looks like a high-end cocktail from a professional lounge. The secret lies in the density of the blue curacao syrup, creating a transition from deep sapphire at the base to a light, translucent turquoise at the top.
Whether you are hosting a summer garden party or just want a refreshing treat, this drink delivers on every level. It is crisp, citrusy, and perfectly carbonated. The crushed pebble ice acts as a crystal-clear foundation, catching the light and making the liquid glow against a neutral stone countertop.
If you love vibrant, Pinterest-worthy beverages, you might also enjoy our Blue Hawaii Mocktail for more tropical vibes. This recipe is designed to be as beautiful as it is delicious, complete with aromatic mint and zesty lemon.
Why You Will Crave This Electric Blue Refreshment
- Stunning Visual Ombre: A deep sapphire base that fades into a glowing turquoise.
- Perfect Texture: The use of crushed pebble ice provides the ultimate chilled mouthfeel.
- Balanced Flavor: Tangy fresh lemonade meets the sweet orange notes of non-alcoholic blue curacao.
- Effervescent Finish: Tiny carbonation bubbles from sparkling club soda keep the drink light and crisp.
- High-End Aesthetic: Served in a tall elegant ribbed glass for a modern, handheld smartphone photo look.
The Core Ingredients for the Perfect Blue Mocktail
Non-Alcoholic Blue Curacao Syrup: This is the soul of the drink. It provides the signature electric blue color and a sweet, orange-peel flavor profile. Ensure you use a high-quality syrup like Monin or Torani for the best color saturation.
Freshly Squeezed Lemonade: While store-bought works, fresh lemon juice mixed with a touch of simple syrup creates a brightness that cuts through the sweetness of the blue curacao. You will need about 4 oz (120ml) per glass.
Sparkling Club Soda: This provides the lift. The tiny carbonation bubbles are essential for the refreshing “zing” that balances the citrus. You can also use sparkling mineral water for a slightly different mineral profile.
Crushed Pebble Ice: Do not use standard cubes. Pebble ice (often called “nugget ice”) has more surface area, which helps maintain the ombre gradient and keeps the glass covered in delicate cold condensation droplets.
Garnish Essentials: You will need thin, yellow lemon slices (half-moons) and aromatic dark green mint sprigs. These aren’t just for looks; the mint scent hits you before the first sip, enhancing the sensory experience.
Expert Equipment: The Ribbed Glassware
To achieve the look seen in professional photography, a tall, elegant ribbed glass is highly recommended. The vertical ridges in the glass catch the morning sunlight, creating a luminous glow within the liquid. The ridges also help the condensation droplets cling to the glass, signaling to your brain that the drink is ice-cold.
If you don’t have ribbed glassware, any high-ball glass will work, but ensure it is clear glass to show off that sapphire-to-turquoise transition. If you’re planning a full dessert spread to match this aesthetic, consider pairing it with our strawberry cheesecake or perhaps some fudgy brownies for a decadent contrast.
Mastering the Ombre Pour: Step-by-Step Instructions
Step 1: The Sapphire Base
Start by pouring 1 oz (30ml) of the electric blue curacao syrup directly into the bottom of your empty ribbed glass. Do not stir. The goal is to keep this concentrated at the base to ensure the deep sapphire foundation remains intact.
Step 2: The Pebble Ice Foundation
Carefully fill the glass to the very brim with crushed pebble ice. Pack it in gently. The ice acts as a filter for the next layers, preventing them from mixing too quickly and ruining the gradient effect. You want the ice to look like crystal-clear diamonds packed against the glass.
Step 3: The Citrus Layer
Slowly pour 4 oz (120ml) of fresh lemonade over the back of a spoon onto the ice. By pouring over a spoon, you break the fall of the liquid, allowing it to sit on top of the blue syrup rather than churning it up. You will notice the middle of the glass start to turn a light translucent turquoise.
Step 4: The Carbonation Lift
Top the remaining space in the glass with sparkling club soda. The tiny carbonation bubbles will naturally carry a tiny bit of the blue pigment upward, completing the ombre transition. Watch for the condensation droplets to begin forming on the outside of the glass as the temperature drops.
Step 5: The Final Aromatics
Tuck a thin, half-moon slice of bright yellow lemon down the side of the glass, nestled against the ice. Take a sprig of dark green mint, slap it gently against your hand to release the oils, and tuck it into the top of the ice. The contrast of yellow and green against the glowing electric blue is stunning.
Success Tips for the Ultimate Blue Mocktail
- Chill Your Glassware: Place your ribbed glasses in the freezer for 10 minutes before serving. This creates instant, heavy condensation the moment the liquid hits the glass.
- The “Back of the Spoon” Trick: Always use a spoon to layer liquids. This is the secret to the professional ombre look that Pinterest users love to save.
- Use Filtered Water for Ice: If making pebble ice at home, use filtered water to ensure the ice is “crystal-clear” rather than cloudy.
- Balance the Tartness: If your lemonade is very tart, add a splash of simple syrup. The Blue Mocktail should be refreshing, not puckering.
Serving Suggestions & Pairings
This vibrant drink is best served immediately while the carbonation is at its peak. Because of its citrusy profile, it pairs beautifully with light, creamy desserts. We highly recommend serving it alongside raspberry white chocolate cupcakes or even cookie dough granola for a fun brunch setup.
For a themed party, you could create a “Blue and Pink” spread by serving this mocktail next to our strawberry shortcake cheesecake rolls. The visual contrast between the electric blue and the soft pinks is a guaranteed viral hit for social media.
Storage and Make-Ahead Advice
Because this drink relies on carbonation and a specific layered gradient, it cannot be made fully in advance. However, you can prep the components! Squeeze your lemons and store the juice in the fridge for up to 3 days. You can also pre-slice your lemon half-moons and keep them in a damp paper towel.
Can I freeze this? You can freeze the blue curacao syrup and lemonade mixture into ice cubes! This is a great way to prevent the drink from becoming watered down. Simply pop a few “blue cubes” into the glass before adding the club soda.
Frequently Asked Questions
Yes! You can use a sugar-free blue curacao syrup and replace the lemonade with a mixture of fresh lemon juice and a keto-friendly sweetener like erythritol.
The secret is layering by density. Pour the heavy syrup first, fill with ice, and then very slowly pour the lighter lemonade over the back of a spoon.
While traditional Blue Curacao is a liqueur, this mocktail uses the non-alcoholic syrup version, which is safe for all ages.
The vibrant color comes from non-alcoholic blue curacao syrup, which is a concentrated citrus-flavored syrup with a deep sapphire pigment.
Pebble ice (nugget ice) has a higher surface area that helps hold the liquid layers in place, maintaining the ombre gradient longer than large cubes.
The Official Glowing Blue Mocktail Recipe
Blue Mocktail: The Ultimate Glowing Electric Blue Ombre Lemonade
Ingredients
Equipment
Method
- Pour the blue curacao syrup into the bottom of a tall ribbed glass.
- Pack the glass to the top with crushed pebble ice, being careful not to stir the syrup.
- Slowly pour the lemonade over the back of a spoon onto the ice to create the turquoise transition.
- Fill the rest of the glass with sparkling club soda. Observe the tiny carbonation bubbles rising.
- Tuck the lemon slice and mint sprig into the ice. Serve immediately as condensation droplets form.
Notes
Use a straw to enjoy the layers as they naturally mix while you sip.
Share Your Blue Mocktail Masterpiece!
Did you achieve the perfect ombre gradient? We want to see! Please save this recipe to your Pinterest board so you never lose it. If you made this at home, take a photo and share it in the comments below. Don’t forget to leave a 5-star rating if you loved the refreshing citrus flavors. Follow @recipe_root for more aesthetically stunning drinks and treats!