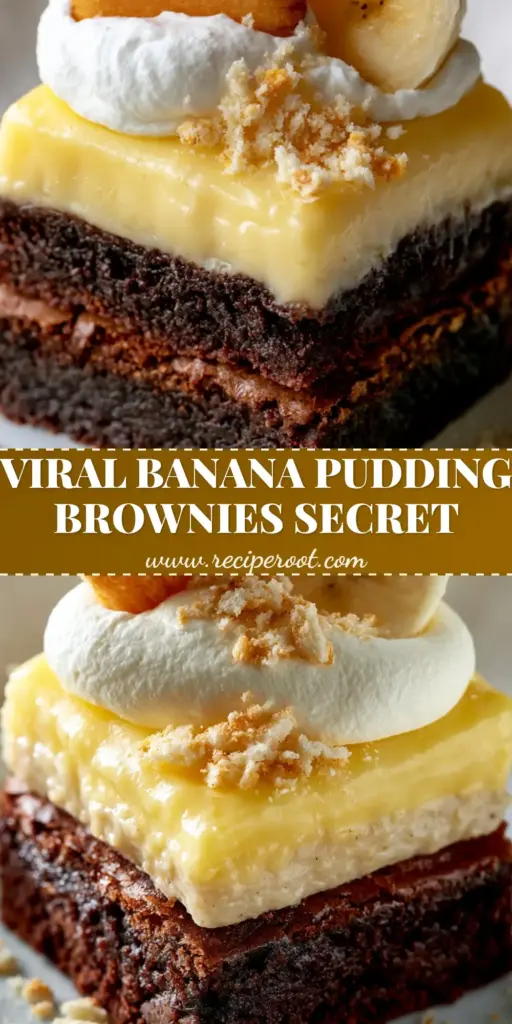
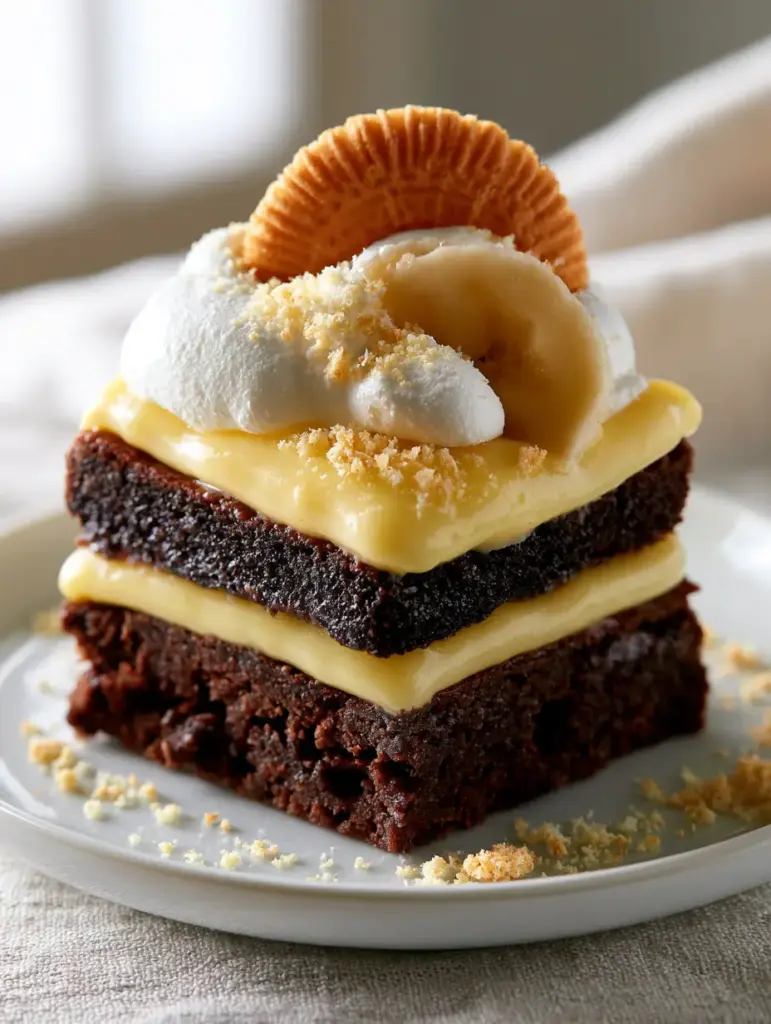
These banana pudding brownies are the viral dessert mashup you have been waiting for, combining a dense, dark chocolate base with the nostalgic comfort of Southern banana pudding. If you love the chewy edges of a gourmet brownie and the velvety texture of a stable vanilla custard, this recipe is designed specifically to stop the scroll. By layering these distinct textures, we create a vertical dessert masterpiece that looks just as incredible as it tastes.
Every bite of these banana pudding brownies delivers a symphony of flavors, from the rich cocoa to the crisp snap of a vanilla wafer. Unlike basic banana brownies, this version focuses on high-contrast layers that remain perfectly stable when sliced. Whether you are prepping for a bake sale or just craving a decadent weekend treat, this step-by-step guide ensures bakery-quality results every single time.
Why You Will Obsess Over These Layered Brownies
- Unmatched Texture Contrast: You get a dense, fudgy brownie base paired with a silky, stable custard layer that won’t slide off.
- Viral Visual Appeal: With clouds of whipped cream and golden Nilla Wafers, these are the definition of “Pinterest-perfect” desserts.
- Authentic Flavor Profile: We use real vanilla beans and fresh bananas to avoid that artificial “fake banana” taste found in many banana bars.
- Make-Ahead Friendly: These actually taste better after chilling, making them the perfect stress-free dessert for entertaining.
Essential Ingredients for Success
To achieve the “Forensic Visual Accuracy” of our blueprint, you need specific ingredients that provide both structure and flavor. Don’t skip the quality of your chocolate here!
The Fudgy Brownie Foundation
- Unsalted Butter (1 cup / 227g): Melted to create that signature chewy, fudgy texture.
- Granulated Sugar (2 cups / 400g): Essential for the crackly brownie top.
- Dark Cocoa Powder (1 cup / 100g): Provides the deep, dark contrast against the pale yellow pudding.
- All-Purpose Flour (1 cup / 125g): Just enough to provide structure without becoming cakey.
- Large Eggs (4): These act as the binder for our dense base.
The Stable Banana Pudding Custard
- Whole Milk (2 cups / 480ml): Provides the creamy base for our homemade custard.
- Egg Yolks (4): Crucial for a rich, “velvety” mouthfeel and natural yellow color.
- Cornstarch (1/4 cup / 30g): This is the secret to a stable layer that holds its shape when stacked.
- Fresh Bananas: Thinly sliced to provide moisture and authentic fruit flavor.
- Nilla Wafers: We use both whole cookies for the garnish and crushed crumbs for the “artistic sprinkle” effect.
How to Make the Perfect Banana Pudding Brownies
Step 1: Bake the Dense Cocoa Base
Preheat your oven to 350°F (175°C) and line a 9×9 inch (23x23cm) pan with parchment paper. In a large bowl, whisk your melted butter and sugar until combined. Add the eggs one at a time, followed by the cocoa powder and flour.
Visual Cue: The batter should be thick, glossy, and dark. Spread it evenly and bake for 25-30 minutes. You want the edges to be set but the center to remain slightly fudgy. Let this cool completely before adding the next layer.
Step 2: Whisk the Velvety Banana Custard
In a medium saucepan, whisk together the milk, sugar, cornstarch, and egg yolks. Heat over medium heat, stirring constantly with a silicone spatula. Do not rush this process! You are looking for the custard to thicken until it coats the back of a spoon.
Once thick, remove from heat and stir in a splash of vanilla. If you want that “handheld smartphone photo” aesthetic, ensure the pudding is smooth and free of lumps. Press a piece of plastic wrap directly onto the surface of the pudding to prevent a skin from forming as it cools to room temperature.
Step 3: The Assembly and Chill Factor
Spread a thin layer of the stable custard over the cooled brownie. Add a single layer of fresh banana slices. Pour the remaining custard over the bananas, smoothing it out to the edges.
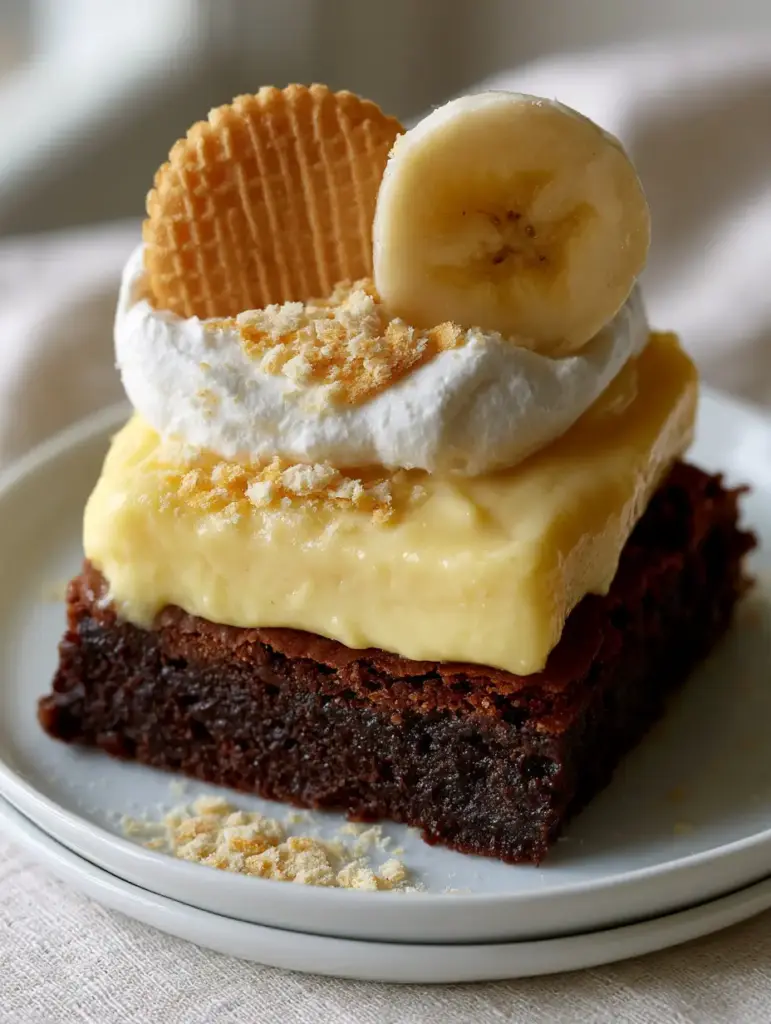
Place the pan in the refrigerator for at least 4 hours (ideally overnight). This setting time is what allows you to cut those “perfectly square” stacks seen in the photos. If you try to cut them early, the layers will bleed into each other, resembling banana cream pudding cookies rather than structured bars.
Expert Tips for Bakery-Style Stacks
- The Hot Knife Trick: For clean, sharp edges, dip a large chef’s knife in hot water and wipe it dry between every single cut.
- Avoid Soggy Wafers: Only add the whole Nilla Wafers and crushed crumbs right before serving to maintain their crunch.
- Banana Ripeness: Use “cheetah spotted” bananas for the best flavor, but ensure the slices used for garnish are firm so they don’t brown too quickly.
- Stable Whipped Cream: If making ahead, use a stabilized whipped cream (adding a touch of powdered sugar or gelatin) so the swirls don’t deflate.
Storage and Freezing Instructions
Store your banana pudding brownies in an airtight container in the refrigerator for up to 3 days. Because of the fresh dairy and bananas, they do not sit well at room temperature for more than 2 hours.
We do not recommend freezing the fully assembled brownie, as the custard and fresh bananas will change texture upon thawing. However, you can bake the brownie base in advance and freeze it for up to 3 months.
What to Serve With These Brownies
These are incredibly rich, so they pair best with something that cuts through the sweetness. A hot banana pudding latte is the ultimate thematic pairing. If you want to stay on the fruit track, a strawberry banana smoothie offers a refreshing contrast to the dense chocolate.
Frequently Asked Questions
Yes, you can use a boxed ‘fudgy’ brownie mix, but ensure you bake it in a 9×9 pan to maintain the height needed for the stable custard layer.
Fresh bananas provide the best texture and authentic flavor. If you are worried about browning, toss the slices in a little lemon juice before layering them.
The secret is the cornstarch and egg yolk ratio. Cook the custard until it is very thick and let it chill for at least 4 hours to fully set.
Ensure the brownie base is completely cooled before adding the custard. Also, only add the vanilla wafer garnish right before serving so they maintain their crunch.
They are best within 48 hours but will stay fresh in an airtight container for up to 3 days. The bananas may begin to soften after the first day.
Recipe Card: Handcrafted Banana Pudding Brownies
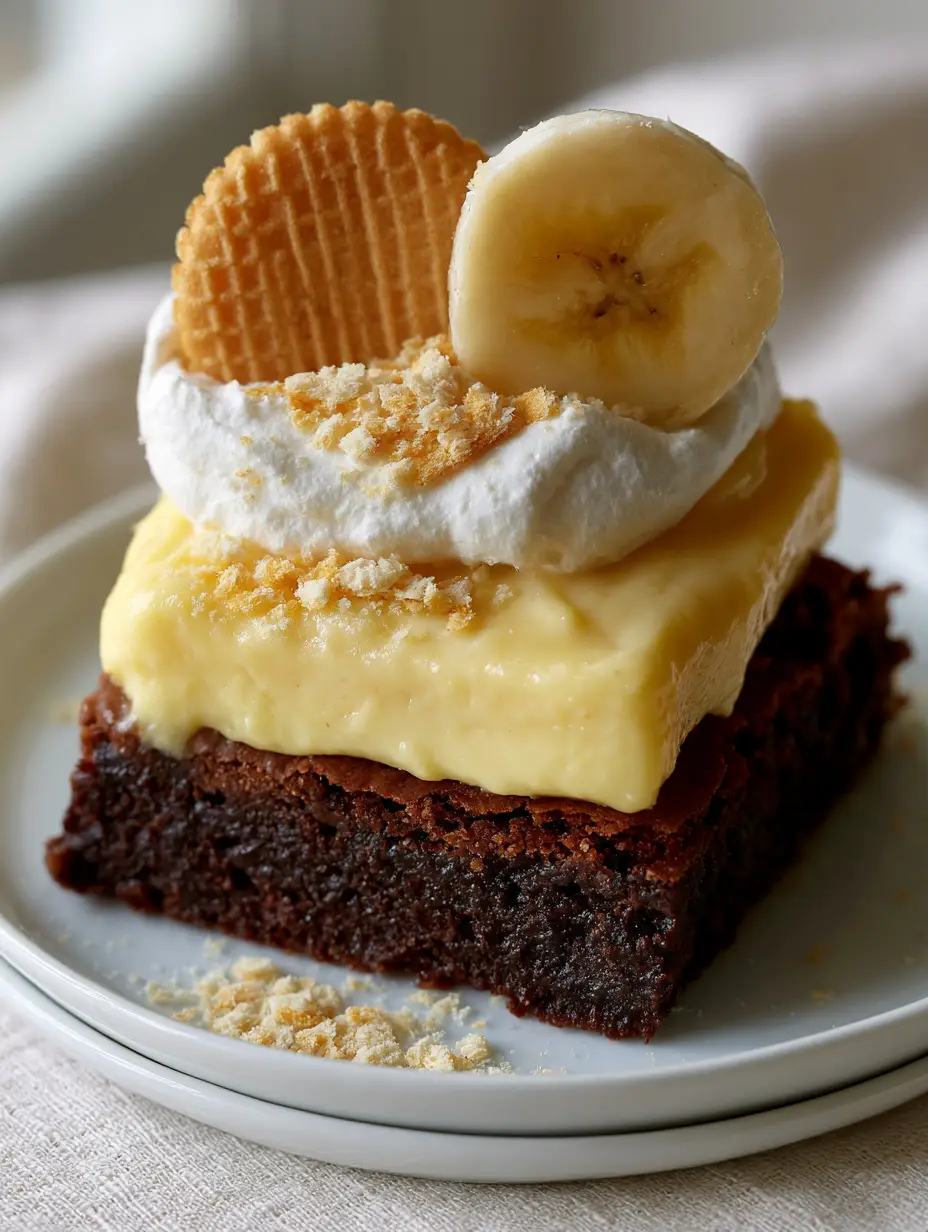
Banana Pudding Brownies: The Ultimate Fudgy Layered Dessert
Ingredients
Equipment
Method
- Whisk melted butter and sugar. Add eggs, cocoa, and flour. Bake at 350°F (175°C) for 25-30 minutes. Cool completely.
- Whisk milk, yolks, sugar, and cornstarch over medium heat until thick. Let cool to room temperature.
- Layer pudding over brownies with sliced bananas. Chill for 4 hours. Top with whipped cream, wafers, and crumbs before serving.
Notes
Wait to add wafers until serving to keep them crunchy.
Join the Community!
Did you make these banana pudding brownies? I want to see your stacks! Pin this recipe to your Dessert Recipes board on Pinterest so you never lose it. Follow @recipe_root for more viral treats, and if you loved this, please leave a 5-star rating and a photo of your creation in the comments below!