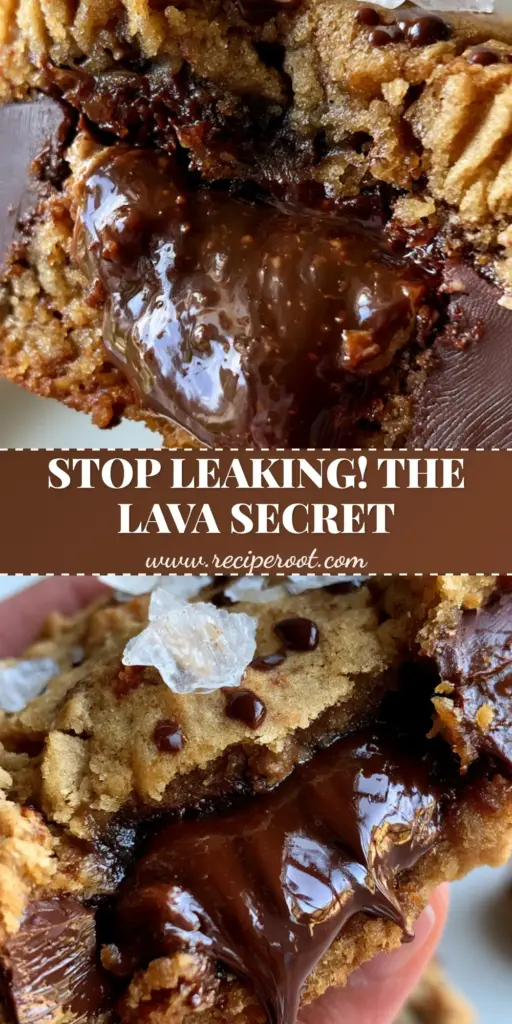
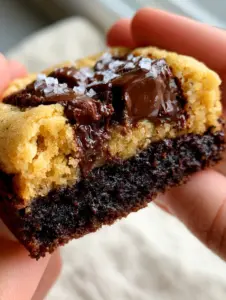
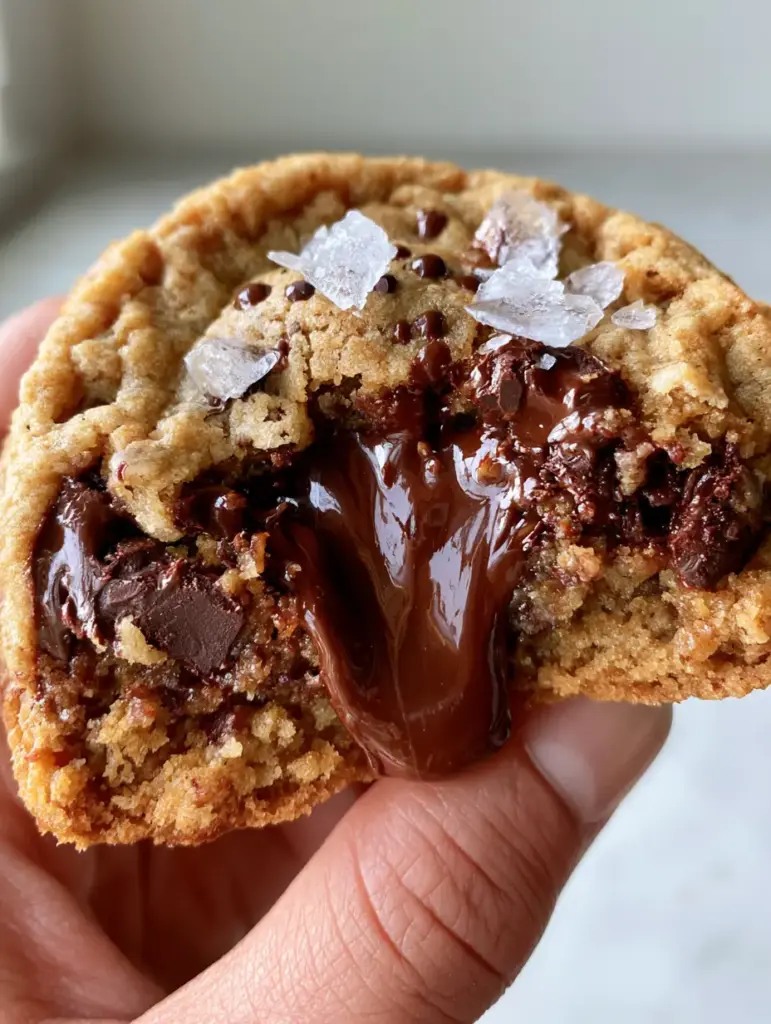
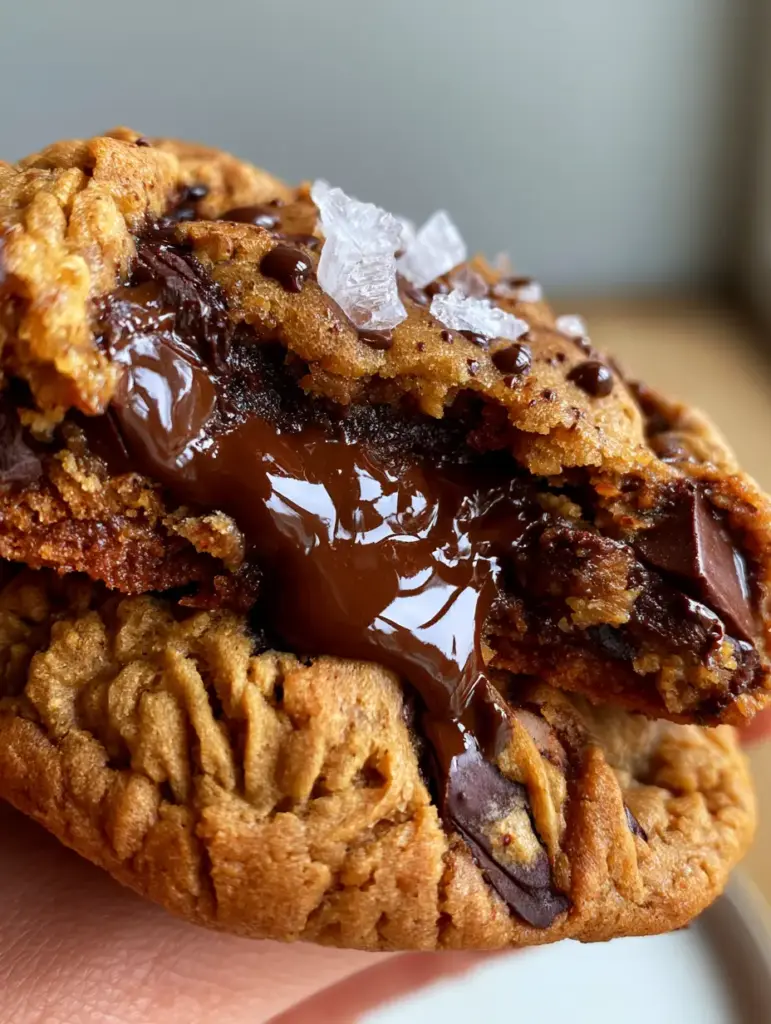
There is a specific, almost cinematic magic that happens when you pull apart a warm, thick cookie and witness a slow-motion cascade of glossy chocolate. These chocolate stuffed cookies aren’t just a dessert; they are a structural masterpiece designed for the ultimate sensory experience. Imagine a deeply textured, golden-brown crust that shatters slightly upon touch, revealing a soft, buttery interior and a hidden reservoir of molten dark chocolate.
The visual of a handheld cookie, broken in half to expose a viscous, oozing core, has become the gold standard of gourmet baking. To achieve this, we move beyond basic dough and into the realm of culinary engineering. By combining the toasted notes of brown butter with a high-viscosity chocolate-hazelnut center, we create a cookie that looks exactly like a high-end editorial photograph.
Whether you are baking for a special occasion or simply trying to master the art of the “cookie pull,” this recipe provides the blueprint. We will focus on creating those signature crags and ripples while ensuring the lava core remains liquid long after the cookies leave the oven. Get ready to elevate your baking game with the most decadent chocolate stuffed cookies you have ever tasted.
Why These Molten-Center Masterpieces Outshine Every Other Recipe
- The Dual-Texture Dough: A precise ratio of sugars creates a crisp, toasted outer edge that transitions into a soft, underbaked-style dough interior.
- The “Lava” Technology: We use a specialized freezing technique for the filling to ensure it stays molten and heavily oozing rather than soaking into the dough.
- Visual Forensics: Every element, from the semi-sweet dark chocolate chunks to the large Maldon sea salt flakes, is chosen to create a high-contrast, gourmet aesthetic.
- Scientifically Backed Structure: This recipe utilizes chilled dough and specific leavening agents to prevent spreading, resulting in a thick, “bakery-style” height.
The Anatomy of Gourmet Chocolate Stuffed Cookies: Essential Ingredients
Unsalted Butter (1 cup / 227g): We will brown this butter to provide a nutty, toasted flavor profile that complements the dark chocolate. The water evaporation during browning ensures a denser, more professional cookie texture.
Brown Sugar (1 cup / 200g) & Granulated Sugar (1/2 cup / 100g): The high proportion of brown sugar provides the necessary moisture and molasses notes for a soft interior. The granulated sugar aids in creating those crisp, golden-brown toasted edges.
Large Eggs (2, room temperature): Eggs provide the structural protein needed to hold the molten core in place. Using room temperature eggs ensures the emulsion with the fats is seamless and smooth.
All-Purpose Flour (3 cups / 360g): This provides the foundational “chassis” for our cookie. Measured by weight, it ensures the dough is thick enough to prevent the chocolate lava from leaking during the bake.
Dark Chocolate-Hazelnut Spread or Ganache (12 tbsp / 180ml): This is the secret to the “highly viscous molten lava core.” When frozen into discs before stuffing, it maintains its integrity while the surrounding dough bakes.
Semi-Sweet Chocolate Chunks (1.5 cups / 250g): Unlike standard chips, large hand-cut chunks create those beautiful “pools” of melted chocolate visible on the surface. They add to the “crags and ripples” texture described in the visual blueprint.
Maldon Sea Salt Flakes (for garnish): These large crystalline flakes provide a sharp salt hit that balances the richness of the dark chocolate. They also add a professional, artisanal finish to the visual presentation.
Baking Soda (1 tsp / 5g) and Salt (1/2 tsp / 3g): Foundations of chemistry. The soda aids in browning (the Maillard reaction), while the fine salt enhances the cocoa notes within the dough itself.
Professional Tools for the Perfect Cookie Structure
To achieve the “thick gourmet” look seen in the smartphone photography style, you need the right tools. A heavy-duty stand mixer or electric hand mixer is essential for properly creaming the butter and sugars to aerate the dough slightly.
A large cookie scoop (about 3 tablespoons in size) ensures every cookie is uniform, which is vital for even baking times. You will also need a silicone baking mat (Silpat) or high-quality parchment paper to prevent the bottoms from over-browning before the center is ready.
Finally, a small tray that fits in your freezer is mandatory. The “lava” cores must be frozen solid before they are wrapped in dough, or they will simply melt into the cookie, losing that distinct oozing effect.
Step-by-Step Evolution of the Ultimate Stuffed Cookie
Preparing the Molten Lava Cores
Line a small tray with parchment paper. Spoon 12 individual tablespoons (15ml each) of chocolate-hazelnut spread or a thick dark chocolate ganache onto the tray. Place this in the freezer for at least 1 hour until the dollops are rock hard and can be handled without melting.
Browning the Butter for Maximum Flavor
Place your butter in a light-colored saucepan over medium heat. Melt the butter, then continue cooking, whisking constantly as it foams. Look for the “visual cue” of small golden-brown specks settling at the bottom and a nutty aroma; immediately remove from heat and let cool for 15 minutes.
Constructing the High-Texture Dough
In your mixer, combine the cooled brown butter with both sugars. Beat on medium-high for 2-3 minutes until the mixture looks like wet sand. Add the eggs one at a time, followed by a splash of vanilla, beating until the mixture is pale and slightly fluffy.
Fold in your flour, baking soda, and fine salt using a spatula. Once just combined, toss in the semi-sweet chocolate chunks. The dough should be thick, heavy, and deeply textured. If it feels too soft, chill the entire bowl for 20 minutes before the next step.
The Art of Stuffing and Shaping
Take a large scoop of dough (about 60g) and flatten it in your palm. Retrieve your frozen chocolate cores from the freezer. Place one frozen core in the center of the dough disc and carefully wrap the dough around it, ensuring there are no cracks or thin spots where the lava could escape.
Roll the ball gently between your palms, but do not make it perfectly smooth. We want those “crags and ripples” on the surface. Place the stuffed dough balls on a tray and chill them in the refrigerator for at least 2 hours. This prevents the cookies from spreading too thin in the oven.
Baking to Golden-Brown Perfection
Preheat your oven to 350°F (175°C). Space the cookies at least 3 inches apart on your baking sheet. Bake for 11-13 minutes. Look for the “visual cue”: the edges should be toasted and a deep golden-brown, while the centers still look slightly soft and pale.
As soon as you remove the tray from the oven, sprinkle a generous pinch of Maldon sea salt flakes over each cookie. Let them rest on the hot tray for 5-10 minutes. This “carry-over cooking” finishes the interior dough while keeping the center in its liquid, molten state.
Expert Tips for Bakery-Quality Results
- The Freezer is Your Friend: Never skip the freezing of the filling or the chilling of the dough. Heat is the enemy of a thick, stuffed cookie.
- Don’t Overbake: If the centers look fully “set” in the oven, you have gone too far. They should look a bit underdone to ensure that “soft dough interior” described in the blueprint.
- Create the Crags: For that “gourmet textured” look, pull the dough balls apart and smash them back together before baking to create irregular ridges on top.
- Quality Chocolate Matters: Use chocolate with a high cocoa butter content. This ensures the “tiny droplets of chocolate oil” and “glossy” appearance in the molten flow.
Mastering the Storage and Reheating Process
These chocolate stuffed cookies are best enjoyed warm, within 20 minutes of baking, to experience the full molten effect. However, you can store cooled cookies in an airtight container at room temperature for up to 3 days.
To revive the lava center, microwave a single cookie for 10-15 seconds. This gently thaws the chocolate core back to its oozing state without overcooking the surrounding dough. You can also freeze the unbaked, stuffed dough balls for up to 3 months; simply bake them directly from the freezer, adding 2-3 minutes to the total bake time.
The Perfect Pairings for Your Decadent Cookies
A cookie this rich demands a thoughtful pairing. To stay within the dessert realm, consider serving these alongside our caramel-filled cookies for a comparative tasting of stuffed confections. If you enjoy the contrast of fruit and chocolate, these are spectacular when followed by strawberry chocolate chip muffins the next morning.
For a sophisticated evening pairing, the deep cocoa notes in the chocolate stuffed cookies pair beautifully with a dark, fruit-forward drink like our strawberry rum cocktails. The acidity of the berries cuts through the heavy, viscous chocolate perfectly. If you are hosting a party, a spread featuring these cookies and some bakery-style brookies will satisfy every chocolate lover in the room.
Frequently Asked Questions
Yes! Stuffed dough balls freeze perfectly. Bake them directly from the freezer at 350°F (175°C), adding about 2-3 extra minutes to the bake time.
Regular chips are designed to hold their shape. For a truly molten, oozing center, use a chocolate-hazelnut spread or a ganache made with heavy cream and high-quality dark chocolate.
Don’t roll the dough balls too smoothly. Pull the dough apart and piece it back together irregularly, or ‘scuff’ the surface with a fork before baking to create texture.
This usually happens if the dough was too thin around the core or if the ‘lava’ dollop wasn’t frozen solid. Ensure you have a thick, even layer of dough and that the filling is rock-hard before stuffing.
Brown butter removes water and toasts the milk solids, providing a deeper, nutty flavor and a more professional, dense texture that supports a heavy stuffed center.
The Ultimate Chocolate Stuffed Cookies Recipe
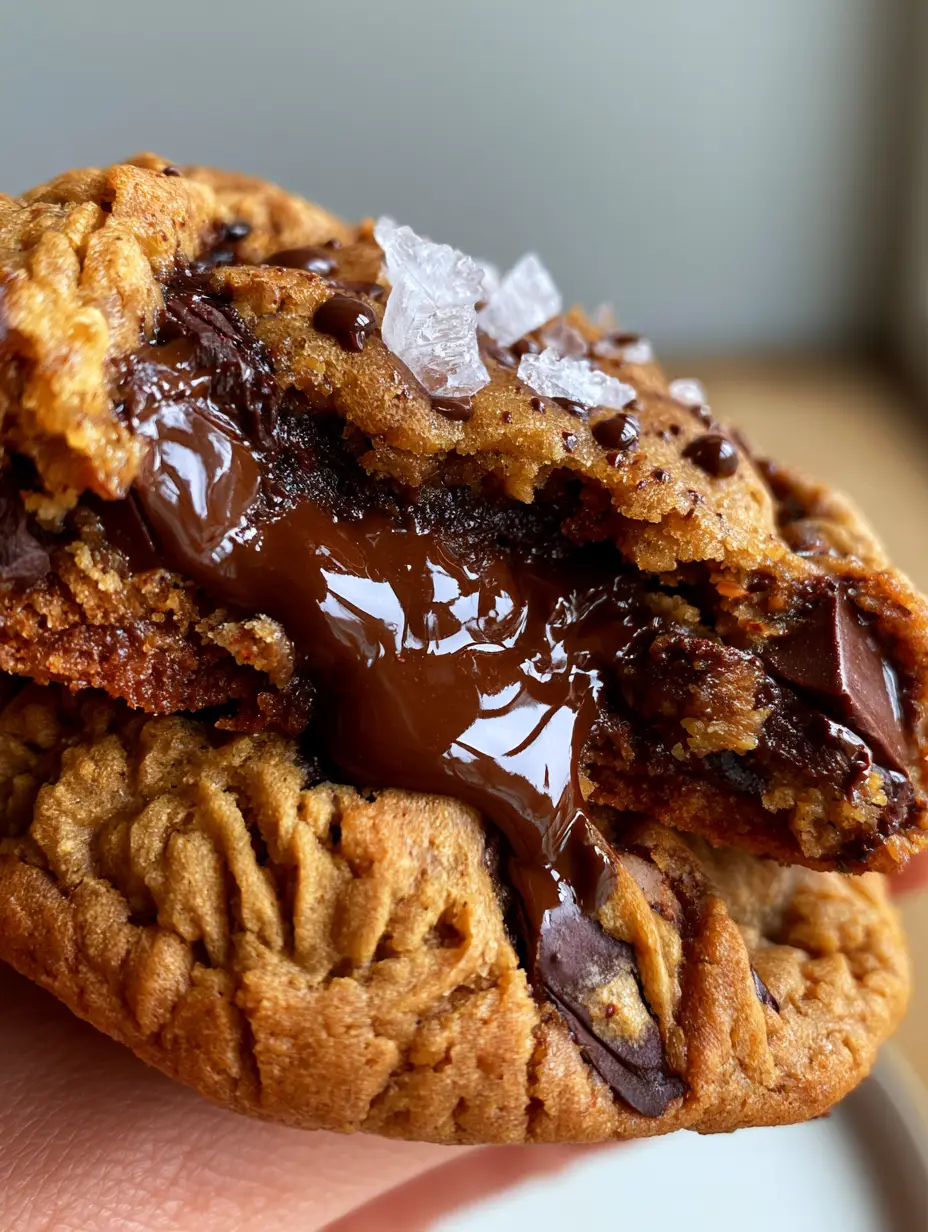
Chocolate Stuffed Cookies with Molten Dark Chocolate Lava Centers
Ingredients
Equipment
Method
- Spoon 12 dollops of chocolate-hazelnut spread onto a tray and freeze for 1 hour until solid.
- Melt butter in a pan, cooking until golden-brown specks appear and it smells nutty. Cool for 15 minutes.
- Mix browned butter and sugars for 3 minutes. Add eggs and beat until fluffy.
- Slowly add flour and chocolate chunks until a thick, textured dough forms.
- Wrap 60g of dough around each frozen chocolate core, ensuring no leaks. Chill dough balls for 2 hours.
- Bake at 350°F (175°C) for 11-13 minutes until edges are golden and centers are soft. Top with Maldon salt.
Notes
Chilling the dough is essential to maintain the thick, gourmet structure.
Share the Love and Join the Baking Community
We hope these chocolate stuffed cookies bring a touch of gourmet magic to your kitchen. There is nothing quite like the feeling of breaking open a warm cookie and seeing that perfect molten flow. If you made this recipe, we would love to see your results! Tag us in your photos and let us know how the “lava” turned out.
For more decadent treats and professional baking secrets, be sure to sign up for our newsletter and follow us on Pinterest. Your support helps us continue to develop scientifically-backed, visually stunning recipes for home cooks everywhere. Happy baking!