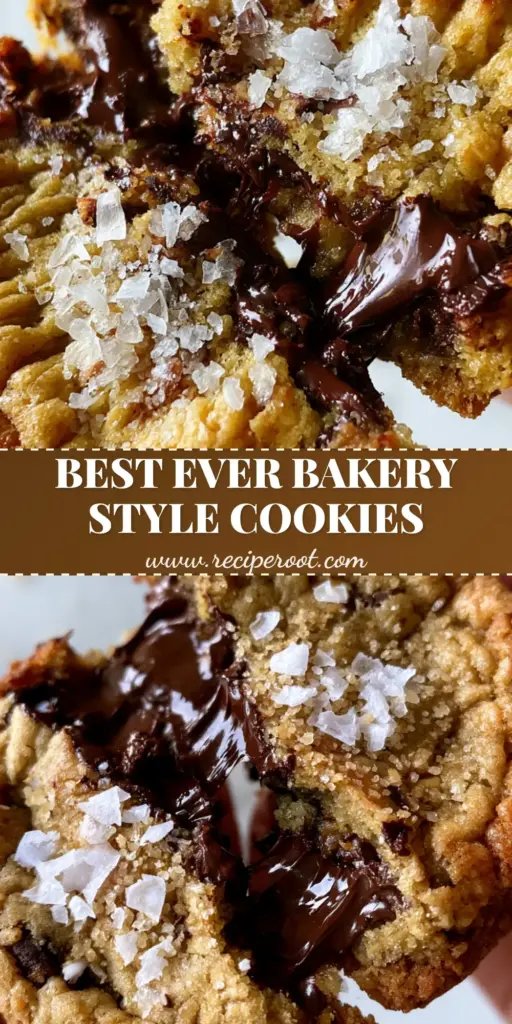
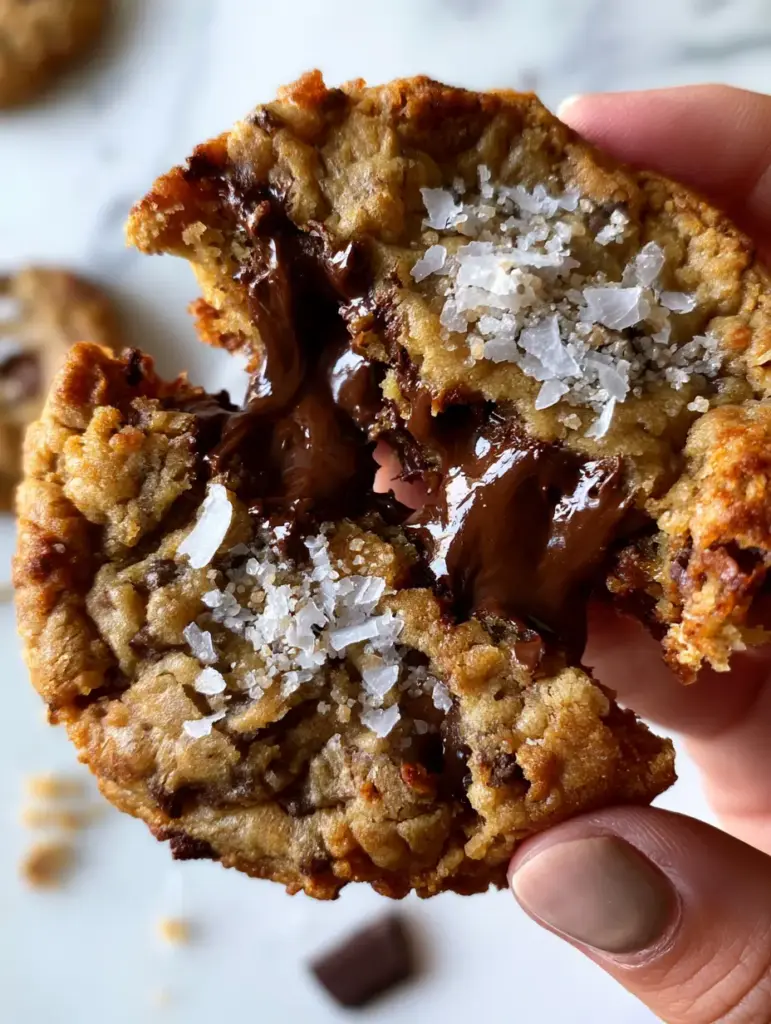
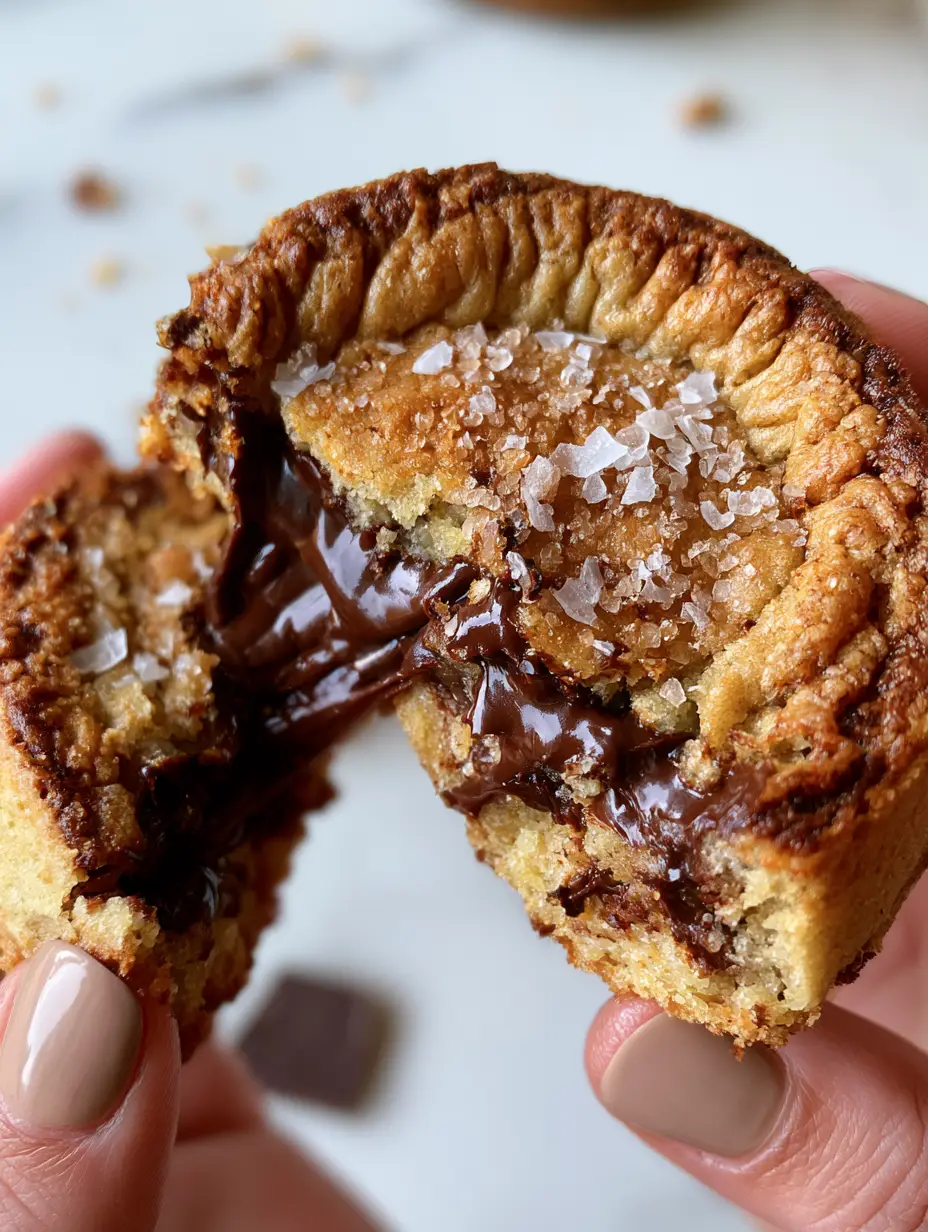
There is a specific, visceral magic in the perfect cookie that most recipes simply fail to capture. You know the one: it is thick, heavy in your hand, and features a deeply crinkled, rippled top that shimmers with coarse sugar and flakes of Maldon sea salt. When you pull it apart, the center is unapologetically gooey, revealing molten rivers of dark chocolate that stretch and pull in the soft, warm light of your kitchen.
To create the best chocolate chip cookies, we have to move beyond the back-of-the-bag instructions and enter the realm of culinary forensics. This isn’t just a snack; it is an engineered marvel of texture and flavor. We are combining the nutty, toasted depth of browned butter with the sophisticated bitterness of hand-chopped dark chocolate chunks to create a bakery-style masterpiece that looks exactly like a high-end editorial photograph.
Whether you are a seasoned baker or a curious novice, this recipe is designed to yield a result that is visually stunning and scientifically superior. From the caramelized, crisp edges to the semi-baked, melt-in-your-mouth core, every element has been calibrated for the ultimate sensory experience. Prepare your kitchen for the aroma of toasted butter and vanilla—it’s time to bake the only cookie recipe you will ever need.
The Anatomy of a Bakery-Style Masterpiece: What Makes These the Best?
- The Brown Butter Base: Unlike softened butter, browned butter (beurre noisette) provides a toasted, toffee-like foundation that elevates the entire flavor profile.
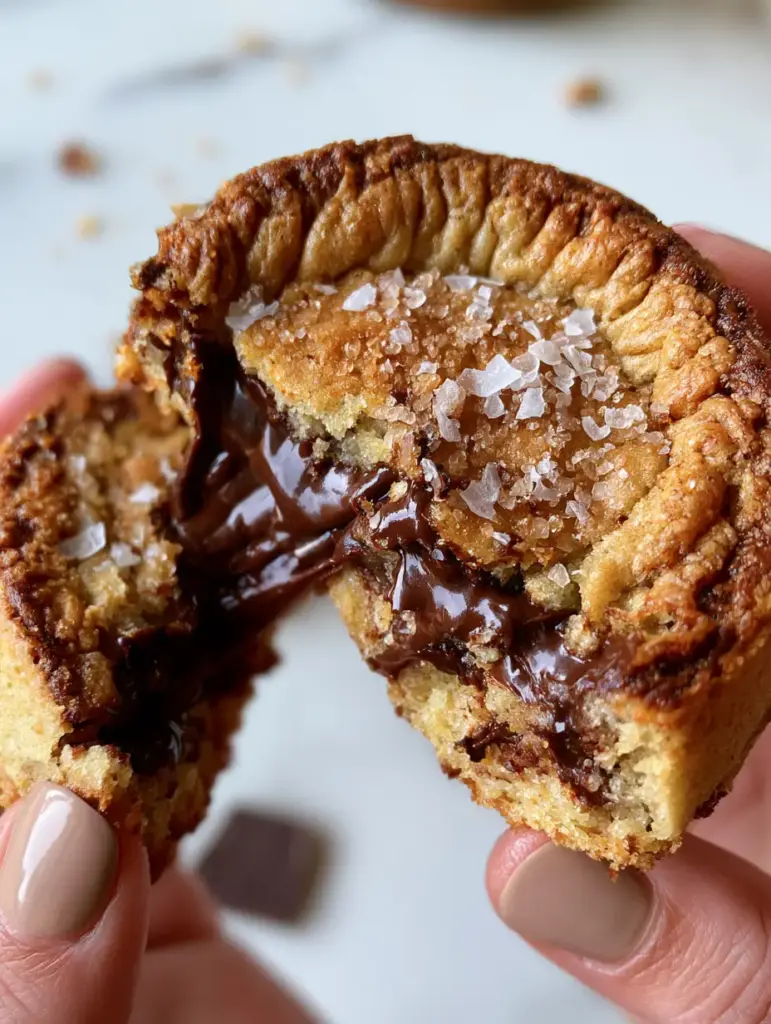
- Textural Contrast: We achieve a “tri-texture” result: a crisp, caramelized outer rim, a soft and rippled top, and a molten, gooey center.
- Hand-Chopped Dark Chocolate: By eschewing standard chips for high-quality dark chocolate bars, we create “molten pools” rather than distinct, waxy pebbles.
- Visual Finishing: A dual-layer of coarse sugar crystals and large, flat flaky sea salt crystals provides a professional, “handheld POV” aesthetic.
- The Crinkle Factor: Specific moisture control and pan-banging techniques create those iconic ripples across the golden-brown surface.
Essential Ingredients for the Best Chocolate Chip Cookies
Unsalted European-Style Butter (1 cup / 227g): High-fat butter is essential here because we are going to evaporate the water content to create brown butter. This process intensifies the fats and toasts the milk solids for a nutty aroma.
Dark Chocolate Bars, 70% Cacao (8 oz / 225g): Forget the bags of chips; we need hand-chopped chunks. Chunks melt into puddles, creating that “molten stretch” seen in professional food photography.
Dark Brown Sugar (1 cup / 200g, packed): The high molasses content in dark brown sugar is responsible for the chewy texture and the deep, caramelized edges of the cookie.
Granulated White Sugar (½ cup / 100g): This is the key to the crinkle top. White sugar aerates the dough and helps the edges crisp up during the Maillard reaction.
All-Purpose Flour (2 ¼ cups / 280g): This provides the necessary structure. Ensure you measure by weight or use the “spoon and level” method to avoid a cakey, dry cookie.
Large Eggs (2, at room temperature): Eggs provide emulsification. Using room temperature eggs ensures they incorporate smoothly into the warm brown butter and sugar mixture.
Vanilla Bean Paste or Extract (1 tbsp / 15ml): Vanilla is the “salt” of the dessert world; it amplifies the chocolate. Paste is preferred for those beautiful tiny black flecks in the dough.
Baking Soda (1 tsp / 5g): This leavening agent reacts with the acidic brown sugar to create lift and promotes the browning of the crust.
Fine Sea Salt (1 tsp / 6g): This goes inside the dough to balance the sweetness. Do not skip this, as it is foundational to the flavor depth.
Maldon Flaky Sea Salt (For topping): These large, flat crystals provide a burst of salinity that cuts through the rich dark chocolate chunks.
Coarse Sparkling Sugar (1 tbsp / 15g): These tiny granules catch the light on the crinkled surface and provide a subtle, delightful crunch to every bite.
Professional Tools for Perfect Results
To achieve that thick, bakery-style look, a few specific tools are non-negotiable. First, a heavy-bottomed stainless steel saucepan is required for browning the butter; the light-colored bottom allows you to monitor the milk solids as they turn from gold to amber. A digital kitchen scale is also vital, as flour volume varies wildly by cup.
You will also need a large baking sheet (or two) and high-quality parchment paper to prevent sticking and ensure even heat distribution. For the “rippled” look, a circular cookie cutter slightly larger than the cookies themselves is a secret industry trick used to “scoot” the cookies into perfect circles immediately after they exit the oven.
Step-by-Step Instructions: Engineering the Perfect Ripple
The Foundation: Browning the Butter
In your stainless steel saucepan, melt the 1 cup (227g) of butter over medium heat. Once melted, the butter will begin to foam and pop—this is the water evaporating. Stir constantly with a heat-proof spatula. Watch for the visual cue: the butter will turn a deep amber color, and you will see tiny brown bits (toasted milk solids) at the bottom. Immediately remove from heat and pour into a large, heat-safe mixing bowl, scraping every brown bit out. Let it cool for 10 minutes.
The Emulsion: Sugars and Aromatics
Add the 1 cup (200g) of dark brown sugar and ½ cup (100g) of white sugar to the warm brown butter. Whisk vigorously for 2 minutes. The mixture should look like wet sand. Add the 2 room-temperature eggs and 1 tbsp (15ml) of vanilla. Whisk for another 2-3 minutes until the mixture lightens in color and becomes slightly thickened and glossy. This “ribbon stage” is what creates the shiny, crinkled top.
The Structure: Folding the Dry Ingredients
Sift the 2 ¼ cups (280g) of flour, 1 tsp (5g) of baking soda, and 1 tsp (6g) of fine sea salt directly into the wet ingredients. Use a spatula to gently fold the mixture together until only a few streaks of flour remain. Do not overmix, as this develops gluten and will make your cookies tough instead of soft and gooey.
The Inclusion: Molten Dark Chocolate Chunks
Gently fold in your 8 oz (225g) of hand-chopped dark chocolate. Ensure you include the “chocolate dust” from the cutting board—these tiny shards will melt into the dough, creating a marbled effect. Cover the bowl and refrigerate for at least 30 minutes. This chilling period allows the flour to hydrate and prevents the cookies from spreading too thin in the oven.
The Bake: Heat and Texture Cues
Preheat your oven to 375°F (190°C). Scoop large mounds of dough (about 3 tbsp / 60g each) onto your parchment-lined sheet, spaced 3 inches apart. Bake for 9-11 minutes. Look for the sensory cues: the edges should be a deep caramelized golden-brown, while the centers still look slightly “underdone” and soft. Halfway through baking, lift the pan and gently drop it against the oven rack—this “pan-banging” creates the rippled, crinkled surface.
The Finish: Salt and Sugar Crystals
Immediately upon removing the pans from the oven, sprinkle the tops generously with Maldon flaky sea salt and the coarse sugar crystals. If the cookies are misshapen, use a large circular cutter to “scoot” them into perfect rounds while they are still soft. Let them cool on the pan for 10 minutes to allow the “semi-baked” center to set into a fudgy consistency.
Expert Tips for Success
- Quality Matters: Use a chocolate bar you would actually eat on its own. The flavor of the chocolate is the star here.
- The Temperature Hack: If your dough is too warm, the butter will leak out. If it’s too cold, it won’t ripple. 30-60 minutes of chilling is the “sweet spot.”
- Don’t Overbake: The cookies will continue to cook on the hot baking sheet. Pull them out when the centers still look a bit “wet.”
- Measure by Weight: A “cup” of flour can vary by up to 30 grams depending on how it’s packed. Use a scale for the best chocolate chip cookies every single time.
The Ideal Shelf Life and Reheating Secrets
These cookies are best enjoyed warm, about 15 minutes after baking, when the chocolate is at its most molten. However, they will stay soft and chewy for up to 4 days if stored in an airtight container at room temperature. To restore that “freshly baked” gooey center, microwave a single cookie for 8-10 seconds before serving.
You can also freeze the pre-scooped dough balls for up to 3 months. When the craving hits, bake them directly from the freezer at 350°F (175°C) for an extra 2-3 minutes. This is the best way to ensure you always have a bakery-quality dessert on hand for guests.
What to Serve With These Decadent Cookies
While a tall glass of cold milk is the traditional choice, these sophisticated cookies pair beautifully with a variety of textures. For a full dessert spread, consider serving them alongside our creamy banana pudding or perhaps some chocolate caramel cheesecake bites for a truly indulgent experience.
If you’re looking for more cookie variations, you might enjoy comparing these to our classic chocolate chip cookies or the ultra-soft texture of our soft batch chocolate chip cookies. For a holiday twist, try the pumpkin snickerdoodle cookies which offer a different kind of spiced warmth.
Frequently Asked Questions
While you can, chopped bars are preferred because they contain less stabilizers, allowing them to melt into the ‘molten pools’ seen in the photos, unlike chips which hold their shape.
This is achieved by whisking the sugar and eggs until they reach a glossy ribbon stage, combined with ‘pan-banging’—lifting and dropping the pan during the bake to collapse the air pockets.
Immediately after taking the pan out of the oven, place a large circular cookie cutter over a cookie and move it in a circular motion (the ‘scoot’) to reshape the edges while soft.
Chilling allows the flour to fully hydrate and the fats to solidify. This prevents the cookies from spreading too thin and ensures a thick, soft, bakery-style texture.
Browning the butter evaporates its water content and toasts the milk solids, creating a deep, nutty, toffee-like flavor profile that standard softened butter cannot match.
The Best Chocolate Chip Cookies Recipe Card
Best chocolate chip cookies: The Ultimate Brown Butter and Flaky Sea Salt Guide
Ingredients
Equipment
Method
- Melt butter in a saucepan over medium heat. Whisk as it foams and pops. Once it turns amber and smells nutty with brown bits at the bottom, remove from heat and cool for 10 minutes.
- Whisk both sugars into the warm brown butter for 2 minutes. Add eggs and vanilla, whisking vigorously for another 2-3 minutes until the mixture is glossy and lightened.
- Sift flour, baking soda, and fine salt into the wet mixture. Fold with a spatula until just combined.
- Fold in chopped chocolate chunks and any chocolate dust. Cover and refrigerate for 30-60 minutes.
- Preheat oven to 375°F (190°C). Scoop 3 tbsp mounds onto sheets. Bake for 9-11 minutes, banging the pan halfway through for ripples.
- Remove when edges are golden but centers are soft. Immediately top with flaky salt and coarse sugar.
Notes
For perfectly round cookies, use a circular cutter to 'scoot' them immediately after baking.
Join Our Baking Community!
We hope you love making the best chocolate chip cookies as much as we do! The combination of the toasted brown butter and that distinct crinkle top makes these a true showstopper. If you bake these, please leave a comment below and let us know how they turned out—we love hearing about your kitchen successes!
Don’t forget to save this recipe to your “Baking” board by following us on Pinterest. For more daily recipe inspiration and behind-the-scenes tips, sign up for our newsletter so you never miss a bite!