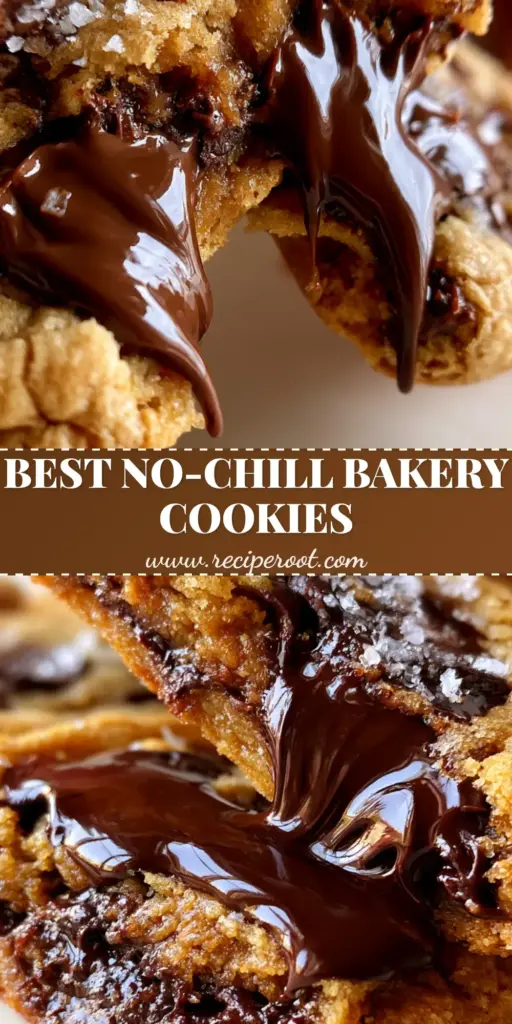
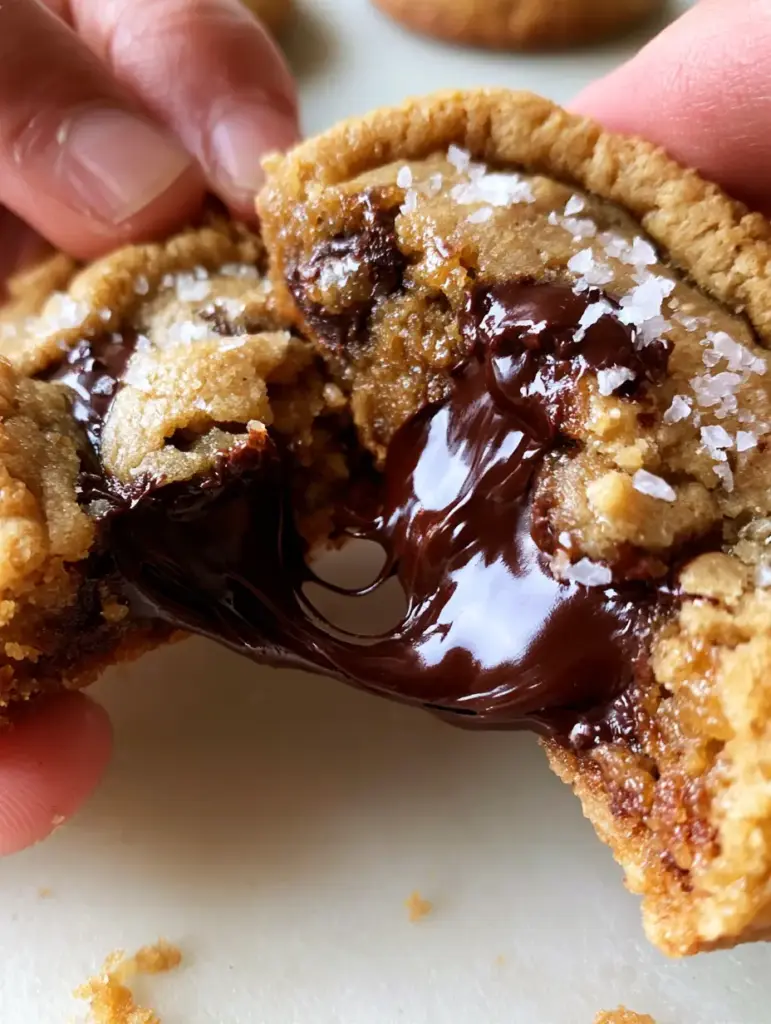
There is a specific, almost spiritual moment when you pull apart a warm, bakery-style cookie and witness the slow, rhythmic stretch of molten chocolate. These classic chocolate chip cookies aren’t just a snack; they are a masterclass in texture, featuring deep amber-golden hues, perfectly rippled edges, and a center so gooey it defies the laws of physics. If you have been searching for that elusive “handheld cookie pull” seen in professional food photography, your search ends here.
Most recipes promise the best results, but few deliver the complex flavor profile that comes from toasted milk solids and high-quality dark chocolate. By incorporating browned butter and a specific pan-banging technique, we achieve a cookie that is crispy on the perimeter and decadently soft in the middle. Let’s dive into the science of why this specific method produces the ultimate cookie experience.
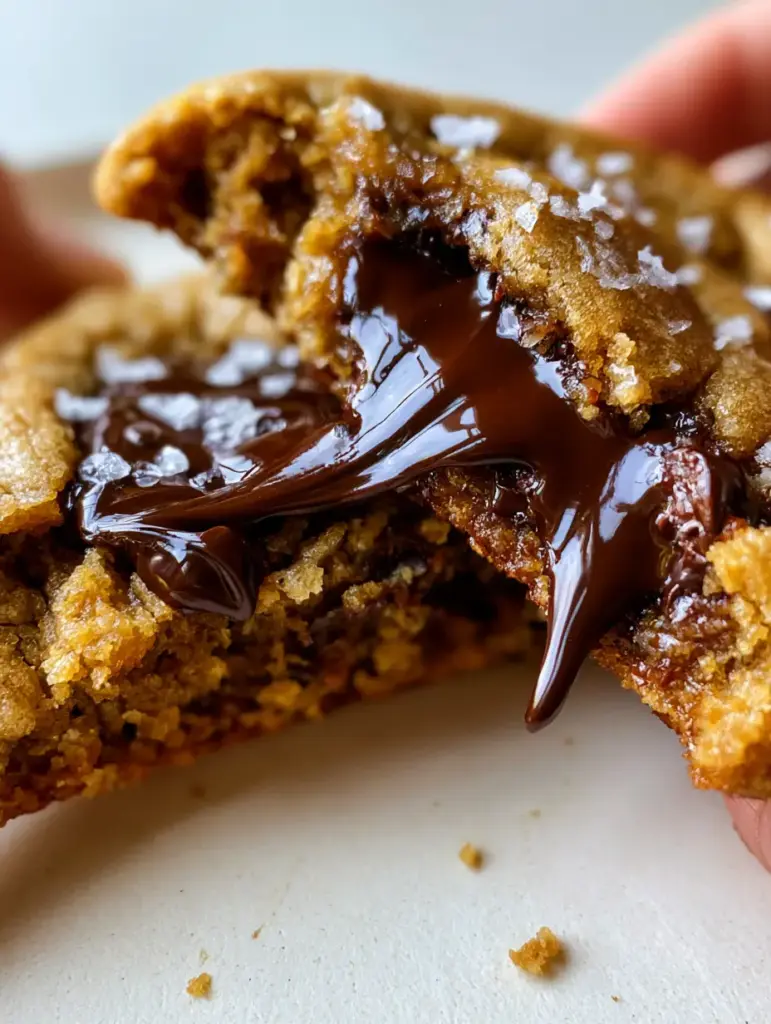
The Anatomy of the Perfect Bakery-Style Cookie
What makes these classic chocolate chip cookies stand out from the standard back-of-the-bag recipe? It comes down to the synergy of three specific culinary elements that we have meticulously refined for this version.
- The Brown Butter Base: Unlike softened butter, browned butter (beurre noisette) introduces toasted, nutty notes that complement the vanilla and brown sugar.
- The Ripple Effect: By “banging” the pan during the baking process, we create those signature ridges and ripples that provide a variety of textures in a single bite.
- The Dark Chocolate Puddles: We move away from standard chips and utilize chopped chocolate bars, which melt into glossy, oversized puddles rather than holding their shape.
- The Saline Finish: A light dusting of flaky sea salt cuts through the richness of the dark chocolate and enhances the caramel notes of the dough.
Essential Components for Deep Flavor and Gooey Texture
Achieving the visual and structural results of a professional bakery requires specific “foundational” ingredients. Each item in this list serves a functional purpose in the Maillard reaction and the final structural integrity of the cookie.
Unsalted Butter (1 cup / 226g): We start with more butter than usual because the browning process evaporates water. This concentrated fat provides the rich, amber-golden hue seen in the photos.
Dark Chocolate Bars (10 oz / 285g): Select a chocolate with at least 60% cacao. Chopping the bar yourself ensures varying sizes of chocolate, leading to those iconic “puddles” and the “chocolate pull.”
Dark Brown Sugar (1 cup / 200g) and Granulated Sugar (1/2 cup / 100g): The high ratio of brown sugar provides moisture and acidity, which reacts with the leavening agents to create a soft, chewy center. If you love this texture, you might also enjoy our soft batch chocolate chip cookies.
All-Purpose Flour (2 ¼ cups / 280g): This provides the necessary protein structure. We weigh this carefully to ensure the cookies don’t become “cakey,” maintaining that dense, gooey interior.
Large Egg + One Egg Yolk: The extra yolk adds fat and emulsifiers, which contributes to the “fudgy” consistency and the glossy appearance of the dough.
Baking Soda (1 tsp / 5g) and Cornstarch (1 tsp / 3g): Baking soda encourages browning, while cornstarch is the secret weapon for a tender, “melt-in-your-mouth” crumb.
Flaky Sea Salt (for finishing): Use Maldon or a similar large-crystal salt. This adds a visual sparkle and a burst of flavor that balances the sweetness.
Professional Equipment for the Ultimate Cookie Pull
To replicate the “rippled golden-brown edges” described in our visual blueprint, you need tools that allow for even heat distribution and specific mechanical movements during baking.
- Heavy-Bottomed Stainless Steel Skillet: Essential for browning the butter so you can see the color change clearly against the silver background.
- Large Light-Colored Baking Sheets: Dark pans absorb too much heat and can burn the bottoms before the centers are set.
- Parchment Paper or Silicone Mats: This prevents sticking and helps the “ripples” form as the cookie spreads and then collapses.
- A 3-Tablespoon Cookie Scoop: Consistency in size ensures that every cookie in the batch has the same ratio of soft center to crispy edge.
Step-by-Step: From Toasted Butter to Molten Puddles
Mastering the Beurre Noisette (Brown Butter)
In a medium saucepan over medium heat, melt the 1 cup (226g) of butter. Continue cooking, whisking constantly, as the butter begins to foam and pop. Look for the visual cue: small brown specks (toasted milk solids) will begin to settle at the bottom, and the liquid will turn a deep amber-golden hue. Immediately remove from heat and pour into a heat-proof bowl, scraping all those brown bits in—that is where the flavor lives!
Building the Dough for Depth and Structure
Allow the brown butter to cool for 10 minutes. Add the dark brown sugar and granulated sugar, whisking vigorously for 2-3 minutes. This aeration process is vital for the “perfectly rippled” texture. Add the egg, egg yolk, and 2 teaspoons (10ml) of vanilla extract, whisking until the mixture looks pale and thickened. For a different twist on this base, check out our caramel chocolate chip cookies.
The Fold and the Chill
Sift the flour, baking soda, cornstarch, and fine sea salt over the wet ingredients. Use a spatula to fold the mixture until just a few streaks of flour remain. Toss in your hand-chopped dark chocolate chunks. CRITICAL STEP: Chill the dough for at least 30 minutes (or up to 24 hours). Chilling hydrates the flour and prevents the cookies from spreading too thin, ensuring that “thick bakery-style” height.
The Pan-Banging Technique for Rippled Edges
Preheat your oven to 350°F (175°C). Scoop large mounds of dough (about 3 tbsp / 60g) onto your prepared sheets. Bake for 8 minutes. Open the oven and lift the side of the baking sheet up about 4 inches, then let it drop against the oven rack. This “bang” causes the partially set edges to collapse and ripple. Repeat this every 2 minutes until the edges are golden-brown and the centers are still slightly pale and soft.
Expert Tips for Success
- The Chop Matters: Avoid using only standard chips. Chopping a chocolate bar creates “chocolate dust” that streaks through the dough, creating a marbled, rich amber appearance.
- Temperature Control: If your dough is too warm when it hits the oven, you lose the ripples. Ensure the dough is firm to the touch.
- Visual Doneness: Pull the cookies when the edges are a deep golden-brown, but the center still looks a bit “wet.” They will continue to firm up on the hot pan.
- The Salt Timing: Sprinkle the flaky sea salt immediately after the cookies come out of the oven so the crystals adhere to the melting chocolate puddles.
How to Store and Reheat Your Masterpiece
To maintain that “soft gooey center,” store these cookies in an airtight container at room temperature for up to 3 days. If you want to recreate the “molten chocolate pull” days later, simply pop a cookie in the microwave for 8-10 seconds. You can also freeze the pre-scooped dough balls for up to 3 months, baking them directly from frozen (just add 2 minutes to the bake time).
What to Serve with Classic Chocolate Chip Cookies
While a cold glass of milk is the traditional choice, these cookies are sophisticated enough to pair with other desserts. Try crumbling them over creamy banana pudding for a textural contrast. They also make an incredible base for a decadent sundae alongside our chocolate peanut butter banana pudding. If you’re looking for more variety in your cookie jar, consider adding pumpkin snickerdoodle cookies to your holiday spread.
Frequently Asked Questions
You can, but dark brown sugar contains more molasses, which contributes to the gooey center and the deep flavor profile of these cookies.
Yes! Chilling hydrates the flour and solidifies the fats, which prevents excessive spreading and ensures a thick, chewy, bakery-style texture.
The ripples are created by ‘pan-banging.’ By lifting and dropping the baking sheet during the bake, the edges collapse and create ridges while the center remains soft.
Browning the butter removes water and toasts the milk solids, creating a nutty, caramel-like depth of flavor and an amber-golden hue that regular butter cannot provide.
Chocolate chips contain stabilizers to hold their shape. Chopped bars melt into glossy puddles and create the ‘chocolate pull’ effect seen in professional photos.
The Ultimate Classic Chocolate Chip Cookies Recipe
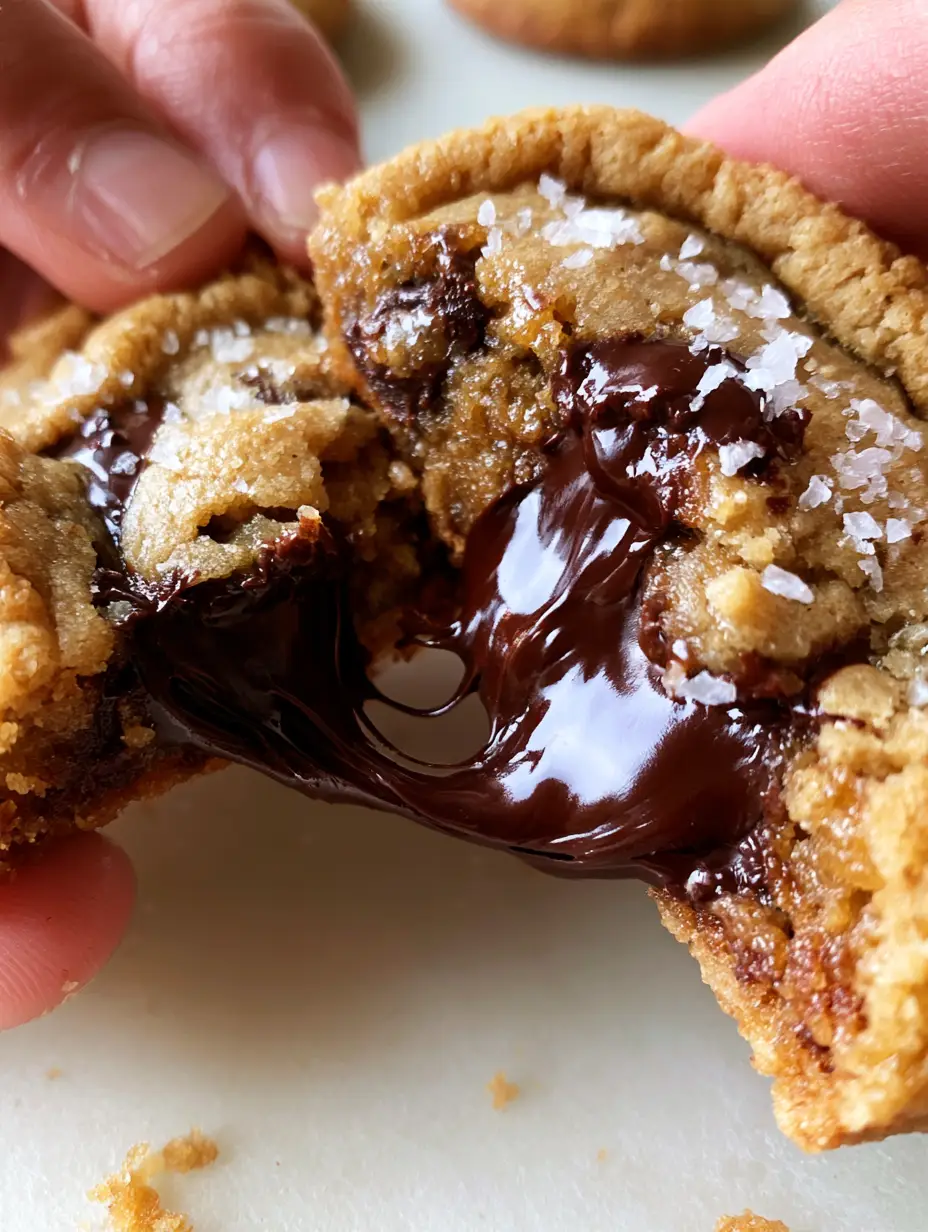
Classic Chocolate Chip Cookies with Brown Butter and Flaky Sea Salt
Ingredients
Equipment
Method
- Melt butter in a skillet over medium heat. Whisk until it foams and develops a deep amber-golden hue with brown specks. Remove from heat immediately.
- Whisk sugars into the cooled brown butter for 2 minutes. Add egg, yolk, and vanilla, whisking until thickened and pale.
- Fold in flour, baking soda, cornstarch, and salt. Add chopped chocolate chunks. Chill dough for 30-60 minutes.
- Scoop 3-tbsp mounds onto sheets. Bake at 350°F (175°C). At 8 minutes, lift and drop the pan to create ripples. Repeat every 2 minutes until golden-brown.
- Sprinkle with flaky sea salt while chocolate puddles are still glossy and molten. Let cool on the pan for 10 minutes.
Notes
Use high-quality bar chocolate for the most dramatic 'puddles'.
Join the Baking Community!
We want to see your handheld cookie pulls! If you make these classic chocolate chip cookies, please leave a comment below and tell us how your “puddles” turned out. Don’t forget to share your photos and tag us on Pinterest to help other home cooks find their new favorite recipe. Your feedback helps us keep the kitchen running and the recipes flowing!