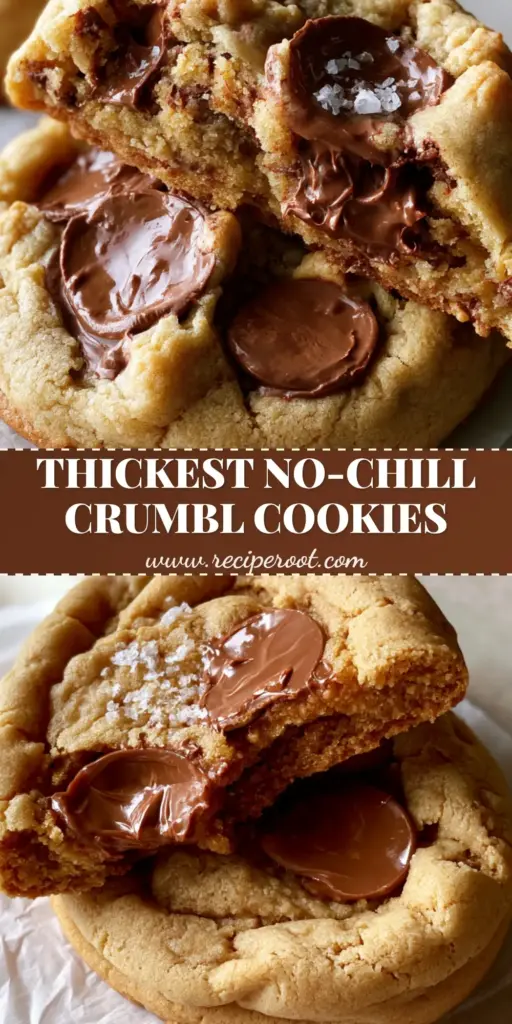
There is something undeniably magnetic about stepping into a bakery and being greeted by the scent of butter and the sight of a crumbl copycat cookies masterpiece. Those iconic, massive rounds with their pale golden hue and mountainous ridges have redefined what we expect from a chocolate chip cookie. This recipe isn’t just a close approximation; it is a forensic reconstruction of that specific, heavy, fudge-like dough and those signature glossy chocolate pools.
To achieve the visual of a three-inch thick gourmet treat, we have to move beyond standard baking techniques. We are looking for that specific “mountainous” exterior that contrasts beautifully with a center that feels almost like cookie dough. By using oversized milk chocolate discs instead of standard chips, we create the deep, melting reservoirs of cocoa that make these crumbl copycat cookies so legendary.
Whether you are a longtime fan of the pink box or a baker looking to master the art of the “thick-and-craggy” bake, this guide will walk you through the sensory cues—from the smell of caramelizing sugars to the specific sound of flaky salt hitting a warm surface—that guarantee success. Get your wrinkled parchment paper ready; we are about to bake the heaviest, gooiest cookies of your life.
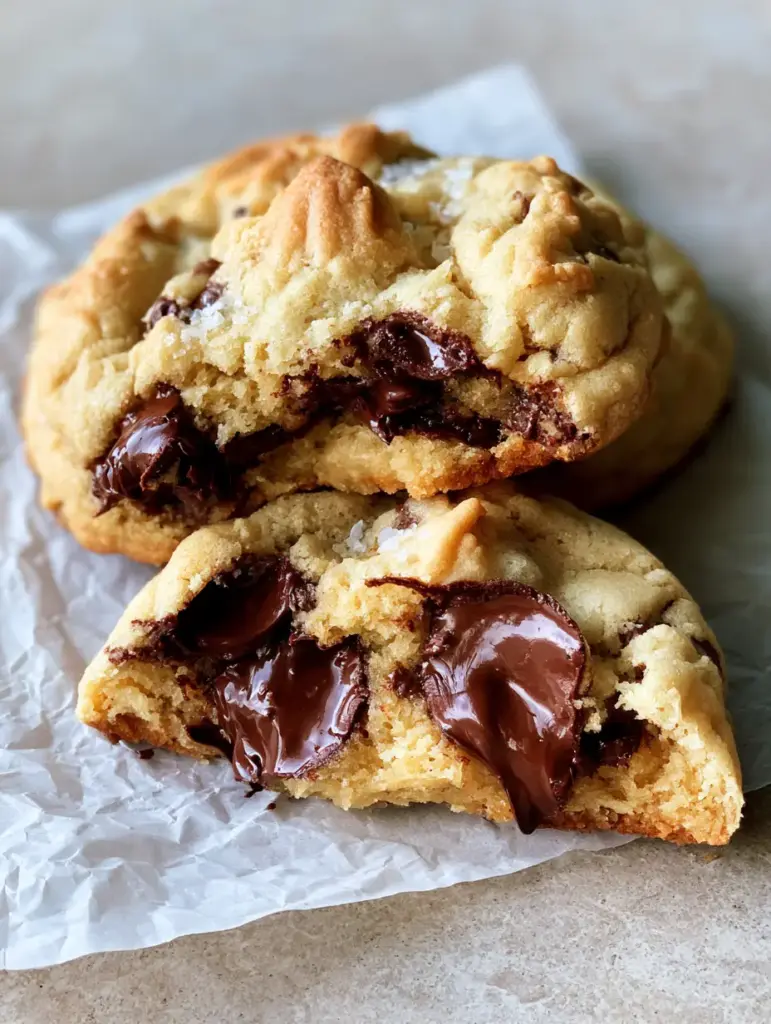
The Anatomy of a Heavyweight Gourmet Cookie
- The “Mountainous” Exterior: We achieve those thick, craggy edges by roughly shaping the dough rather than rolling it into smooth balls.
- The Underbaked Core: A precise ratio of cold butter and cornstarch ensures the center remains soft and fudge-like, never cakey.
- Glossy Chocolate Reservoirs: Using high-quality milk chocolate discs (at least 1-inch in diameter) creates those iconic “pools” seen in professional food photography.
- The Pale Golden Aesthetic: We bake at a slightly higher temperature for a shorter duration to set the edges while keeping the color light and the interior plush.
- The Salt Contrast: A final dusting of flaky sea salt cuts through the sweetness of the milk chocolate for a balanced, gourmet finish.
The Secret Pantry Staples for Heavyweight Cookies
To make authentic crumbl copycat cookies, every ingredient serves a structural purpose. We aren’t just looking for flavor; we are looking for the physics of height and texture.
Cold Unsalted Butter (1 cup / 227g): Unlike many recipes that call for softened butter, using cold, cubed butter prevents the cookies from spreading too thin, maintaining that 3-inch thickness. It creates small pockets of steam that contribute to the craggy, mountainous ridges.
Light Brown Sugar (1 ¼ cups / 250g): This provides the necessary moisture and molasses notes for a “fudge-like” texture. It is the engine behind the soft, dense center that characterizes these massive bakes.
Granulated Sugar (½ cup / 100g): While the brown sugar adds chew, the white sugar helps achieve those slightly crisp, craggy edges. It also aids in the subtle “pale golden” browning we are aiming for.
Large Eggs (2 cold): Eggs provide the protein structure needed to hold up a massive cookie. Using them cold helps keep the overall dough temperature down before it hits the oven.
All-Purpose Flour (3 cups / 375g): This is our structural foundation. For an even more tender crumb, you can substitute 1/2 cup of this with cake flour, though AP flour works perfectly for that “classic” dense bite.
Cornstarch (2 tsp / 5g): The secret weapon for an underbaked feel. Cornstarch softens the proteins in the flour, ensuring the cookie remains “soft batch” even after it has cooled.
Baking Soda and Salt (1 tsp each): Baking soda provides just enough lift for the “mountainous” peaks, while fine sea salt balances the dough’s sweetness.
Milk Chocolate Discs (2 cups / 340g): This is non-negotiable for the visual prompt. Discs (like Guittard or Valrhona) create “glossy chocolate pools” that chips simply cannot replicate.
Flaky Sea Salt (for finishing): Large, visible grains of salt provide a sensory pop and a beautiful crystalline visual against the melted chocolate.
Essential Tools for the Professional Bakery Look
To get the exact look of our visual blueprint, you will need a few specific kitchen items. The goal is height and texture, which requires minimal handling and high-quality surfaces.
First, you need a heavy-duty baking sheet lined with wrinkled white parchment paper. The wrinkles aren’t just for aesthetics; they allow for tiny bits of airflow under the cookie and provide that rustic, handheld smartphone photo vibe. You will also want a large cookie scoop (about 1/2 cup capacity) or a digital scale to ensure each cookie weighs at least 5-6 ounces (140-170g). Finally, a wire cooling rack is essential to stop the cooking process once they leave the oven, preserving that “soft underbaked center.”
Step-By-Step to Gourmet Cookie Greatness
Building the Dense Dough Foundation
Start by cubing your cold butter into small pieces. In a stand mixer fitted with the paddle attachment, cream the cold butter with the brown and granulated sugars for about 2-3 minutes. You aren’t looking for “light and fluffy” here; you want the butter to be fully incorporated into the sugar while remaining cold and dense.
Add the eggs one at a time, mixing just until the yellow streaks disappear. If you love this base, you’ll find it’s quite similar to the richness found in my classic chocolate chip cookies, but with significantly more bulk to prevent spreading.
The “Rough Shape” Technique for Craggy Edges
Whisk together your flour, cornstarch, baking soda, and fine salt. Turn the mixer to the lowest setting and add the dry ingredients. Stop the mixer when a few streaks of flour remain—overmixing will lead to a tough, bready cookie rather than a fudge-like one.
Fold in the milk chocolate discs by hand. To achieve the crumbl copycat cookies look, do not roll the dough into smooth spheres. Instead, grab a large handful of dough and pull it apart, then loosely press the two halves back together with the craggy, broken sides facing outward. This creates those soft ridges and “mountainous” textures.
Mastering the High-Heat, Short-Bake Method
Place your massive dough mounds on the wrinkled parchment paper, leaving at least 3 inches of space between them. Chill the tray in the freezer for 15 minutes while you preheat your oven to 375°F (190°C). This “cold dough, hot oven” shock is what creates the 3-inch thick height.
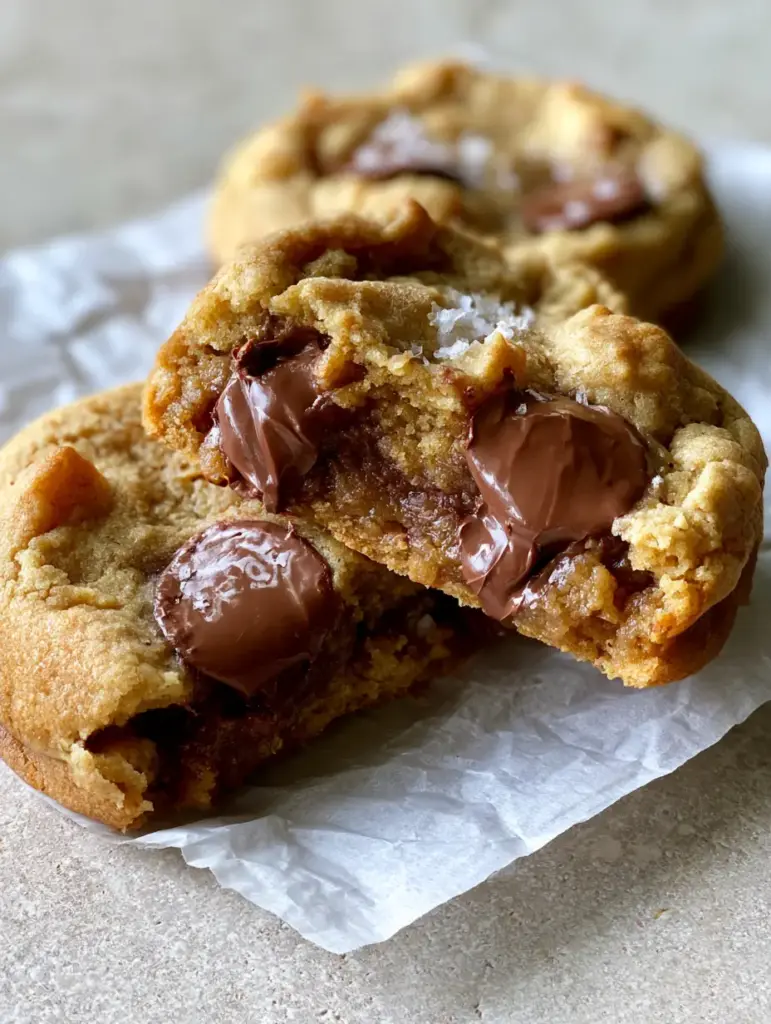
Bake for 10-12 minutes. The “Visual Cue” to look for: the edges should be set and a very pale golden color, but the centers should still look slightly wet and “underbaked.” They will firm up on the hot pan outside the oven. Immediately after removing them, press a few extra chocolate discs into the top and sprinkle with flaky sea salt.
Expert Tips for Bakery-Level Success
- The “Scoot” Trick: If your cookies spread slightly too much, place a large circular glass or cookie cutter over the hot cookie and gently “scoot” it in a circular motion to pull the edges back into a perfect, thick circle.
- Don’t Skip the Chill: Freezing the shaped dough for just 15 minutes solidifies the butter, ensuring the “craggy edges” stay sharp rather than melting into a flat puddle.
- Quality Chocolate Matters: Because milk chocolate is the star, avoid “mock” chocolate chips. Look for “couverture” or high-quality discs to get those glossy, gooey pools.
- Visual vs. Time: Every oven is different. Trust the visual cue of “pale golden” over the timer. If they turn dark brown, they will lose that signature soft-batch texture.
The Best Ways to Pair and Share
These cookies are an event in themselves, but they pair beautifully with other dessert table staples. For a full bakery spread, serve them alongside some creamy banana pudding to balance the rich chocolate with a light, fruity finish.
If you are a fan of texture-heavy desserts, consider alternating these on a platter with strawberry crunch banana pudding or even a dark crumbl brownie batter cookies for a high-contrast chocolate experience. The goal is to provide a variety of “fudge-like” and “crunchy” elements for your guests.
Storage, Reheating, and Freezing
These cookies are best enjoyed warm, about 20 minutes after baking when the chocolate is still “glossy.” However, you can store them in an airtight container at room temperature for up to 3 days. To regain that “fresh from the oven” feel, microwave a single cookie for 10-15 seconds until the discs begin to glisten.
For long-term storage, these cookies freeze beautifully. You can freeze the raw dough mounds for up to 3 months—just add 2 minutes to the bake time. If freezing baked cookies, wrap them individually in plastic wrap to maintain that “soft batch” moisture.
Frequently Asked Questions
You can, but you won’t get the ‘glossy chocolate pools.’ Discs have a larger surface area that melts into wide reservoirs, whereas chips are designed to hold their shape.
Bake at a higher temperature (375°F) for a shorter time. This sets the outside quickly while leaving the inside soft and preventing the sugar from caramelizing into a dark brown color.
The secret is the ‘rough shape’ technique. Instead of rolling the dough into a smooth ball, pull the dough mound apart and press it back together with the jagged edges facing out to create those signature ridges.
Flat cookies are usually caused by butter that is too warm or over-creaming the sugar. Ensure you use cold, cubed butter and chill the dough for at least 15 minutes before baking to maintain that 3-inch height.
That is intentional! They should look slightly ‘wet’ in the center to achieve the fudge-like texture. They will continue to set on the hot baking sheet once removed from the oven.
The Ultimate Crumbl Copycat Cookies Recipe
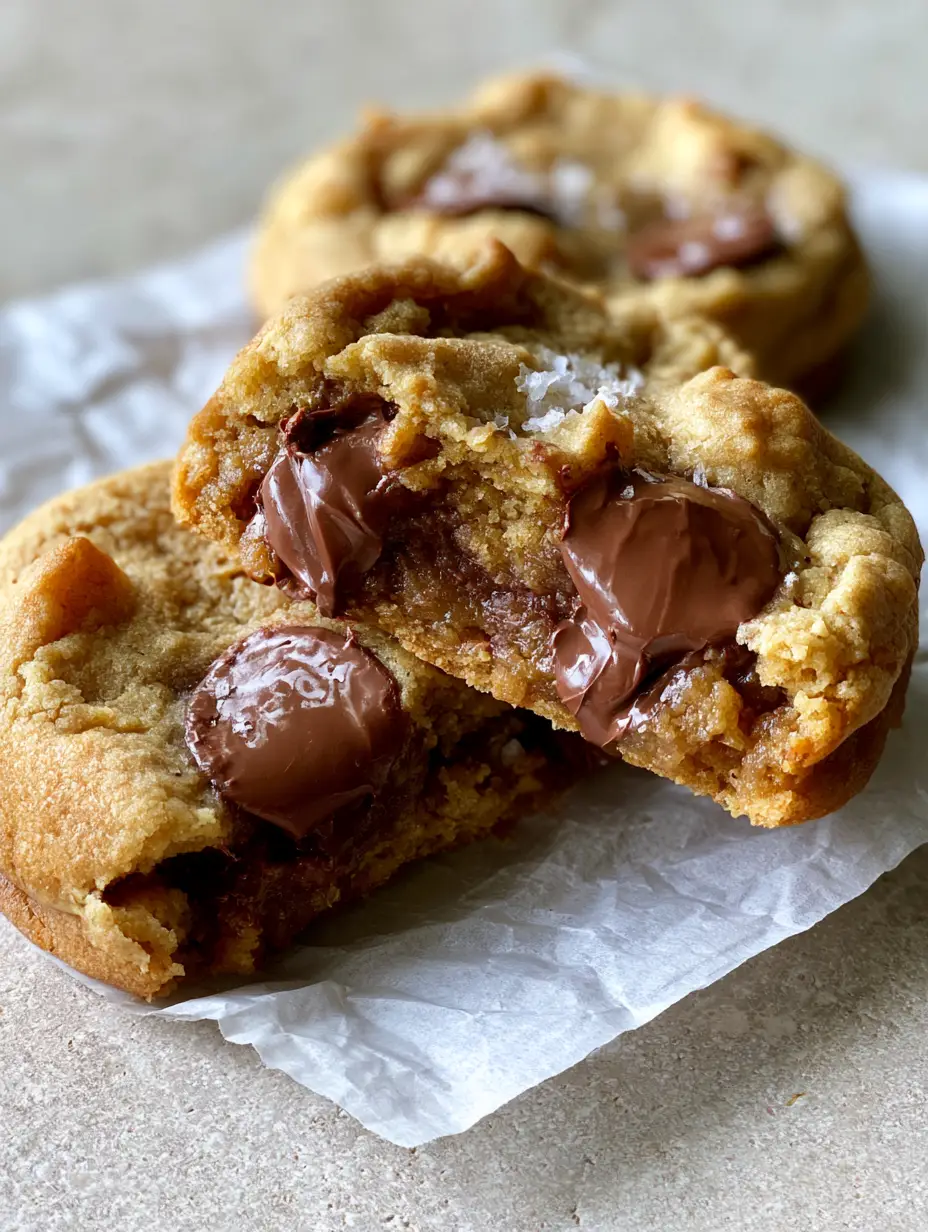
Crumbl Copycat Cookies: The Ultimate Guide to Massive Milk Chocolate Chip Perfection
Ingredients
Equipment
Method
- In a stand mixer, cream cold cubed butter with brown and granulated sugars for 2-3 minutes until combined but still dense.
- Incorporate cold eggs one at a time, mixing on low until just combined.
- Add flour, cornstarch, baking soda, and fine salt. Mix until a few streaks of flour remain, then fold in chocolate discs by hand.
- Scoop 1/2 cup portions. Pull the dough apart and press back together roughly to create craggy ridges. Do not smooth.
- Freeze shaped dough on a tray for 15 minutes. Preheat oven to 375°F (190°C).
- Bake on wrinkled parchment for 10-12 minutes until edges are pale golden and centers look slightly underbaked.
- Top with extra chocolate discs and flaky sea salt immediately. Cool on the pan for 15 minutes.
Notes
The wrinkled parchment paper provides better airflow for the craggy bottom texture.
Join the Cookie Revolution
Baking the perfect crumbl copycat cookies is a journey of sensory delights, from the crinkle of the parchment to the first sight of those melted chocolate pools. If you found this forensic breakdown helpful, please leave a comment below and tell us how your “mountainous” bakes turned out! Don’t forget to head over to Pinterest to save this recipe for your next weekend baking project. For more decadent treats, check out our soft batch chocolate chip cookies recipe for a slightly smaller, everyday version of this classic.