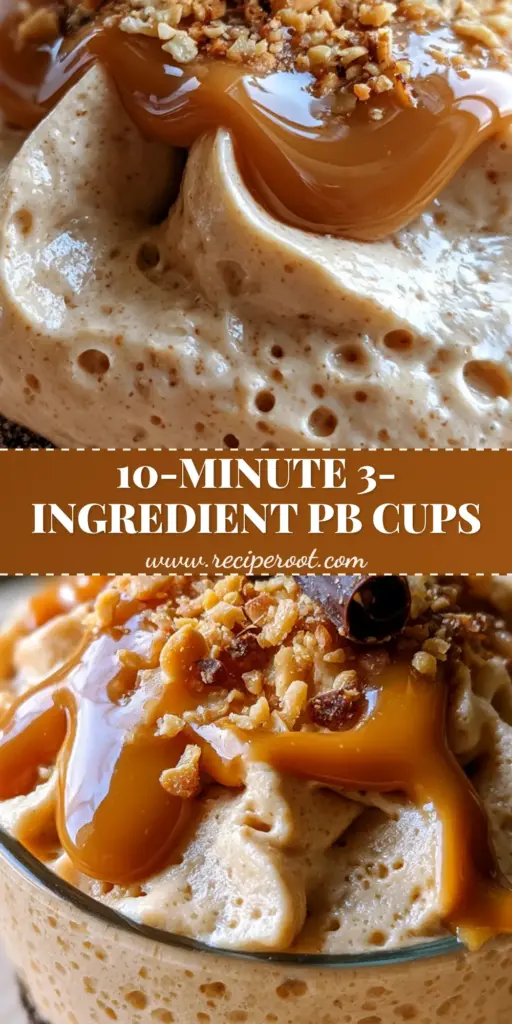
There is a specific kind of magic that happens when deep, bitter dark chocolate meets the salty, velvet embrace of whipped peanut butter. These peanut butter mousse cups aren’t just a dessert; they are a study in textural contrast, featuring a gritty, sandy crust topped with a cloud-like mousse that practically evaporates on the tongue. If you have ever scrolled through high-end food photography and wondered how to achieve those perfect soft peaks and glossy drizzles at home, you are in the right place.
These handheld treats are designed to be the crown jewel of your dessert table, offering a professional-grade aesthetic without the need for an oven. By focusing on the science of aeration and the structural integrity of the chocolate cookie base, we can create a result that looks exactly like a macro-photography masterpiece. Every bite delivers a crunch of roasted peanuts followed by the silky richness of a perfectly stabilized mousse.
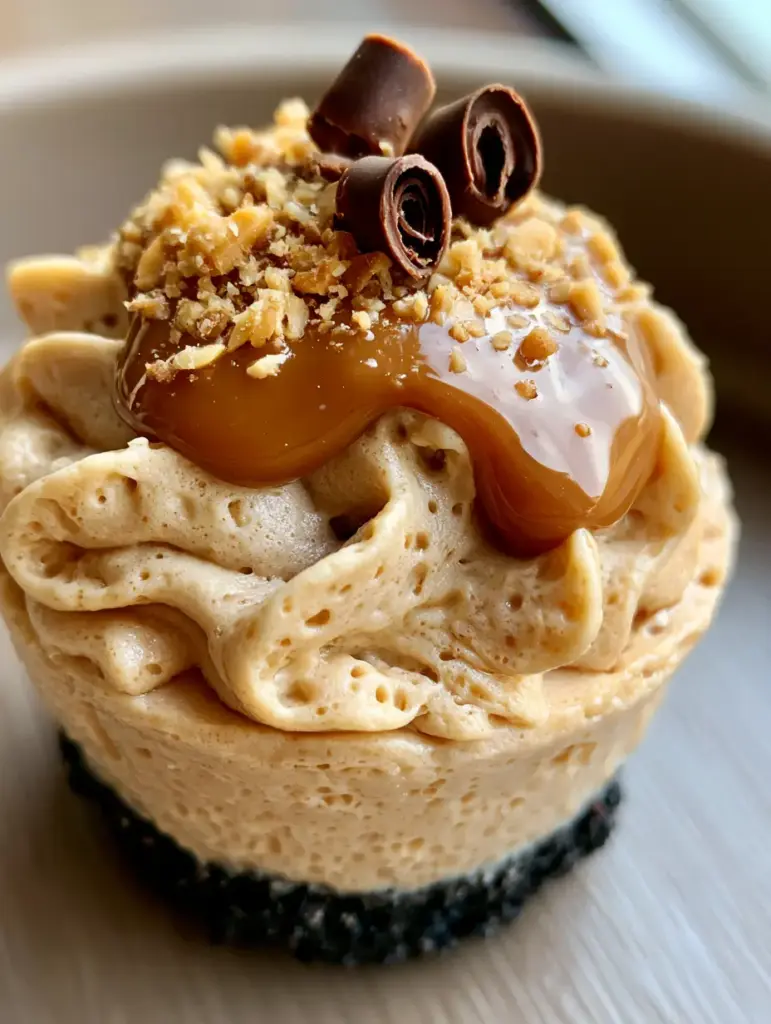
Why You Will Obsess Over These No-Bake Mousse Delights
- The Architectural Contrast: The “sandy” dark chocolate cookie crust provides a sturdy, gritty foundation that highlights the ethereal lightness of the whipped filling.
- Aerated Mousse Perfection: We utilize specific folding techniques to ensure tiny air bubbles and soft peaks are visible in every single cup.
- Triple-Threat Toppings: A glossy peanut butter drizzle, crushed roasted peanuts, and delicate dark chocolate shavings create a multi-sensory experience.
- Visual Masterpiece: Designed to catch the light, these cups feature deep textures and bright highlights that make them a photographer’s dream.
The Anatomy of a Perfect Peanut Butter Mousse Cup: Essential Ingredients
Creating a dessert this visually stunning requires more than just mixing ingredients; it requires understanding the role each component plays in the final structure. We aren’t just building flavor; we are building texture and height.
Dark Chocolate Sandwich Cookies: 2 cups (approx. 24 cookies or 240g). These provide the “dark, sandy” visual required for the base; ensure you pulse them until they resemble fine grit rather than large chunks.
Unsalted Melted Butter: 5 tbsp (70g). This acts as the invisible glue, hydrating the cookie crumbs so they can be pressed into a firm, structural wall that won’t crumble when handled.
Creamy Peanut Butter: 1 cup (250g) for the mousse and 1/4 cup (60g) for the drizzle. Avoid “natural” varieties that separate, as we need the stabilizers in standard creamy PB to maintain the mousse’s soft peaks.
Full-Fat Cream Cheese: 8 oz (225g), softened. This is our structural anchor; it provides the tang to balance the sugar and the density needed to keep the mousse handheld.
Powdered Sugar: 1 cup (120g). Sifted sugar ensures the mousse remains perfectly smooth without any grainy interference, dissolving instantly into the cream cheese base.
Heavy Whipping Cream: 1 ½ cups (360ml), chilled. Cold cream is non-negotiable for achieving the “tiny air bubbles” and high-volume aeration that defines a true mousse.
Roasted Salted Peanuts: 1/4 cup (35g), finely crushed. These add the essential salt element and a “dusting” effect that provides a matte contrast to the glossy drizzle.
Dark Chocolate Bar: 1 oz (30g). You will use a vegetable peeler to create exactly three curls per cup, adding a sophisticated, artisanal finish.
Precision Tools for Professional Results
To achieve the “extreme macro” look of these peanut butter mousse cups, you need a few specific tools. A standard muffin tin lined with paper liners ensures easy removal, while a handheld electric mixer or stand mixer is required to whip the heavy cream to the necessary “soft peak” stage. A piping bag with a large open star tip (or a simple snipped corner) allows you to deposit the mousse while maintaining those delicate air bubbles. Finally, a small microwave-safe bowl is needed to achieve the perfect viscosity for the glossy peanut butter drizzle.
Engineering the Sandy Chocolate Foundation
Constructing the Cookie Base
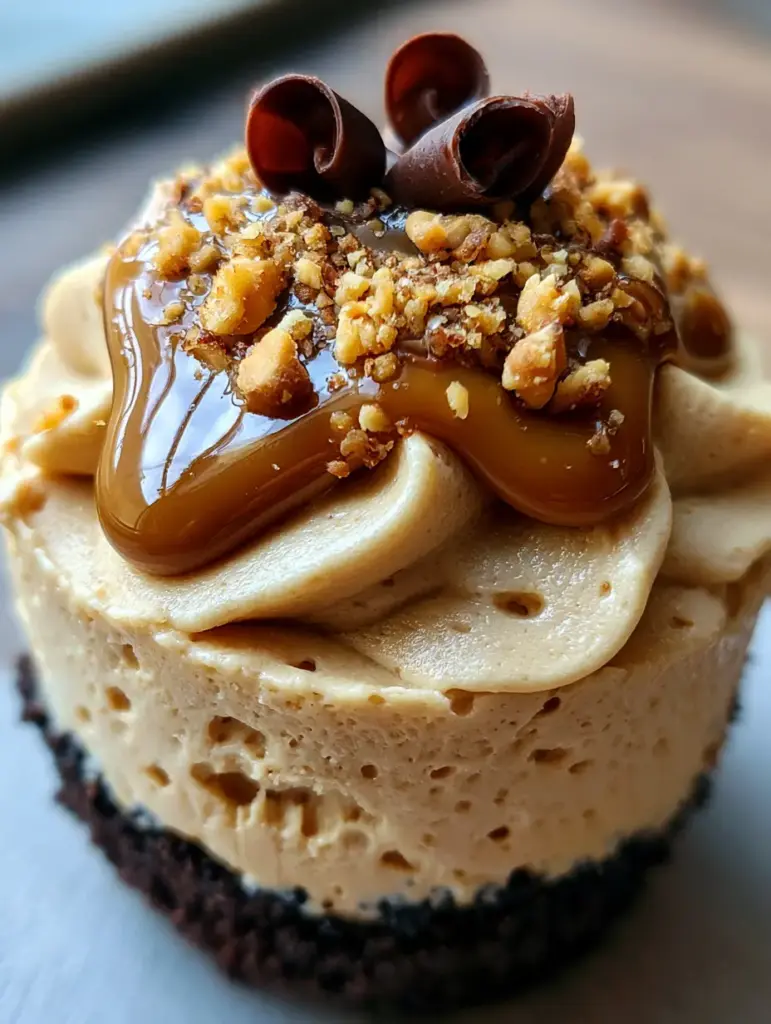
Begin by processing your dark chocolate cookies in a food blender until they reach a uniform, sandy consistency. Transfer the crumbs to a bowl and stir in the melted butter until the mixture looks like wet dark sand. Press approximately 1.5 tablespoons of the mixture into the bottom of each lined muffin cup, using the back of a spoon to pack it firmly. This compression is vital for a “handheld” experience; if the base is too loose, the cup will fall apart upon the first bite.
Chilling for Structural Integrity
Place the muffin tin in the refrigerator for at least 20 minutes. This “sets” the butter, turning the sandy crumbs into a solid, dark chocolate floor that can support the weight of the aerated mousse without absorbing moisture and becoming soggy.
Whisking the Aerated Peanut Butter Mousse
Building the Flavor Anchor
In a large mixing bowl, beat the softened cream cheese and 1 cup (250g) of peanut butter together until the mixture is pale tan and completely smooth. Gradually add the sifted powdered sugar, beating on low speed until incorporated. At this stage, the mixture will be thick and dense—this is the foundation that will hold our air bubbles in place.
The Art of Aeration
In a separate, chilled bowl, whip the heavy cream until it forms stiff peaks. Take one-third of the whipped cream and stir it vigorously into the peanut butter base to lighten it. Now, the critical step: gently fold the remaining whipped cream into the base using a silicone spatula. Use a “cut and fold” motion to preserve the tiny air bubbles. Stop the moment no white streaks remain; over-mixing will deflate the mousse and destroy the “soft peak” visual described in our blueprint.
Piping for Visual Texture
Transfer the mousse to a piping bag. Pipe the mousse onto the chilled crusts, swirling upward to create a slight mound with a soft peak at the center. You should see tiny bubbles on the surface of the mousse, indicating a perfect aeration. Chill the cups for at least 2 hours to allow the mousse to set firmly.
The Final Forensic Flourish: Toppings and Drizzle
Achieving the Glossy Drizzle
Warm the remaining 1/4 cup (60g) of peanut butter in the microwave for 15-20 seconds until it is fluid and glossy. Using a small spoon, create a thick, deliberate drizzle over the top of each chilled mousse cup. The warmth of the peanut butter will create a beautiful contrast against the cold mousse, settling into the peaks and valleys of the piped swirls.
Adding the Crunchy Dusting
Immediately sprinkle the finely crushed roasted peanuts over the wet drizzle. This “dusting” provides a rustic, textured look that catches the light beautifully. If you’re looking for more handheld peanut butter inspiration, you might also enjoy these creamy protein peanut butter cheesecake cups which offer a similar flavor profile with a nutritional twist.
The Signature Chocolate Curls
Using a room-temperature dark chocolate bar and a vegetable peeler, shave long, thin strips of chocolate. Select the best three curls for each cup and place them gently atop the mousse. These curls provide the final touch of “culinary forensics,” echoing the dark chocolate in the crust and completing the visual story. For a more sophisticated pairing, consider serving these alongside delicate chocolate peanut butter macarons.
Expert Tips for Mousse Cup Mastery
- Temperature Control: Ensure your cream cheese is truly at room temperature to avoid “lumps” in your mousse, which would ruin the macro-photo finish.
- Sift Your Sugar: Never skip sifting the powdered sugar. Even small clumps can create visible white spots in the pale-tan mousse.
- The “Snap” Test: Your dark chocolate curls will form best if the chocolate bar is slightly warm (hold it in your hand for a minute) rather than fridge-cold, which causes the chocolate to shatter into shards instead of curls.
- Clean Lines: For the cleanest visual, use a hot knife to trim any excess cookie crumbs from the top edges of the liners before piping your mousse.
The Ideal Beverage Pairings
The richness of the peanut butter mousse cups demands a beverage that can either cut through the fat or complement the deep cocoa notes. A dark, bitter espresso is the classic choice, as the acidity balances the sugar perfectly. If you are serving these at a summer gathering, a fruit-forward drink provides a surprising and refreshing contrast. A creamy strawberry shortcake smoothie can mirror the dessert’s textures, while a bold Jamaican rum punch offers a tropical acidity that cleanses the palate between bites of rich chocolate and peanut butter.
Troubleshooting Your Peanut Butter Mousse Cups
How do I fix a grainy mousse?
Graininess usually occurs if the cream cheese wasn’t fully softened or if the powdered sugar wasn’t sifted. If the mixture is already combined, you can try beating it for an extra 30 seconds, but be careful not to over-whip the heavy cream component, as it may turn to butter.
Can I use natural peanut butter?
Natural peanut butter (the kind you have to stir) is generally too oily for this specific mousse. The lack of emulsifiers means the oil can separate and cause the mousse to collapse or weep over time. Stick to standard processed creamy peanut butter for the best structural results.
Yes! These freeze beautifully. Freeze them on a tray first, then transfer to a freezer bag. Thaw in the fridge for 30 minutes before serving for a semi-frozen, fudge-like texture.
Absolutely. Simply substitute the dark chocolate sandwich cookies with your favorite gluten-free chocolate cookie alternative; the rest of the ingredients are naturally gluten-free.
Stored in an airtight container, these cups will maintain their texture for up to 4 days. The crust may slightly soften after day 2, but the mousse remains stable.
Use a room-temperature dark chocolate bar and a vegetable peeler. Pull the peeler across the long edge of the bar with steady pressure to create curls rather than flakes.
This usually happens if the heavy cream was not whipped to stiff peaks before folding, or if natural oily peanut butter was used. Ensure you use full-fat cream cheese for the best structural support.
The Ultimate Peanut Butter Mousse Cups Recipe
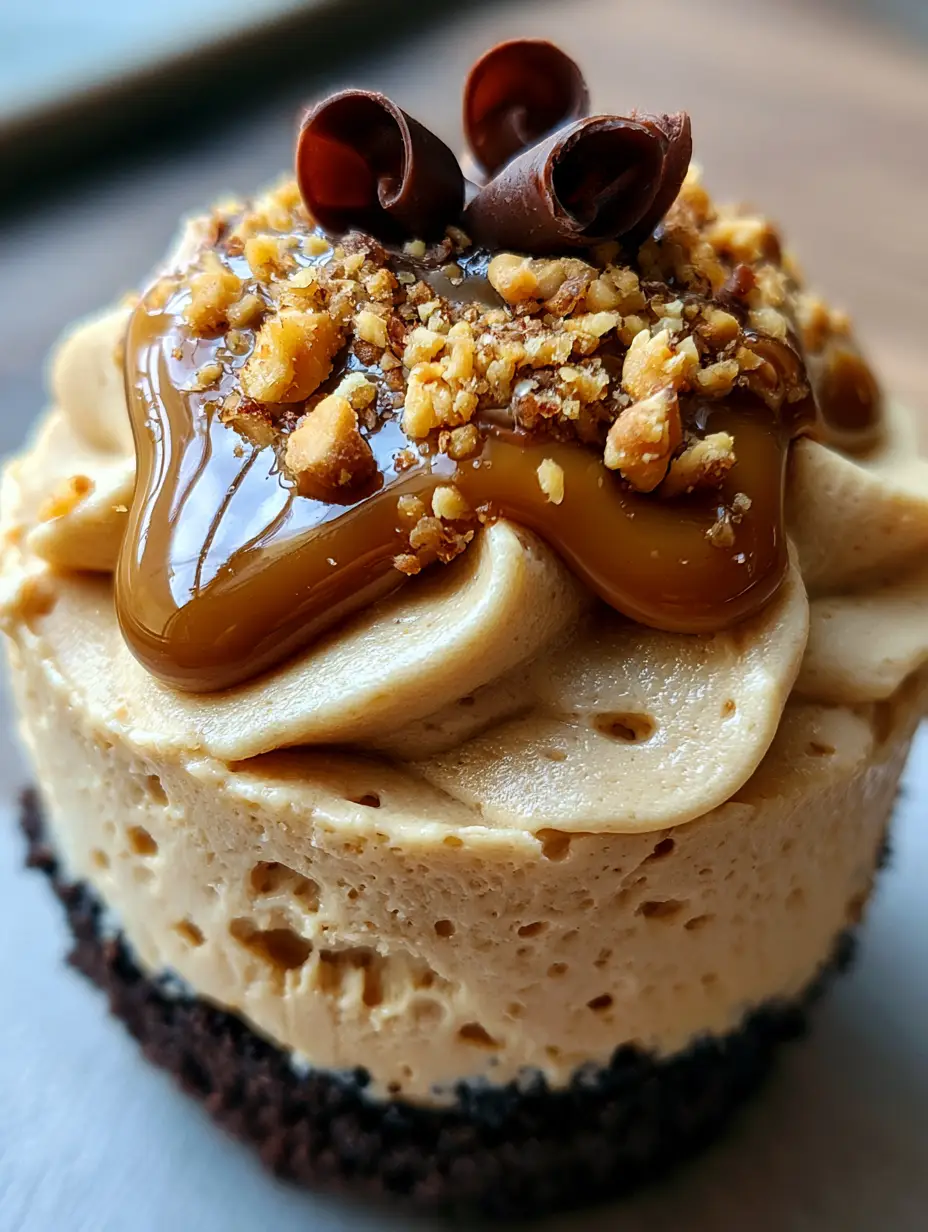
Peanut Butter Mousse Cups with Dark Chocolate Cookie Crust
Ingredients
Equipment
Method
- Pulse chocolate cookies in a blender until they reach a sandy texture. Mix with melted butter.
- Press 1.5 tbsp of crumbs into 12 lined muffin cups. Chill for 20 minutes.
- Beat cream cheese, 1 cup peanut butter, and powdered sugar until pale-tan and smooth.
- Whip heavy cream to stiff peaks. Gently fold into peanut butter mixture, maintaining air bubbles.
- Pipe mousse into cups, creating soft peaks. Chill for 2 hours.
- Drizzle with melted peanut butter and dust with crushed peanuts.
- Top each cup with exactly three dark chocolate curls made with a vegetable peeler.
Notes
Use a vegetable peeler on a room-temp chocolate bar for perfect curls.
Share Your Culinary Masterpiece!
You have now engineered a dessert that is as much a work of art as it is a culinary triumph. These peanut butter mousse cups are a testament to the power of texture and visual balance. We would love to see your results! Tag us in your photos and follow our Pinterest for more visually-driven recipe inspiration. If you enjoyed this no-bake challenge, you might also want to try our decadent no-bake cheesecake bars for your next gathering.
Don’t forget to leave a comment below with your favorite tip for getting those perfect chocolate curls! Happy whisking!