Imagine a bright, sun-drenched morning where the light hits a perfectly sculpted slice of citrus heaven. The no-bake lemon cheesecake is more than just a dessert; it is a masterclass in texture and balance. With its dense, buttery golden-brown graham cracker crust and a filling so velvety it looks like matte silk, this recipe is designed for those who crave professional results without the temperamental nature of a water bath.
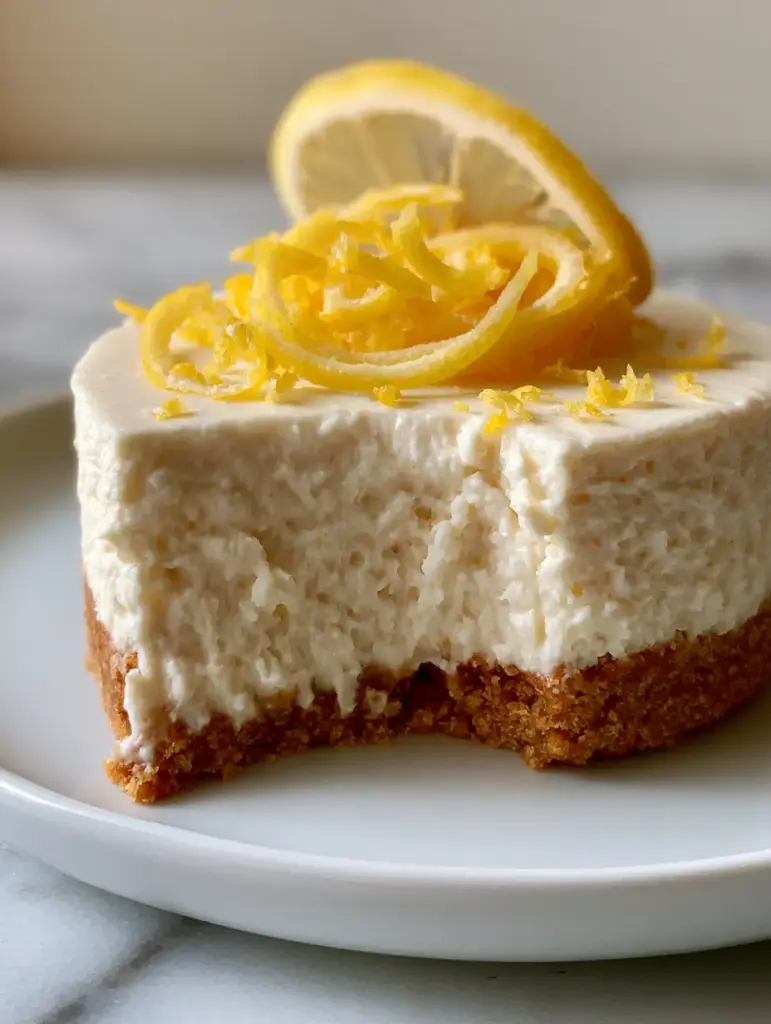
Every bite of this no-bake lemon cheesecake offers a clean, sharp edge—a testament to its structural integrity. The interior is scientifically engineered to be airy yet firm, providing a satisfying resistance to the fork before melting away with a burst of zesty lemon. Whether you are hosting a summer soirée or simply need a refreshing palate cleanser, this cheesecake delivers a visual and culinary experience that rivals any high-end patisserie.
Why This Chilled Citrus Masterpiece Always Impresses
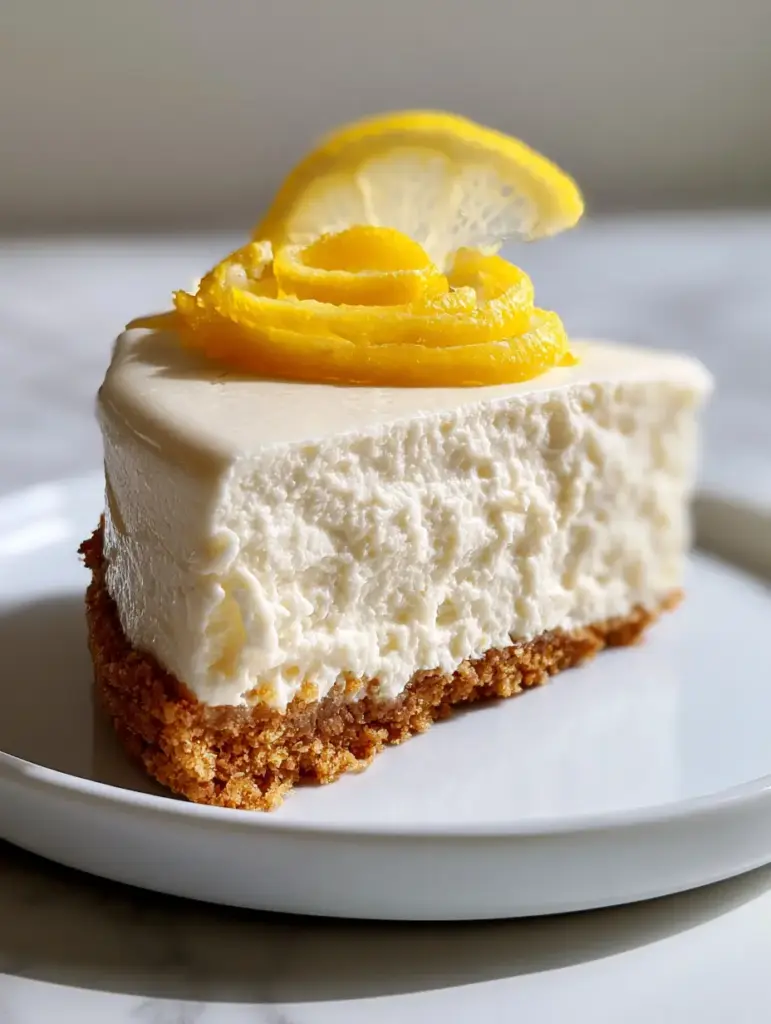
- Structural Perfection: The combination of heavy cream and condensed milk creates a thick, velvety off-white filling that holds its shape effortlessly.
- Visual Contrast: The vibrant yellow lemon zest curls and paper-thin, translucent lemon slices provide a professional, handheld smartphone-ready aesthetic.
- Textural Harmony: You get the crunch of visible graham cracker crumbs paired with a filling that boasts a smooth matte finish.
- Effortless Luxury: Achieve a clean edge where a fork has taken a bite, revealing an interior that is remarkably airy yet firm.
The Essential Pantry Staples for Citrus Bliss
Creating the ultimate no-bake lemon cheesecake requires a strategic selection of ingredients that work in chemical harmony to set the filling without heat.
Graham Cracker Crumbs (2 cups / 200g): These provide the foundation; the fine crumbs ensure a dense, buttery golden-brown base that won’t crumble prematurely. Use high-quality crackers for that signature honey-wheat depth.
Unsalted Butter (1/2 cup / 115g): When melted and combined with the crumbs, butter acts as the glue. It solidifies in the fridge to create a crust that is structurally sound and rich in flavor.
Full-Fat Cream Cheese (16 oz / 450g): Use brick-style cream cheese for the necessary stability. It provides the tangy backbone and the thick, velvety texture seen in our visual blueprint.
Sweetened Condensed Milk (14 oz / 395g): This is the secret to the smooth matte finish. It provides sweetness while contributing to a dense, creamy mouthfeel that granulated sugar simply cannot replicate.
Fresh Lemon Juice (1/2 cup / 120ml): The acid in the lemon juice reacts with the proteins in the condensed milk and cream cheese. This “acid-set” method is what makes the interior airy yet firm.
Heavy Whipping Cream (1 cup / 240ml): Whipped to stiff peaks and folded in, this aerates the dense base. This ensures the filling isn’t heavy like a brick but remains light and cloud-like.
Lemon Zest (2 tbsp / 12g): We use both fine zest in the batter and large spiral curls for the garnish. This provides an immediate aromatic hit the moment the plate is set down.
Granulated Sugar (2 tbsp / 25g): Just a touch added to the crust to help with caramelization and structural “snap” once chilled.
Precision Tools for a Professional Finish
To achieve the “extreme macro” quality of this no-bake lemon cheesecake, having the right equipment is non-negotiable.
- 9-inch (23cm) Springform Pan: Essential for releasing the cheesecake without damaging those clean, smooth edges.
- Microplane or Zester: Necessary for creating those vibrant yellow lemon zest curls that spiral across the top.
- Mandoline Slicer: To achieve a single, paper-thin, translucent lemon slice, a mandoline set to its thinnest gauge is your best friend.
- Offset Spatula: This tool allows you to smooth the top of the filling to that perfect matte finish described in our visual guide.
- High-Powered Stand Mixer: To ensure the cream cheese and condensed milk are perfectly emulsified with no lumps.
Crafting the Foundation: The Buttery Graham Cracker Base
Step 1: Achieving the Perfect Crumb Consistency
Begin by pulsing your graham crackers until they reach a fine, uniform sand-like texture. You want visible crumbs, but nothing so large it compromises the density of the base.
Combine the crumbs with melted butter and sugar in a medium bowl. Stir until the mixture resembles wet sand and holds its shape when pressed between your fingers.
Step 2: Pressing for Structural Integrity
Transfer the mixture to your springform pan. Use the flat bottom of a measuring cup to press the crumbs firmly into the base and slightly up the sides.
This “pressed” technique is vital for the dense, buttery golden-brown graham cracker crust we see in the photography. Chill this base for at least 30 minutes before adding the filling to lock the butter in place.
The Science of the Velvet Filling
Step 3: Emulsifying the Cream Base
In your stand mixer, beat the room-temperature cream cheese until it is completely smooth and free of any lumps. This is the only way to achieve that velvety, off-white cream appearance.
Slowly pour in the sweetened condensed milk while the mixer is on medium speed. Scrape down the sides of the bowl frequently to ensure a perfectly homogenous mixture.
Step 4: The Acid-Set Reaction
Add the fresh lemon juice and fine zest. You will notice the mixture begin to thicken almost immediately as the citric acid interacts with the dairy proteins.
In a separate cold bowl, whip your heavy cream to stiff peaks. Gently fold the whipped cream into the lemon mixture using a large rubber spatula. This preserves the “airy yet firm” texture required for that clean edge bite.
The Art of the Zest: Mastering the Garnish
Step 5: Finishing and Chilling
Pour the filling over the chilled crust. Use your offset spatula to create a smooth, matte finish across the top, ensuring there are no air pockets or gaps at the edges.
Place the cheesecake in the refrigerator for a minimum of 6 hours, though overnight is preferred. This long chill is what ensures the cheesecake is in a chilled and firm state for slicing.
Step 6: The Final Visual Flourish
Just before serving, use your zester to create long, vibrant yellow lemon zest curls. Drape them in a spiral pattern in the center of the cake.
Slice a fresh lemon into a paper-thin, translucent lemon wheel. Place it gently on top of the zest curls. The translucency of the lemon against the matte white filling creates a stunning, high-contrast look.
Masterclass Secrets for Cheesecake Success
- Temperature Control: Ensure your cream cheese is truly room temperature. Cold cream cheese will result in tiny white lumps that ruin the velvety matte finish.
- The Clean Cut: For that perfect “clean edge where a fork has taken a bite,” dip your knife in hot water and wipe it dry between every single slice.
- Lemon Quality: Use heavy, thin-skinned lemons. They yield more juice and have a more vibrant yellow zest, which is crucial for the visual appeal.
- Avoid Over-Folding: When adding the whipped cream, fold only until no white streaks remain. Over-mixing will deflate the air and result in a dense, rather than airy, filling.
Optimal Storage for Prolonged Freshness
The no-bake lemon cheesecake is remarkably resilient when stored correctly. Keep it in the springform pan or an airtight container in the refrigerator for up to 5 days.
If you wish to freeze the cheesecake, do so without the garnish. Wrap the firm cake in plastic wrap and then foil; it will stay fresh for up to 3 months. Thaw in the fridge overnight before adding the fresh lemon zest curls and translucent slice.
The Perfect Refreshing Pairings
While this cheesecake is a star on its own, it pairs beautifully with other textured desserts. Consider serving it alongside no-bake cheesecake bars for a varied dessert platter.
If you are looking for a beverage pairing, a chilled strawberry shortcake smoothie provides a creamy fruit complement. For a more adult pairing, the citrus notes sing when served with a glass of pineapple rum punch.
For those who love the combination of cheese and fruit, these white chocolate raspberry cheesecake cookies offer a portable way to enjoy similar flavor profiles.
Common Questions from the Home Kitchen
For the best flavor and the correct pH level for setting the cheesecake, fresh lemon juice is highly recommended. Bottled juice often lacks the vibrancy and natural acidity needed for the perfect ‘airy yet firm’ texture.
This specific recipe uses the ‘acid-set’ method, where lemon juice reacts with condensed milk to create a firm structure, so no gelatin is required. This results in a much creamier, velvety mouthfeel.
Use a sharp knife dipped in hot water and wiped dry before every cut. This ensures a ‘clean edge’ similar to what you see in professional food photography.
While it may look set after 3 hours, a full 6 to 8 hours (or overnight) is necessary for the proteins to fully bond and create that dense, matte finish that holds up when sliced.
A runny filling usually occurs if the cream cheese wasn’t full-fat or if the heavy cream wasn’t whipped to stiff peaks before folding. Additionally, ensure you use enough lemon juice, as the acid is required to chemically set the condensed milk.
The Ultimate No-Bake Lemon Cheesecake Recipe
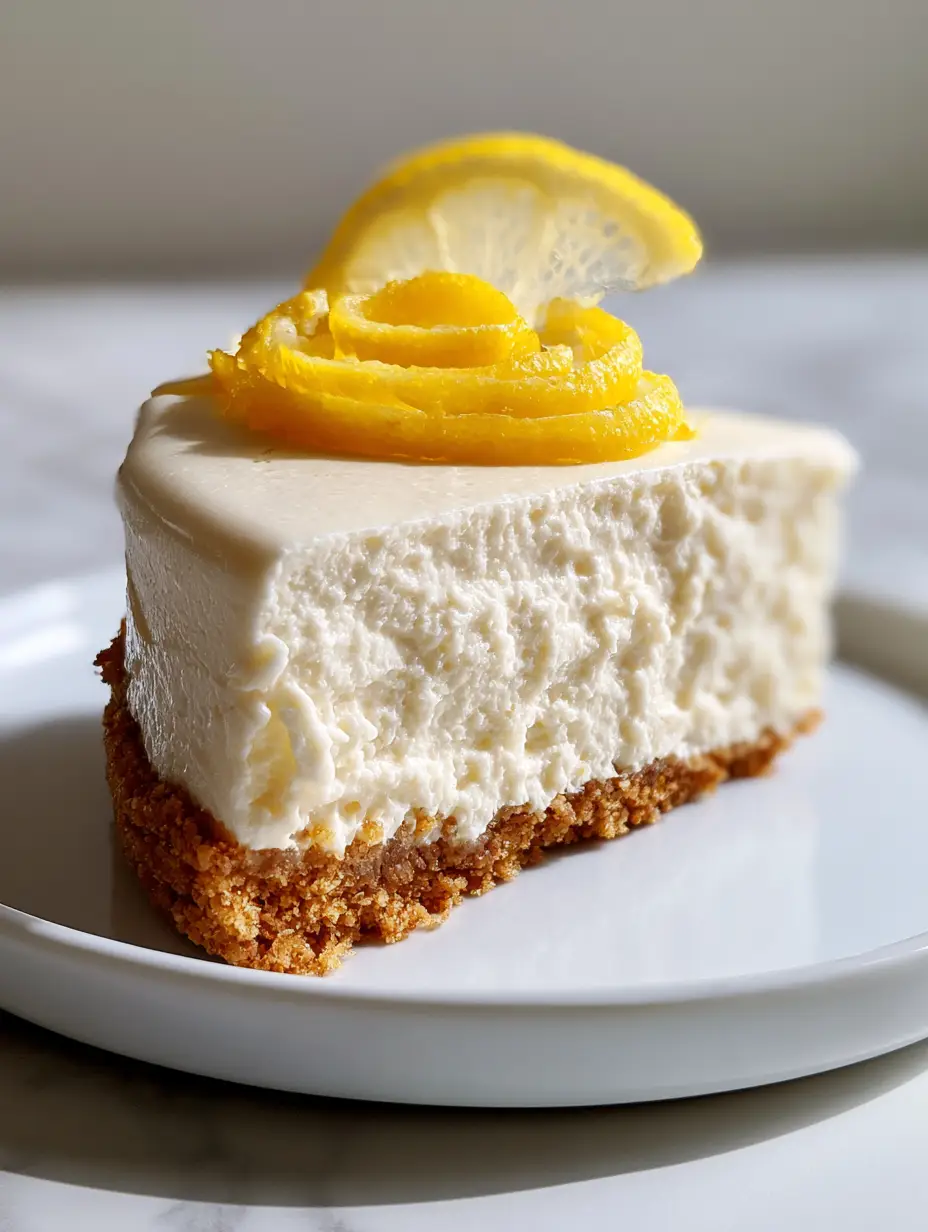
No-Bake Lemon Cheesecake with a Velvety Condensed Milk Filling
Ingredients
Equipment
Method
- Combine graham cracker crumbs, melted butter, and sugar. Press firmly into a 9-inch springform pan and chill for 30 minutes.
- Beat cream cheese until smooth. Gradually add condensed milk, lemon juice, and fine zest until velvety.
- In a separate bowl, whip heavy cream to stiff peaks. Gently fold into the cheese mixture until no streaks remain.
- Spread filling over crust, smooth the top, and refrigerate for at least 6 hours until firm.
- Garnish with spiral lemon zest curls and a paper-thin translucent lemon slice before serving.
Notes
Use a hot, dry knife for clean professional slices.
Closing & Call to Action
This no-bake lemon cheesecake proves that you don’t need an oven to create a dessert of professional caliber. Its striking visual appeal—from the vibrant zest curls to the buttery crust—is matched only by its refreshing, citrusy flavor. We hope you enjoy crafting this velvety masterpiece in your own kitchen.
Did you achieve that perfect matte finish? Let us know in the comments below! If you loved this recipe, please share your recreations on Pinterest and follow us for more culinary inspiration. Don’t forget to sign up for our newsletter to get elite recipes delivered straight to your inbox.


