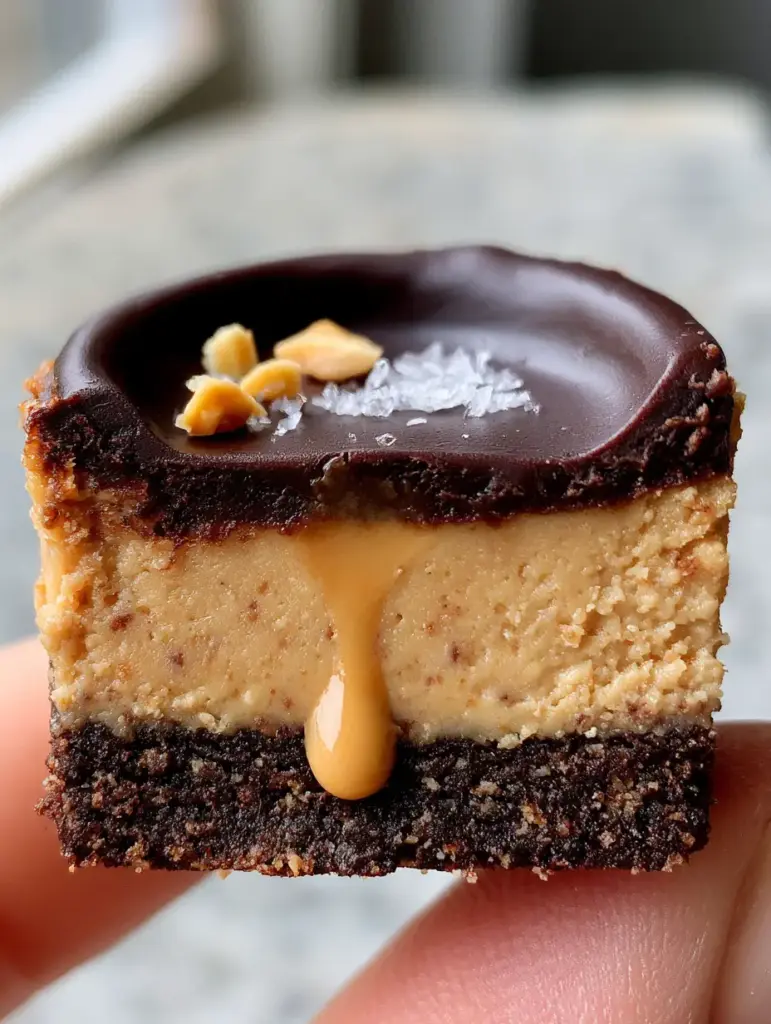
When you crave the rich, nostalgic combination of chocolate and peanut butter but want to stay on track with your nutritional goals, these Protein Peanut Butter Cheesecake Cups are the definitive answer. Imagine sinking your teeth into a handheld dessert that looks like it came from a high-end boutique bakery, featuring a gritty dark cocoa crust and a velvety, protein-packed center.
This isn’t your average “health food” dessert that leaves you wanting more. We have meticulously engineered this recipe to provide a professional-grade culinary experience, complete with a glossy dark chocolate ganache that yields perfectly under your thumb and a hidden, artfully oozing peanut butter core that surprises you at the first bite.
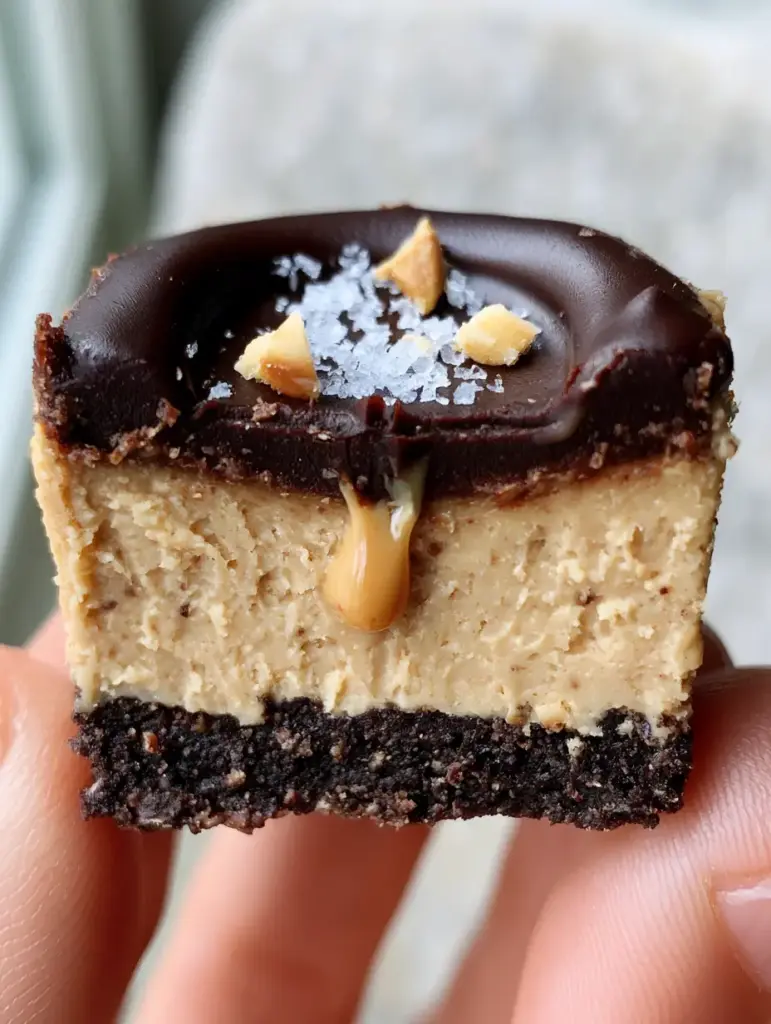
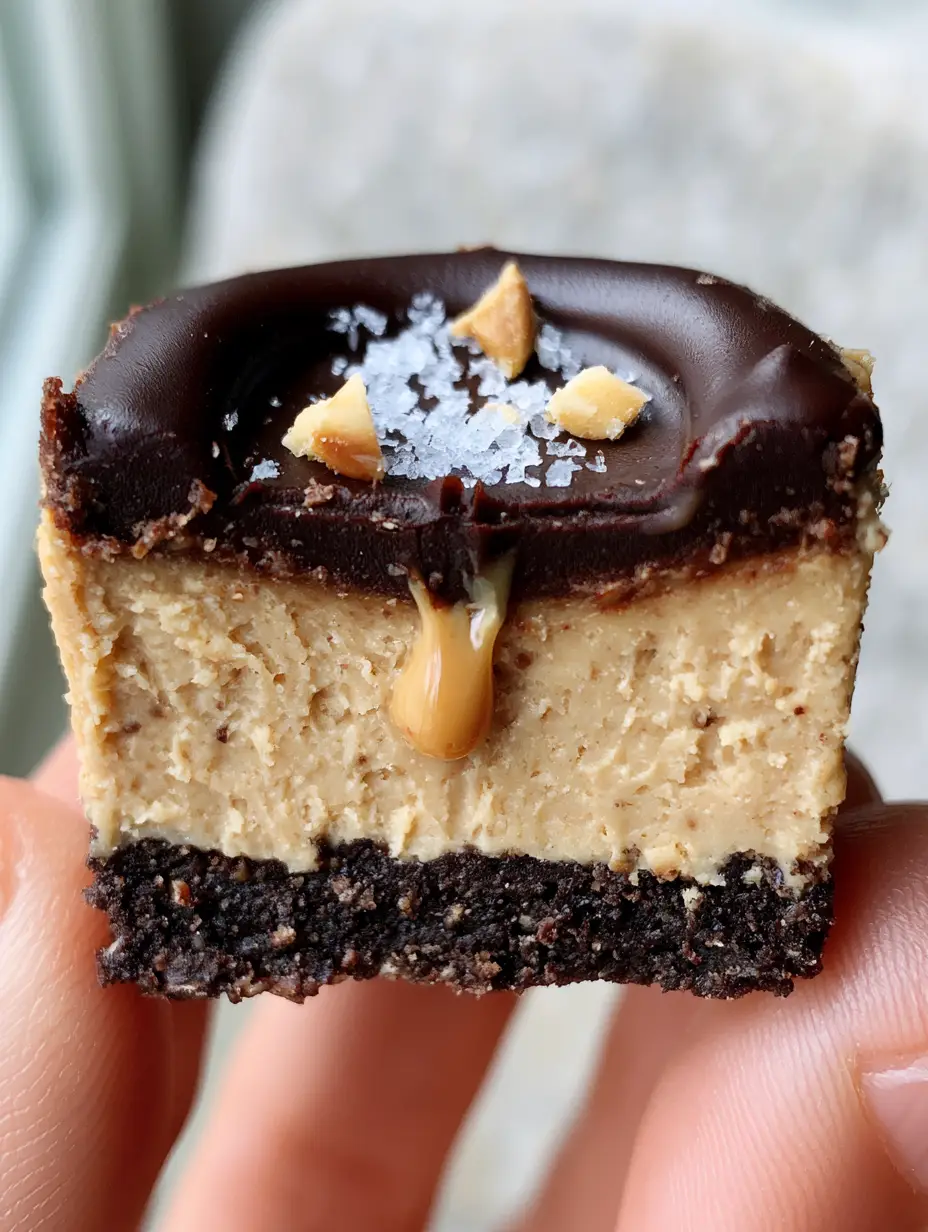
The visual appeal is just as striking as the flavor profile. With a cross-section that reveals distinct, sharp layers and a garnish of flaky Maldon sea salt, these cups are designed to be the centerpiece of your meal prep or a sophisticated finale to a dinner party. Let’s dive into the science of building the perfect high-protein cheesecake cup.
Why You Will Obsess Over These Macros-Friendly Treats
- Multi-Textural Experience: You get the crunch of the roasted peanuts, the grit of the cocoa almond base, and the silkiness of the cheesecake filling in every single mouthful.
- Precision Engineering: Unlike other no-bake cheesecake bars that can turn mushy, this recipe uses specific ratios of protein powder to fats to ensure a stable, handheld structure.
- The “Ooze” Factor: We have incorporated a technique to create a liquid peanut butter center that mimics a gourmet lava cake without any baking required.
- Glossy Ganache Finish: The top layer isn’t just melted chocolate; it’s a true dark chocolate ganache that stays soft and biteable even when chilled.
Essential Components for These High-Protein Treats
To achieve the specific visual and structural results seen in our professional photography, each ingredient serves a scientific purpose. Do not skip the salt or the specific type of cocoa, as these define the “gritty” versus “velvety” contrast.
Super-Fine Almond Flour: 1 ½ cups (144g). This provides the “gritty” foundation described in our visual blueprint, offering a nutty base that pairs perfectly with chocolate.
Dark Processed Cocoa Powder: ¼ cup (25g). We use a dark or “Dutch-processed” cocoa to ensure the crust has that deep, nearly black foundation that contrasts against the tan filling.
Melted Coconut Oil or Grass-Fed Butter: 3 tbsp (45ml). This acts as the binder for your crust, solidifying in the fridge to create a sturdy base you can hold between two fingers.
Low-Fat Cream Cheese: 8 oz (225g). Softened to room temperature, this creates the “thick, velvety” texture essential for a true cheesecake experience.
Natural Creamy Peanut Butter: ¾ cup (190g) divided. You will use the bulk for the filling and a reserved portion for the artfully oozing center and the final drizzle.
Vanilla Whey or Casein Protein Powder: 2 scoops (approx 60g). Whey-casein blends work best here to avoid a “chalky” texture while providing those visible flecks of protein powder seen in the cross-section.
Dark Chocolate Chips (70% Cacao): ½ cup (90g). High-quality dark chocolate ensures a “glossy” finish and a sophisticated, less-sweet flavor profile.
Flaky Maldon Sea Salt: A precise sprinkle. This is not just for flavor; the large flakes provide the specific visual “garnish” required for the professional handheld look.
Roasted Peanuts: 1 tbsp, crushed. These provide the “three tiny shards” of garnish that signal the flavor profile to anyone viewing the dish.
Professional Tools for Perfect Portions
To achieve the uniform “thick” look of these Protein Peanut Butter Cheesecake Cups, you should use a standard 12-slot silicone muffin liner set. Silicone is superior to paper here because it allows you to peel the liner away without marring the smooth sides of the cheesecake filling.
You will also need a high-speed whisk or a hand mixer. Achieving a “velvety” filling requires Aeration—incorporating tiny air bubbles into the cream cheese and peanut butter mixture to prevent it from becoming a dense brick.
Construction Phase 1: The Gritty Dark Cocoa Foundation
In a medium mixing bowl, combine your almond flour, dark cocoa powder, and a pinch of fine salt. Stir these dry ingredients until the cocoa is evenly distributed and no white clumps of flour remain.
Pour in your melted coconut oil or butter. Use a fork to “toss” the mixture until it resembles wet sand. It should be dark, aromatic, and hold together when pressed between your fingers.
Distribute the mixture evenly across 10-12 muffin liners. Use the bottom of a small shot glass to press the crust down firmly. You want a “dense, gritty” foundation that is perfectly level. Place the tray in the freezer for 10 minutes to set while you prepare the filling.
Construction Phase 2: The Velvety Peanut Butter Core
In a large bowl, beat the softened cream cheese until smooth and no lumps remain. Add ½ cup (125g) of the peanut butter and your preferred liquid sweetener (like maple syrup or monk fruit drops).
Slowly fold in the protein powder. If you are using a whey-casein blend, you will notice “visible flecks” of the powder—this is normal and adds to the rustic, high-protein aesthetic. The texture should be “pale-tan” and thick enough to hold its shape on a spoon.
Remove the crusts from the freezer. Spoon the filling over the crusts, filling them about ¾ of the way. Use a small spoon to create a tiny “well” in the center of each cup. Drop ½ teaspoon of pure peanut butter into that well. This is the secret to the “oozing center” seen in the cross-section.
Top with the remaining cheesecake mixture and smooth the tops with an offset spatula. If you enjoy this texture, you might also love our decadent peanut butter mousse cups.
Construction Phase 3: The Glossy Ganache and Garnishes
To create the “smooth, glossy, deep dark chocolate ganache,” do not simply melt chocolate. Instead, melt your dark chocolate chips with 1 tablespoon of coconut oil in 20-second bursts in the microwave, stirring vigorously between each. The oil provides the “soft and indented” texture that allows your finger to leave a slight mark without the chocolate shattering.
Spoon the ganache over the chilled cheesecake layer. While the chocolate is still wet, place exactly three tiny shards of crushed roasted peanuts on one side. Follow this with a precise sprinkle of flaky sea salt.
For the final touch, take a tiny bit of warmed peanut butter on a toothpick and create an “artful drizzle” across the top. Chill the cups for at least 2 hours. This patience is what ensures the “distinct layers” shown in the cross-section photo.
Expert Tips for High-Protein Dessert Success
- Temperature Control: Ensure your cream cheese is truly room temperature. If it is cold, the protein powder will clump, and you won’t achieve that “velvety” look.
- Protein Selection: If your filling feels too dry, add a teaspoon of almond milk. Different brands of protein powder absorb moisture differently.
- The Clean Cut: To get a cross-section as clean as the one in our strawberry cheesecake cookies guide, dip a sharp knife in hot water and wipe it dry before slicing through the cup.
- Natural PB Only: Use a “drippy” natural peanut butter for the center ooze. Conventional PB with stabilizers won’t flow as beautifully when the cup is bitten.
Maximizing Freshness and Texture
These Protein Peanut Butter Cheesecake Cups should be stored in an airtight container in the refrigerator. They will maintain their perfect “handheld” structural integrity for up to 7 days. Because of the high protein and fat content, they do not dry out easily.
If you prefer a firmer, ice-cream-like texture, these can be frozen. Just let them sit at room temperature for 5-10 minutes before serving so the ganache softens and the peanut butter center regains its “ooze.” For more freezer-friendly treats, check out our refreshing no-bake lemon cheesecake.
Complementary Pairings for Your Dessert
While these cups are a powerhouse on their own, they pair beautifully with other protein-forward bakes. Try serving them alongside our flourless peanut butter banana muffins for a weekend brunch spread.
If you are looking for a beverage pairing, a cold glass of almond milk is classic, but for a high-contrast experience, a dark roast coffee brings out the “dark cocoa” notes in the crust perfectly. If you’re feeling adventurous with your flavors, perhaps even a strawberry shortcake smoothie could provide a fruity balance to the rich peanut butter.
Frequently Asked Questions
Yes, substitute the cream cheese with a dairy-free almond-based cream cheese and use a plant-based protein powder and coconut oil instead of butter in the crust.
Whey-casein blends are best for texture. Pure whey can sometimes make the filling slightly ‘rubbery,’ while pure casein can make it very thick. Adjust with a teaspoon of milk if needed.
Use a natural, ‘drippy’ peanut butter that only contains peanuts and salt. Stabilized commercial peanut butters are too stiff to flow at room temperature.
While the freezer sets the crust quickly, the filling and ganache need at least 2 hours in the refrigerator to achieve the distinct, clean layers shown in the photos.
This usually happens if the cream cheese is too cold when mixing or if you use a low-quality protein powder. Ensure ingredients are at room temperature and use a whey-casein blend for the smoothest texture.
The Ultimate Protein Peanut Butter Cheesecake Cups Recipe
Protein Peanut Butter Cheesecake Cups: The Ultimate No-Bake High Protein Treat
Ingredients
Equipment
Method
- Mix almond flour, cocoa, and oil until gritty. Press firmly into 12 silicone liners and freeze for 10 minutes.
- Whip softened cream cheese and PB. Fold in protein powder until velvety with visible flecks.
- Fill liners 3/4 full, add a small dollop of PB in the center, then cover with more filling and smooth the top.
- Melt chocolate with oil. Pour over cups. Garnish with 3 shards of peanuts and sea salt. Chill for 2 hours.
Notes
Opt for natural drippy peanut butter to ensure the center 'oozes' perfectly.
Join the Recipe Root Community!
We hope these Protein Peanut Butter Cheesecake Cups become a staple in your healthy dessert rotation. The combination of the “glossy ganache” and the “gritty cocoa crust” is truly a match made in culinary heaven. If you made these, please leave a comment below and let us know how your “peanut butter ooze” turned out!
Don’t forget to share your creations and follow us for more high-protein inspiration on Pinterest. Your support helps us continue to engineer recipes that bridge the gap between “healthy” and “gourmet.”


