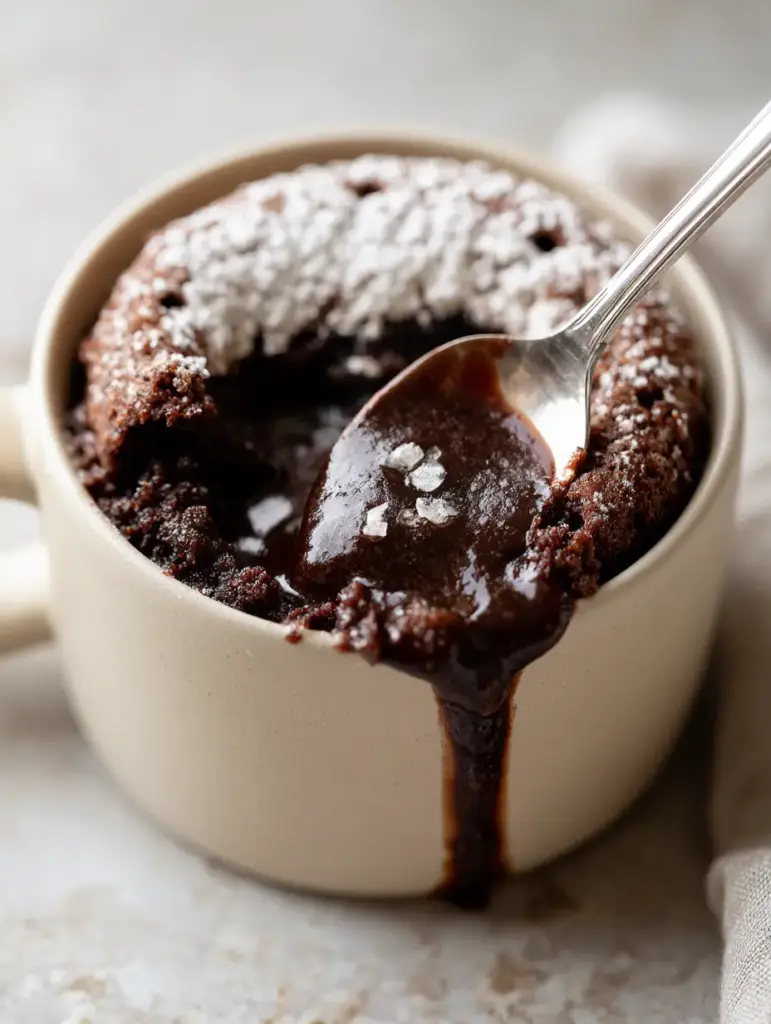
There is nothing quite like the immediate gratification of a molten lava mug cake when a late-night chocolate craving strikes. Imagine a deep, dark chocolate cake, its top surface slightly aerated and perfectly dusted with a fine layer of snow-white powdered sugar.
As you press a silver spoon into the moist, crumbly interior, a thick and glossy chocolate ganache center begins to cascade down the side. This isn’t just a quick snack; it is a gourmet dessert experience that takes less than five minutes from pantry to table.
The contrast between the steaming hot cake and the three tiny flakes of sea salt on the molten chocolate creates a sensory profile that rivals any high-end restaurant. Whether you are a seasoned baker or a microwave novice, this recipe delivers a professional result every single time.
Why This Single-Serve Chocolate Masterpiece Works
- Textural Contrast: You get a moist, crumbly cake exterior paired with a silky, liquid ganache heart that stays glossy even as it cools slightly.
- Visual Sophistication: Presented in a matte ceramic mug with a delicate dusting of powdered sugar, it looks as good as it tastes.
- Scientifically Balanced: We use a specific ratio of fats and leavening agents to ensure the cake doesn’t become rubbery in the microwave.
- Gourmet Finish: The addition of flaky sea salt cuts through the richness of the dark chocolate, elevating the overall flavor profile.
Essential Components for the Perfect Molten Crumb
All-Purpose Flour: 1/4 cup (31g). This provides the structural foundation for our cake, ensuring it can hold the weight of the molten center without collapsing.
Dutch-Processed Cocoa Powder: 2 tbsp (15g). We use Dutch-processed cocoa for that deep, dark color and a smooth, mellow chocolate flavor that isn’t too acidic.
Granulated Sugar: 2 tbsp (25g). This provides the necessary sweetness and contributes to the moist, tender texture of the crumb.
Baking Powder: 1/4 tsp (1g). This is our “invisible” hero, creating those tiny air pockets that give the top of the cake its slightly aerated appearance.
Whole Milk: 3 tbsp (45ml). Milk adds moisture and fat, preventing the cake from drying out during the rapid microwave cooking process.
Neutral Oil: 1.5 tbsp (22ml). Using oil instead of butter ensures the cake remains soft and moist even after it stops steaming.
Dark Chocolate Chips or Truffle: 1 tbsp (15g). This is the secret to the “lava.” Placing these in the center creates that thick, glossy cascading liquid.
Flaky Sea Salt: A tiny pinch. Just three or four flakes are needed to highlight the dark chocolate’s complexity and balance the sugar.
Powdered Sugar: 1/2 tsp (2g). A fine, snow-white dusting over the finished cake provides a professional, high-end food photography finish.
Tools Required for Microwave Success
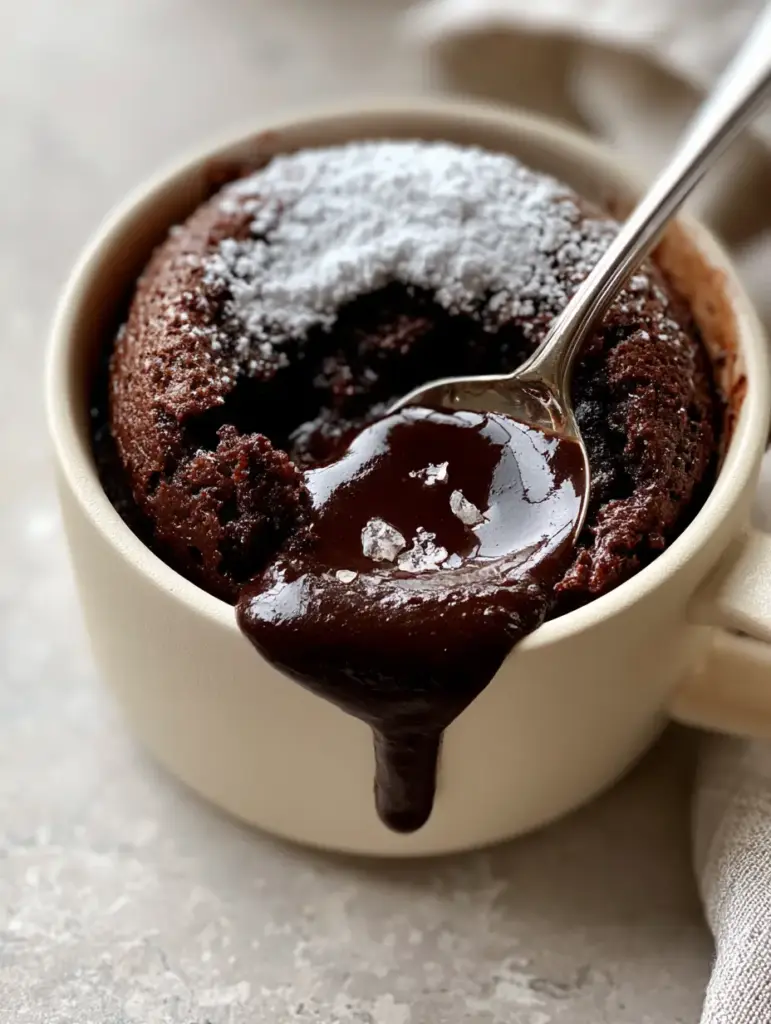
To achieve the look of our visual blueprint, you will need a matte ceramic mug, preferably in a cream or neutral tone. The matte finish helps retain heat evenly while providing a beautiful aesthetic contrast to the glossy chocolate.
You will also need a small whisk or a fork to ensure the dry ingredients are fully incorporated with the wet. A silver spoon is essential for that first “scoop” shot that reveals the steaming liquid center.
Step-By-Step to a Cascading Chocolate Center
Whisking the Dry Base
In your matte cream-colored ceramic mug, whisk together the flour, cocoa powder, sugar, and baking powder. Ensure there are no large clumps of cocoa powder, as these can create bitter pockets in the finished cake.
Integrating the Liquid Ingredients
Add the milk and oil directly into the mug. Stir gently until the batter is smooth and resembles a thick, dark chocolate syrup. Scrape the sides and bottom of the mug to ensure all the flour is hydrated.
Creating the Molten Core
Take your dark chocolate chips or a single chocolate truffle and push it into the very center of the batter. Do not stir it in; simply submerge it so the batter covers the top. This ensures the “lava” stays trapped in the middle during the rise.
The Precision Microwave Pulse
Microwave on high for 70 to 90 seconds. You are looking for a specific visual cue: the top should look set and slightly aerated, but it should still have a slight “jiggle” in the very center. The cake will be steaming hot at this stage.
The Final Flourish
Let the cake rest for 1 minute—this is crucial for the structure to set. Once rested, use a fine-mesh sieve to apply a delicate layer of powdered sugar. Finish with exactly three flakes of sea salt directly over the center where the spoon will break the surface.
Professional Secrets for Mug Cake Excellence
- The Power Factor: Microwave wattages vary. Start with 70 seconds and add 10-second intervals if the top still looks like raw liquid batter.
- Mug Size Matters: Use a mug that holds at least 10-12 ounces (300-350ml) to prevent the batter from overflowing as it rises.
- Don’t Overmix: Stop stirring as soon as the streaks of flour disappear to keep the crumb tender and crumbly rather than chewy.
- Room Temperature Milk: Using cold milk can sometimes cause the oil to clump; use room temperature milk for the smoothest batter.
Elevating Your Dessert Experience
While this molten lava mug cake is a star on its own, it pairs beautifully with other treats. If you are hosting a small gathering, you might want to serve this alongside a chilled pineapple rum punch for a tropical contrast.
For those who prefer a more traditional pairing, a scoop of vanilla bean ice cream melting into the steaming chocolate is heavenly. If you enjoy this quick format, you should also try my best brownie recipe for a larger batch of chocolatey goodness.
If you have leftover fruit, consider making a strawberry shortcake smoothie to serve as a refreshing palate cleanser after the rich dark chocolate.
Frequently Asked Questions
Yes, you can substitute the all-purpose flour with a 1:1 gluten-free flour blend. The texture might be slightly denser, but the molten center will still be delicious.
Yes, any microwave-safe mug works, but a ceramic mug with thicker walls (like the matte one described) helps distribute heat more evenly for a better rise.
The secret is placing dark chocolate chips or a truffle in the center and not over-microwaving. Look for the ‘jiggle’ in the middle of the cake to ensure the ganache stays glossy and cascading.
You can use regular unsweetened cocoa powder, but the flavor will be slightly more acidic and the color will be lighter. Dutch-processed is recommended for that ‘deep dark’ look.
Rubbery texture is usually caused by overcooking or using too much egg. This recipe is egg-free and uses oil to ensure a soft, moist crumb that stays tender even after microwaving.
The Ultimate Molten Lava Mug Cake Recipe
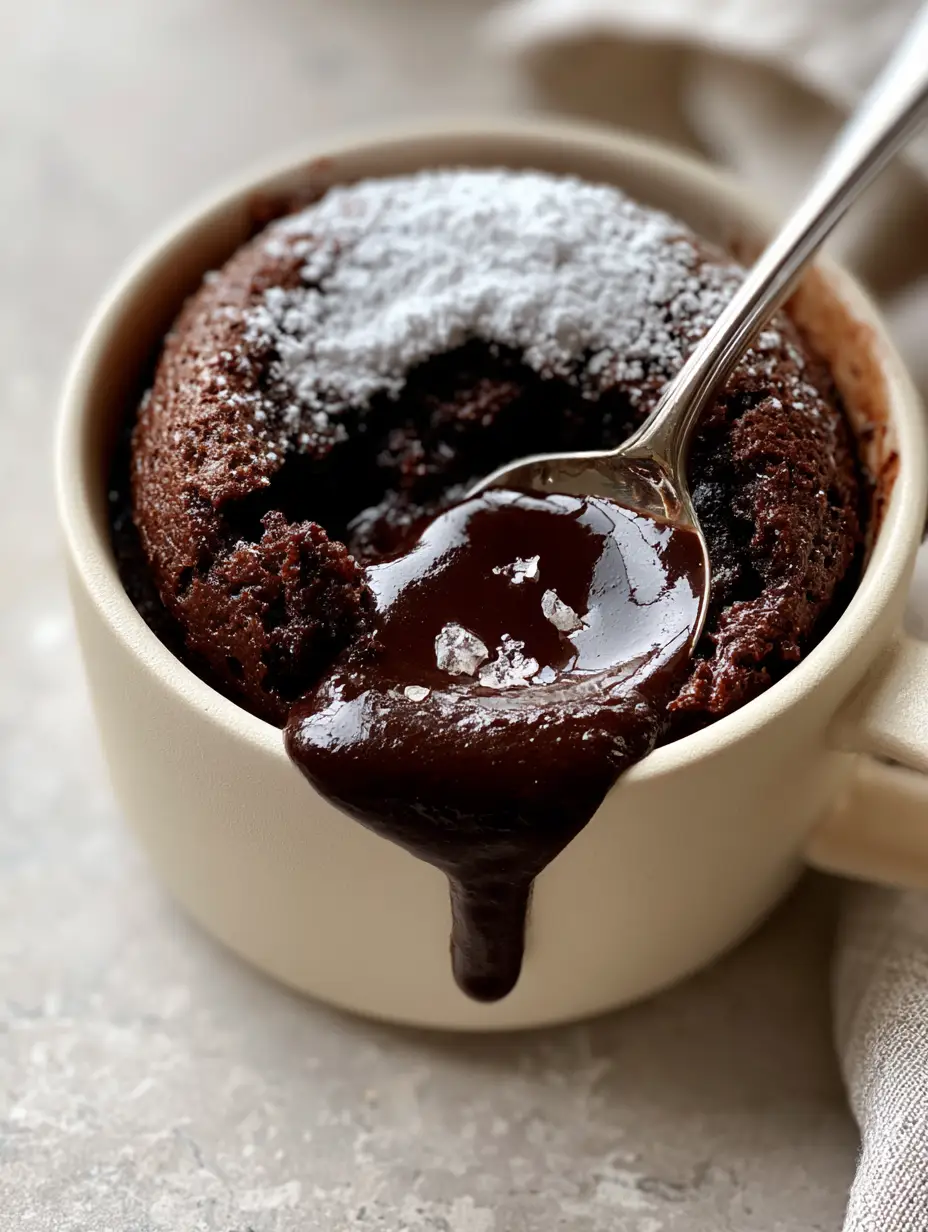
Molten Lava Mug Cake with a Glossy Ganache Center
Ingredients
Equipment
Method
- In a 10-12 oz matte ceramic mug, whisk the flour, cocoa powder, sugar, and baking powder until no clumps remain.
- Pour in the milk and oil. Stir until the batter is smooth and dark, ensuring you scrape the bottom edges of the mug.
- Place the chocolate chips or truffle in the center of the batter and push down slightly so they are submerged.
- Cook on high for 70-90 seconds. The top should look set but still have a slight jiggle in the center. It will be steaming hot.
- Let the cake rest for 60 seconds. Dust with a fine layer of powdered sugar and top with three flakes of sea salt. Serve with a silver spoon to reveal the glossy liquid center.
Notes
Use a high-quality dark chocolate for the center to ensure a glossy, cascading finish.
Storage and Reheating Advice
Mug cakes are best enjoyed immediately while the center is still in a liquid state. If you must store it, cover the mug with plastic wrap and keep it at room temperature for up to 24 hours.
To reheat, microwave in 15-second bursts. Note that the “lava” center may absorb into the cake during storage, so it will be less liquid upon reheating but still incredibly moist.
Join the Chocolate Revolution
This molten lava mug cake is the perfect solution for those moments when only a deep, dark chocolate fix will do. The combination of the crumbly cake and the glossy, cascading center is truly a culinary delight that anyone can master.
If you enjoyed this recipe, please leave a comment below and tell me how your “lava” turned out! Don’t forget to share your creations and follow us on Pinterest for more daily inspiration.


