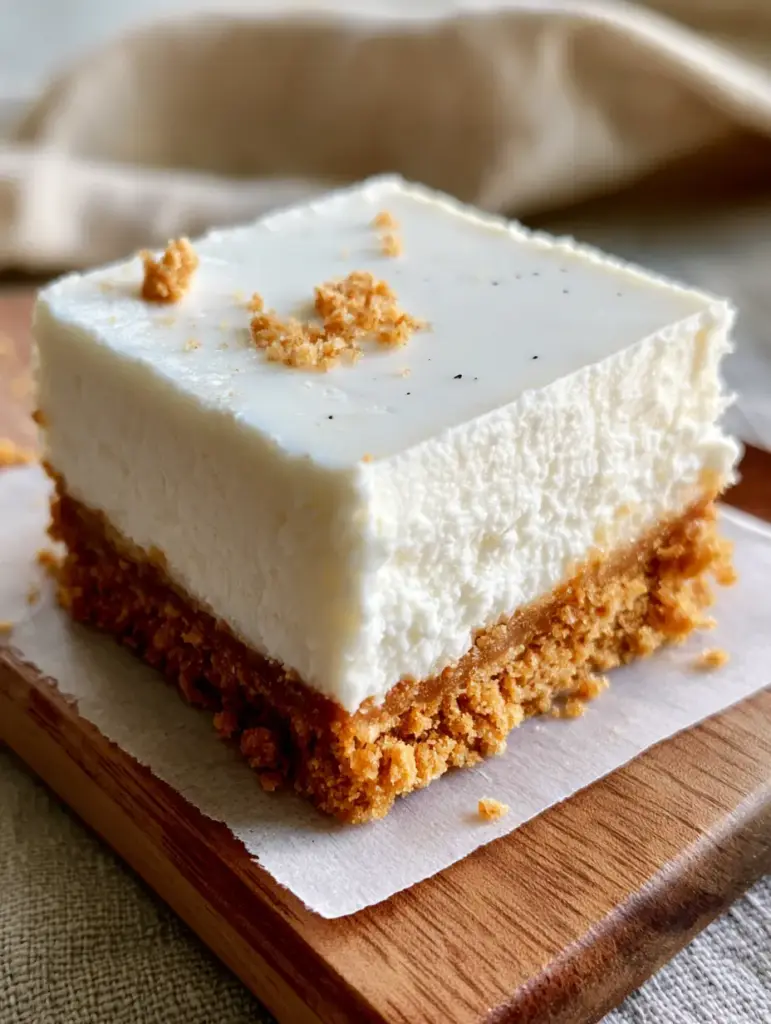
There is something uniquely satisfying about the perfect No Bake Cheesecake Bars. Imagine a thick, golden-brown graham cracker crust that shatters slightly under your fork, giving way to a tall, snowy-white cream cheese filling. This isn’t a soft, pudding-like dessert; it is a dense, velvety masterpiece flecked with aromatic vanilla bean specks and finished with a clean, matte texture that looks as professional as it tastes.
Inspired by high-end patisseries, these No Bake Cheesecake Bars are designed for those who crave the richness of a traditional baked cheesecake without the stress of a water bath or the fear of surface cracks. By using real whipped heavy cream and premium vanilla beans, we achieve a structural integrity and flavor profile that surpasses any store-bought alternative. The soft morning light hitting the pristine white surface of these bars makes them a visual showstopper for any occasion.
Whether you are preparing for a summer gathering or simply want a decadent treat that won’t heat up your kitchen, this recipe delivers consistent, bakery-quality results. Every bite offers a contrast between the butter-bound crumbs of the base and the cloud-like density of the filling. Let’s dive into the culinary science of crafting these pristine squares.
Why These No Bake Cheesecake Bars Outperform the Competition
- Structural Integrity: Unlike recipes that rely on gelatin, our method uses high-fat cream cheese and stiff-peaked heavy cream to create a dense, sliceable texture that holds its shape at room temperature.
- Visual Forensics: The tiny, visible vanilla bean specks against the snowy-white filling provide a luxury aesthetic that signals high-quality ingredients.
- Perfect Crust Ratio: A generous, pressed graham cracker base bound with brown butter notes ensures the crust is flavorful and crumbly rather than soggy.
- Matte Finish Styling: We avoid the “wet” look of some no-bake desserts, opting for a smooth, matte surface that is perfect for clean, macro photography.
Premium Pantry Essentials for Thick Cheesecake Bars
Honey-Kissed Graham Crackers (300g / 2 cups crumbs): These form the foundation of our golden-brown crust. Ensure you use a coarse grind to maintain that authentic, crumbly texture seen in professional food styling.
Unsalted European-Style Butter (115g / 1/2 cup): Melted butter acts as the binding agent for our crumbs. The higher fat content in European-style butter ensures the base stays firm yet melts in your mouth.
Full-Fat Brick Cream Cheese (675g / 24 oz): It is critical to use the brick variety, not the spreadable tub version. This provides the necessary lactic acid and fat for a tall, dense filling that mimics a baked texture.
Sifted Powdered Sugar (180g / 1.5 cups): Also known as confectioners’ sugar, this provides sweetness and contains a hint of cornstarch which aids in the stabilizing of the no-bake filling.
Heavy Whipping Cream (360ml / 1.5 cups): This must be very cold. When whipped to stiff peaks and folded in, it provides the “lift” and velvety smoothness that makes these bars so airy yet substantial.
Whole Vanilla Bean or Paste (1 pod / 1 tbsp): This is the secret to the tiny black specks and deep floral aroma. It elevates the bars from a simple dessert to a gourmet experience.
Fresh Lemon Juice (15ml / 1 tbsp): A tiny amount of acid is the “invisible” ingredient that cuts through the heavy fat of the cream and cheese, brightening the overall flavor profile.
Essential Culinary Tools for Professional Results
To achieve the clean edges and perfectly leveled layers shown in our visual guide, you will need a 9×9 inch (23x23cm) square baking pan. Lining this pan with parchment paper with an overhang (the “sling” method) is non-negotiable for lifting the bars out cleanly without damaging the crust.
An offset spatula is your best friend for creating that perfectly smooth, matte texture on the top layer. A stand mixer or high-powered hand mixer is required to whip the heavy cream to the precise stiff-peak stage necessary for the bars to set properly.
Crafting the Golden-Brown Graham Cracker Base
Step 1: Preparing the Butter-Bound Crumbs
Pulse your graham crackers in a food processor until you have coarse, honey-colored crumbs. You want a mix of fine powder and tiny visible fragments to achieve that authentic “thick crust” look. Transfer to a bowl and stir in the melted butter until the mixture resembles wet sand.
Step 2: The Perfect Press Technique
Dump the crumbs into your lined pan. Use the bottom of a flat measuring cup to press the mixture firmly and evenly into the base. Focus on the corners to ensure they aren’t rounded. Chill this in the freezer for 15 minutes to “lock” the butter before adding the filling.
Executing the Snowy-White Filling
Step 1: Aerating the Cream Cheese
In a large bowl, beat the room-temperature cream cheese until it is completely smooth and free of lumps. This is the only stage where you should beat vigorously; once other ingredients are added, we want to be more gentle to preserve the matte texture.
Step 2: Incorporating the Vanilla Specks
Add the powdered sugar, lemon juice, and the seeds from one vanilla bean pod. Mix on low until fully combined. If you are looking for a more tart variation, you might enjoy our refreshing lemon version, but for these bars, we want the vanilla to shine.
Step 3: Folding for Velocity and Volume
In a separate chilled bowl, whip your heavy cream until it reaches stiff peaks. It should look like thick, white clouds. Gently fold the whipped cream into the cream cheese mixture using a silicone spatula. Stop as soon as no white streaks remain to avoid deflating the air bubbles.
Setting and Slicing for the Macro Shot
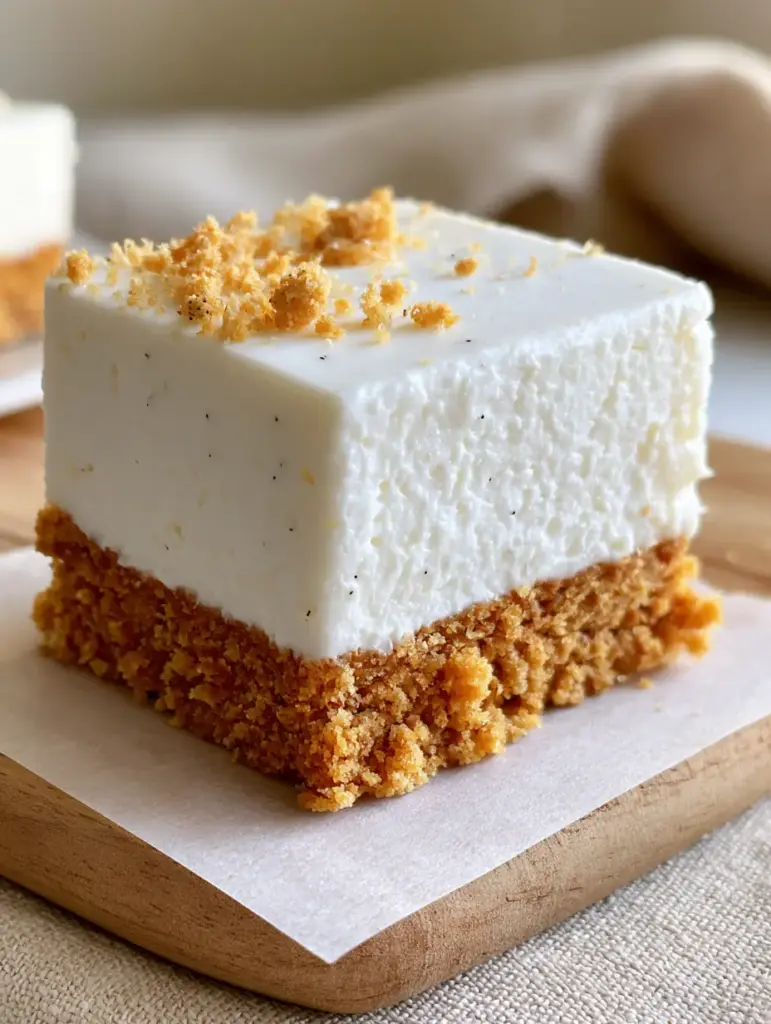
Pour the velvety filling over your chilled crust. Use your offset spatula to smooth the top with one or two long, continuous strokes to maintain that smooth, matte texture. Avoid over-working the surface, or it will lose its pristine glow.
Chill the bars in the refrigerator for at least 6 hours, though overnight is preferred for the cleanest slices. When you are ready to serve, lift the entire block out using the parchment paper sling. To get the perfect edges seen in the macro smartphone photo, wipe your knife with a warm, damp cloth between every single cut.
Expert Tips for No-Bake Success
- Temperature Control: Ensure your cream cheese is truly at room temperature (about 70°F/21°C) to prevent “cream cheese pearls” (tiny lumps) in your filling.
- The Snap Test: If your crust is too crumbly when cutting, add 1 extra tablespoon of melted butter next time. The crust should feel like a solid board once chilled.
- Avoid Over-Whipping: Once you fold the cream into the cheese, stop. Over-mixing can cause the fat to break, resulting in a grainy rather than velvety texture.
- Garnish Strategy: For that authentic, unedited food styling look, sprinkle just a few stray graham cracker crumbs on top of the bars right before serving.
Creative Pairings and Serving Suggestions
These rich, vanilla-forward bars pair beautifully with a variety of textures and flavors. If you enjoy the cream cheese base, you might also love our strawberry cheesecake cookies for a portable version of this dessert. For a more indulgent twist, consider serving them alongside Reese's flavored treats.
If you are serving these at a summer brunch, the clean vanilla flavor profile acts as a perfect palate cleanser after a spicy meal. They also pair wonderfully with tropical beverages like a Jamaican rum punch or a refreshing watermelon drink to balance the richness of the dairy.
Storage and Preservation
These No Bake Cheesecake Bars can be stored in an airtight container in the refrigerator for up to 5 days. For the best texture, do not leave them at room temperature for more than 30 minutes, as the high cream content will begin to soften.
To freeze, place the sliced bars on a baking sheet to flash-freeze for one hour, then wrap each bar individually in plastic wrap and store in a freezer bag for up to 3 months. Thaw in the refrigerator for 2 hours before eating to maintain that snowy-white velvety filling consistency.
Frequently Asked Questions
While possible, whipped topping (like Cool Whip) contains more water and sugar, resulting in a softer, less stable bar. For the dense, professional texture shown, real heavy whipping cream is required.
Freeze the bars for 30 minutes before cutting, and use a sharp knife dipped in hot water and wiped dry between every single cut. This prevents the filling from sticking to the blade.
The key is using full-fat brick cream cheese and whipping your heavy cream to very stiff peaks. When folded together, the fat content and air bubbles create a stable structure that sets firmly in the fridge.
They need a minimum of 6 hours to set, but for the best structural integrity and flavor development, chilling them overnight (12-24 hours) is highly recommended.
Lumps occur if the cream cheese is too cold when you start mixing. Always ensure your cream cheese is completely at room temperature so it can be beaten into a smooth, velvety base.
The Ultimate Thick No-Bake Cheesecake Bars
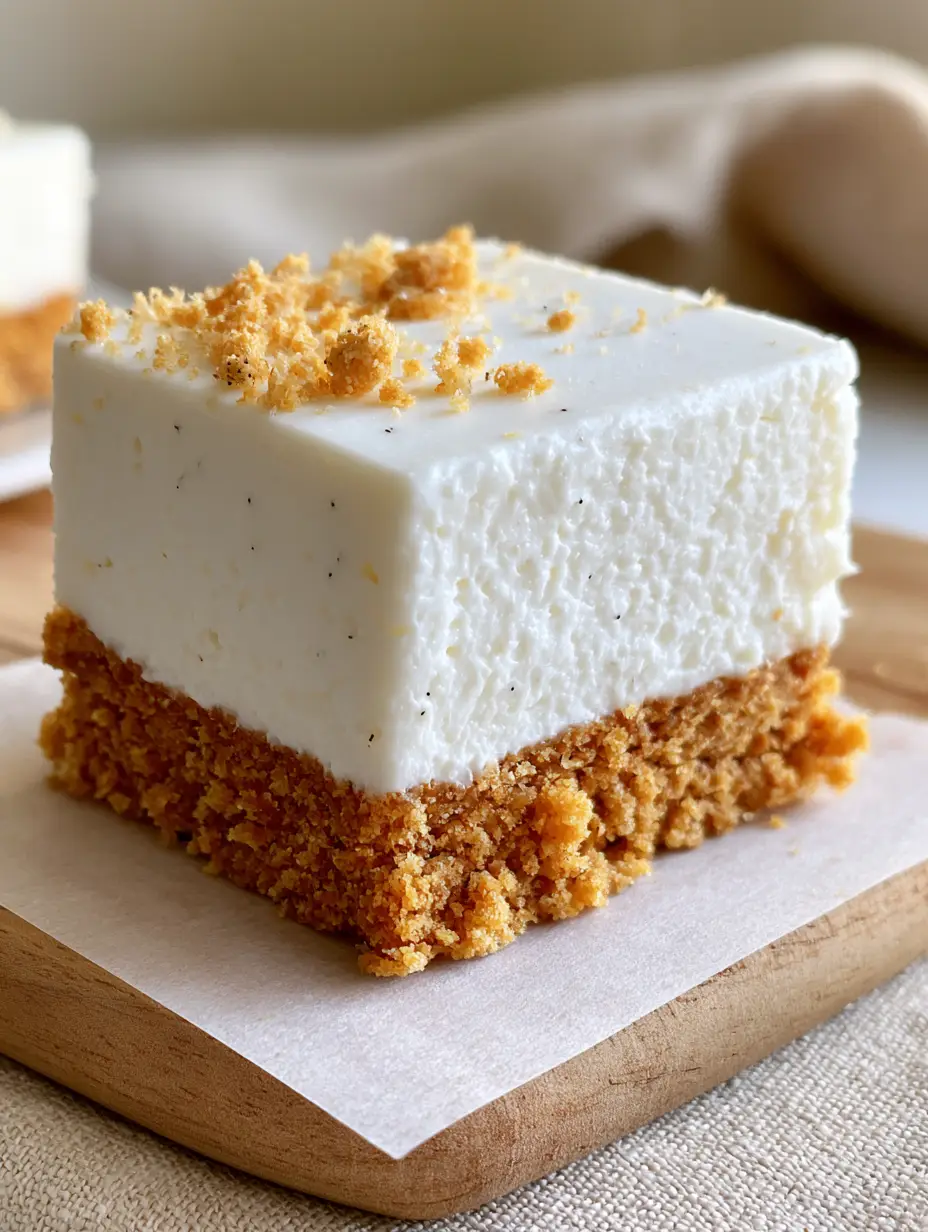
No Bake Cheesecake Bars with Velvety Vanilla Bean Filling
Ingredients
Equipment
Method
- Mix graham cracker crumbs, melted butter, and sugar in a medium bowl until the texture resembles wet sand.
- Firmly press the mixture into the bottom of a parchment-lined 9x9 inch pan. Freeze for 15 minutes to set.
- Beat the room temperature cream cheese until smooth and creamy. Add powdered sugar, vanilla bean, and lemon juice; beat until incorporated.
- In a separate bowl, whip heavy cream to stiff peaks. Gently fold the whipped cream into the cream cheese mixture until smooth.
- Spread the filling over the crust. Use an offset spatula to create a matte, smooth top. Refrigerate for at least 6 hours or overnight.
Notes
Ensure the cream cheese is fully room temperature to avoid lumps.
Conclusion: The Quintessential No-Bake Dessert
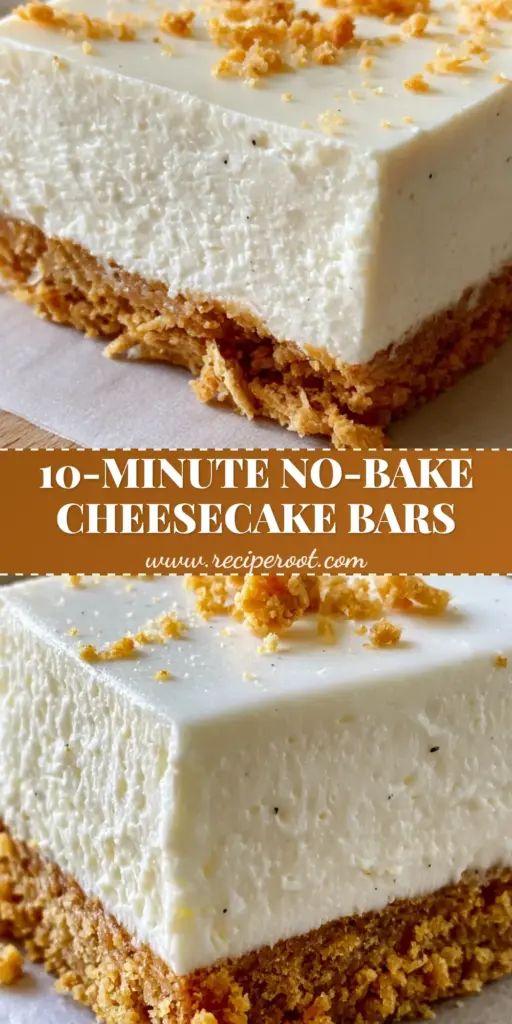
Mastering the No Bake Cheesecake Bars is a milestone for any home cook. By focusing on the quality of your vanilla and the precision of your folding technique, you create a dessert that is as visually stunning as it is delicious. The contrast of the golden honey-colored crumbs against the pristine matte filling is a testament to simple ingredients handled with care.
If you enjoyed this recipe, please leave a comment below and let us know how your bars turned out! Don’t forget to follow us on Pinterest and share your creations. For more bakery-style inspiration, check out our guide to perfect chocolate chip cookies.


