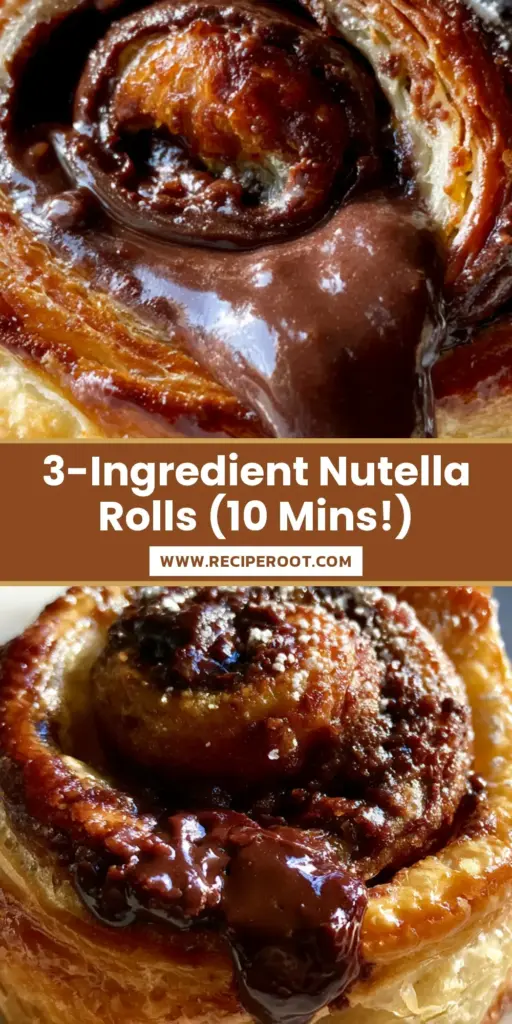
There is something undeniably hypnotic about the way a warm Nutella roll shatters upon the first bite. These Nutella rolls are the pinnacle of morning indulgence, combining the buttery complexity of a thousand-layer pastry with the deep, cocoa-rich heart of molten hazelnut spread.
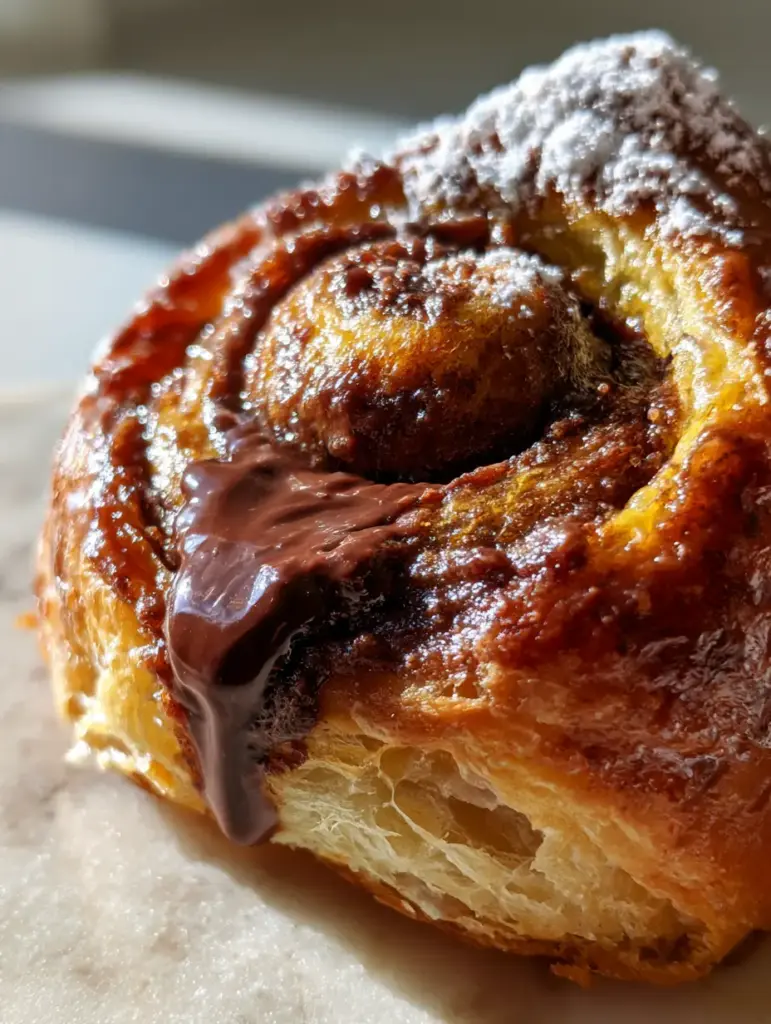
Imagine a handheld smartphone photo capturing that exact moment: the steam rising, the glossy dark chocolate oozing from the center swirl, and the delicate air pockets visible in every golden-brown layer. This isn’t just a quick snack; it is a masterclass in texture, designed for those who appreciate the contrast between a crisp shatter-crust and a gooey, warm center.
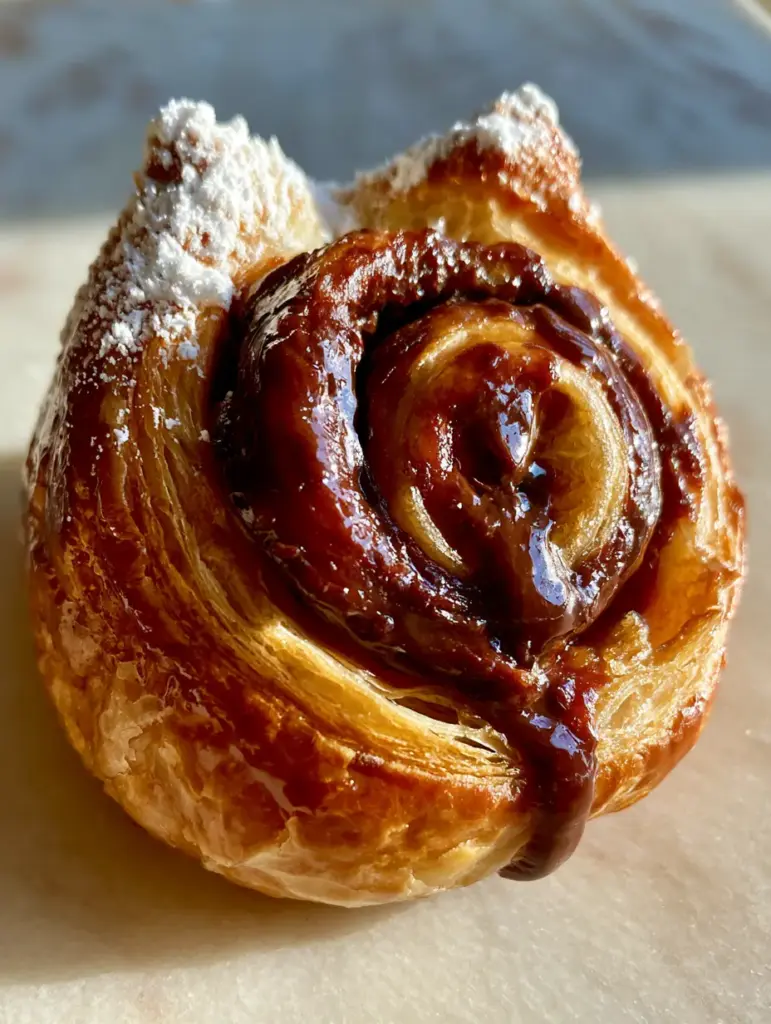
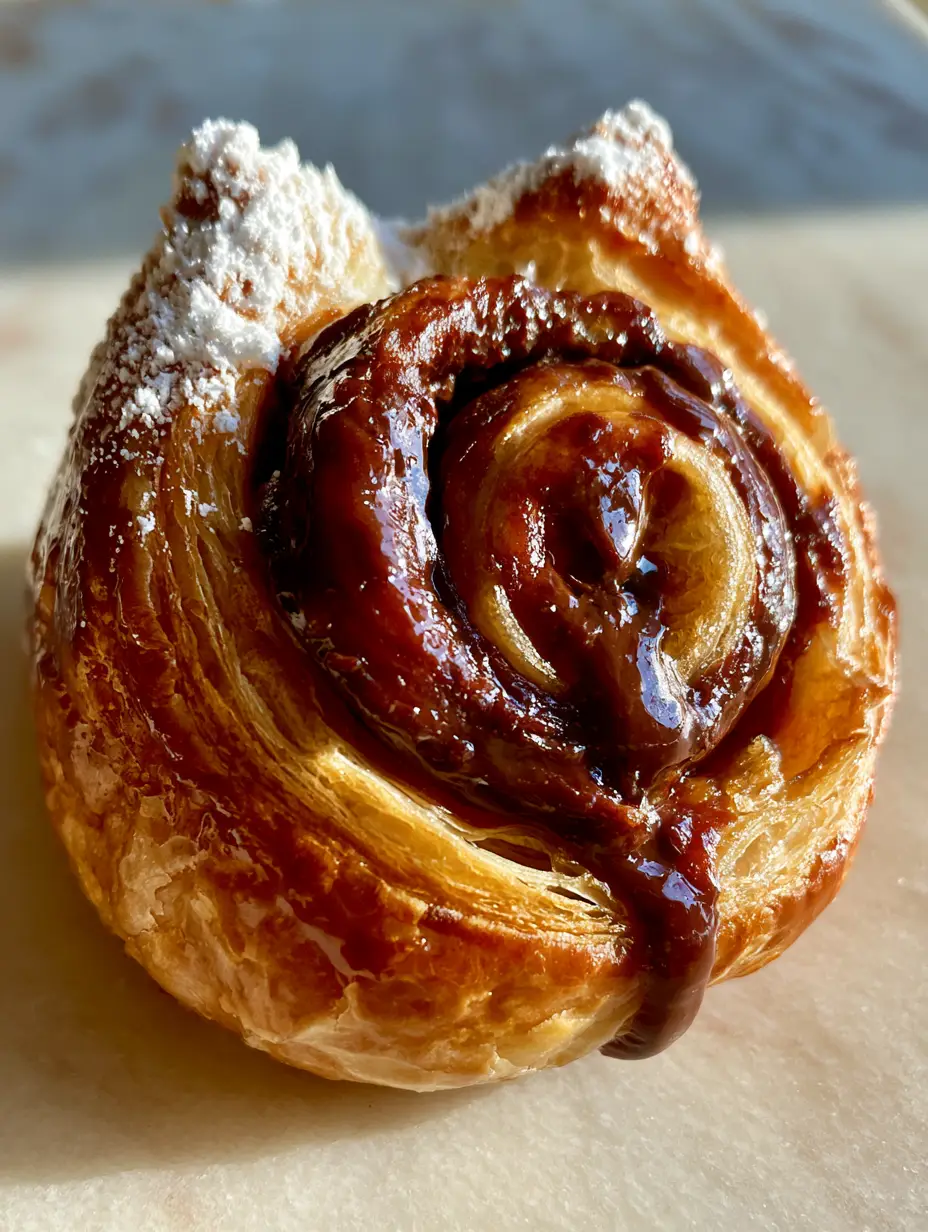
Whether you are serving these for a decadent weekend brunch or a late-night treat, the visual appeal is unmatched. The shiny golden egg-wash glaze and the fine white powdered sugar dusting create a bakery-style finish that looks professional yet feels incredibly cozy on a marble countertop in the soft morning light.
Why These Molten Nutella Swirls Are a Total Game-Changer
Success in the kitchen is often about the marriage of simple ingredients and superior technique. These Nutella rolls lean into that philosophy, delivering a high-impact result with minimal stress for the home cook.
- The Shatter-Crust Texture: By utilizing high-quality puff pastry and a specific chilling method, we achieve visible flaky air pockets that crunch loudly with every bite.
- Molten Hazelnut Core: We use a generous amount of thick, glossy hazelnut spread that stays molten and gooey even as the pastry sets.
- Professional Glossy Finish: The secret is a double-brushed egg wash that ensures a deep golden-brown hue that sparkles under kitchen lights.
- Visual Sophistication: A final dusting of powdered sugar catches on the “peaks” of the pastry shards, providing a beautiful contrast to the dark chocolate drip.
Decadent Ingredients for the Perfect Shatter-Crust Rolls
To achieve the “thousand-layer” look seen in professional food photography, every ingredient must serve a structural or aesthetic purpose. We aren’t just making a snack; we are building a pastry.
2 sheets (approx. 450g) Puff Pastry: Look for an all-butter puff pastry in the freezer section. This provides the essential fat content required to create those distinct, flaky air pockets and a rich, savory flavor profile.
1 cup (296g) Nutella or Hazelnut Spread: This is our star ingredient, providing the thick, glossy dark chocolate center. If your spread is too firm, a quick 10-second microwave burst will make it easier to swirl without tearing the delicate dough.
1 large Egg (50g): When whisked with a splash of water, this becomes our “liquid gold.” It is responsible for the shiny golden egg-wash glaze and helps the pastry “tack” together during the rolling process.
2 tbsp (15g) Powdered Sugar: A fine dusting of confectioners’ sugar adds a touch of sweetness and highlights the jagged, flaky shards of the crust. It provides that “finished” look that separates home baking from professional patisserie.
1/4 cup (30g) All-Purpose Flour: This is for your work surface. A light dusting of “bench flour” prevents the puff pastry from sticking and ensures the layers remain intact during the rolling and cutting phase.
1/8 tsp (0.75g) Flaky Sea Salt: A tiny pinch over the Nutella before rolling elevates the chocolate notes. It balances the sugar and makes the hazelnut flavor pop with professional complexity.
Professional Tools for a Glossy Golden Glaze
Achieving a bakery-quality Nutella roll requires more than just a hot oven; you need the right tools to handle the delicate pastry layers. Using the proper equipment ensures your rolls maintain their shape and don’t collapse into a dense mess.
A heavy-duty baking sheet lined with parchment paper is non-negotiable for even heat distribution. A sharp serrated knife or a dedicated pastry cutter is also vital; a dull blade will “smush” the layers together, preventing the roll from expanding into those beautiful air pockets.
Finally, a silicone pastry brush is the best way to apply the egg wash. It allows you to coat the peaks of the pastry without deflating the dough, ensuring every inch of the shatter-crust becomes a deep, glossy golden brown.
Master the Art of the Golden-Brown Nutella Roll
Preparing the Pastry Foundation
Begin by lightly dusting your marble countertop or clean work surface with flour. Gently unfold your chilled puff pastry sheets, ensuring they are cold but pliable; if the butter in the dough melts before it hits the oven, you will lose the flaky shards.
Using an offset spatula, spread a thick, even layer of Nutella across the entire surface of the dough. Leave a small 1/2 inch (1.25cm) border at the top edge to allow for a clean seal when you reach the end of your roll.
Creating the Signature Swirl
Carefully roll the pastry from the bottom up, keeping the tension tight but not forceful. This creates the internal “thousand-layer” spiral that holds the molten hazelnut spread in place during the bake.
Once rolled into a log, use your serrated knife to cut the dough into 2-inch (5cm) thick rounds. Place each roll onto your prepared baking sheet, leaving at least 3 inches (7.5cm) of space between them to allow for significant expansion.
The Secret to the Shatter-Crust Glaze
Whisk your egg with a teaspoon of water until no streaks remain. Brush the tops and sides of each roll generously; this is what creates the “extreme close-up” shine seen in high-end food photography.
Bake at 400°F (200°C) for 18-22 minutes. You are looking for a specific sensory cue: the pastry should be a deep golden-brown, and the Nutella should be bubbling and oozing slightly from the center swirl.
The Final Flourish
Remove the rolls from the oven and allow them to rest for 5 minutes on the hot pan. This allows the molten center to stabilize slightly so it doesn’t run everywhere when handled.
Just before serving, use a fine-mesh sieve to apply a light dusting of powdered sugar. The sugar should sit on the peaks of the flaky pastry shards, creating a beautiful contrast against the dark, glossy chocolate drip.
Expert Secrets for Thousand-Layer Success
- Keep it Cold: If the dough becomes too soft while you are working, pop the entire tray into the freezer for 10 minutes before baking. Cold butter equals better steam, which equals better air pockets.
- Don’t Over-Spread: It is tempting to use the whole jar of Nutella, but too much spread will weigh down the pastry and prevent it from rising. Stick to the measurements for the best height.
- Serrated is Superior: Always use a sawing motion with a serrated knife to cut the rolls. Pressing straight down with a flat blade will seal the edges of the pastry shut, ruining the flaky effect.
- Watch the Bottoms: Nutella contains sugar, which can burn on the bottom of the rolls. Use a double-layered baking sheet or a silicone mat if your oven runs hot on the bottom.
Storage, Reheating, and Freezing
These Nutella rolls are best enjoyed warm, right off the baking sheet. However, if you have leftovers, they can be stored in an airtight container at room temperature for up to 2 days.
To recapture that shatter-crust texture, reheat them in a 350°F (175°C) oven or air fryer for 3-5 minutes. Avoid the microwave, as it will make the pastry chewy and soft rather than crisp and flaky.
For long-term storage, you can freeze the unbaked rolls. Simply cut them, place them on a tray to flash-freeze, and then transfer to a freezer bag; bake directly from frozen, adding an extra 5 minutes to the total cook time.
What to Serve with These Oozy Chocolate Delights
Because these rolls are rich and buttery, they pair beautifully with acidic or fresh flavors. A side of fresh berries or a sharp espresso helps cut through the sweetness of the hazelnut spread.
If you are hosting a large brunch, consider creating a pastry spread. These rolls look stunning next to blueberry cinnamon rolls or even a tray of biscoff cinnamon rolls for a variety of flavors. For a fruitier option, these complement the rustic charm of a strawberry rhubarb pie.
If you have extra Nutella on hand, you might also enjoy making Nutella stuffed chocolate chip cookies for the ultimate chocolate-lover’s dessert table.
Frequently Asked Questions
Yes, you can assemble and cut the rolls, then keep them covered in the refrigerator for up to 24 hours. Bake them fresh when you are ready to serve for the best shatter-crust texture.
Absolutely! While store-bought puff pastry is convenient, a homemade rough puff or full puff pastry will yield even more dramatic flaky shards and a richer butter flavor.
Nutella can burn if exposed to direct high heat for too long. Ensure the rolls are thick enough to protect the center and bake on the middle rack of your oven to avoid excessive bottom heat.
This usually happens if the puff pastry was too warm before it went into the oven. The butter must be cold so it creates steam and lifts the layers. Try chilling the cut rolls in the freezer for 10 minutes before baking.
For the glossiest finish, use only the egg yolk whisked with a tiny splash of heavy cream or water. Brushing the pastry twice—once before chilling and once right before baking—also intensifies the shine.
The Ultimate Nutella Rolls Recipe
Nutella Rolls: The Ultimate Flaky Puff Pastry Dessert Guide
Ingredients
Equipment
Method
- Preheat oven to 400°F (200°C). Lightly flour your work surface and unfold the puff pastry sheets.
- Evenly spread the hazelnut spread over each sheet, leaving a small border at the edges. Sprinkle a tiny pinch of salt over the spread.
- Roll the pastry tightly into a log. Using a serrated knife, cut into 2-inch rounds to reveal the swirl.
- Place rolls on a parchment-lined tray. Whisk the egg with water and brush generously over the pastry peaks.
- Bake for 18-22 minutes until the pastry is golden-brown and the center is molten and bubbling.
- Let cool for 5 minutes, then dust with powdered sugar before serving warm.
Notes
A serrated knife is essential to avoid squishing the delicate layers.
Share Your Shatter-Crust Creations!
There is nothing quite like the satisfaction of pulling a tray of golden-brown Nutella rolls out of the oven. The way the kitchen smells of toasted hazelnuts and buttery pastry is a reward in itself. We hope this guide helps you achieve that perfect, professional-looking “shatter-crust” every time.
If you loved this recipe, please leave a comment below and let us know how your rolls turned out! Don’t forget to follow us on Pinterest for more decadent dessert inspiration and visual baking guides. Happy baking!